Spec-Driven Processing
- Print
Spec-Driven Processing
- Print
Article summary
Did you find this summary helpful?
Thank you for your feedback!
Spec-Driven Processing is a way to make order entry more efficient in Steelhead for shops whose output is largely guided by Specs.
It replaces the potential task of building a step-by-step Process Tree for each new Part at order entry.
Instead, create Quality Control requirements by linking Specs to optional Treatments in Processes assigned to Parts. As you quote Parts, assign them with opt-in/opt-outs to the Specs, to guide Processing indirectly according to quality requirements.
Related Documents
Specs Overview
Specs Configuration
Specs Management
Specs from Sensors
Certifications
Specs and Certs Troubleshooting
Link Specs to Process Nodes
After Specs are Configured, build relationships between Specs and Processes in Steelhead.
- Make Spec Fields available on a Process Node by selecting them directly or using the Spec search from the Process Page:
- Navigate to Processes from the Planning Section of the Homepage, and click to open a Process which requires a Spec measurement.
- Scroll down to click the button +ADD SPEC FIELDS.
- Attach a Spec Field to a default Process by clicking its slashed circle icon on the Spec page. A chain link icon signifies the attachment.
- View the names of Spec Fields attached to the default Process by clicking link icons near the Process Tree.
- View names of Process Nodes attached to a Spec Field by clicking the link icon on the Spec page.
- On a Process Node with a Spec Field, click the hyperlinked Spec Field Name to view more information.
Specify Opt In/Opt Outs for Nodes Within a Default Process
See "Process Node Opt-In/Opt-Out" in the Process Nodes article.
Linking a default Process to a Spec automatically opts in to that Process. Process Nodes are individual elements of a Process which may be selectively opted in or out per Spec, per Part, and per Work Order.
From a Spec page, by clicking to View/Edit Process next to the assigned Process Tree title, you will enter the Process page. From the Title card at the top of the page you can CONFIGURE OPT IN/OUT Nodes for the Process, to be available at the time you write a Quote.
Near the bottom of the Process page, you can Set Opt In/Out default preference for the Process: If Parts normally get passed through most available Nodes, the default should be opt-in; if you want to choose one of many possible Nodes to pass Parts through, the wider default should be opt-out.
When you open a Spec from the Specs Dashboard, Click SPECIFY OPT IN/OUT to make the Node elections pertaining to that Spec.
Specify a Default Treatment for Nodes within a Default Process
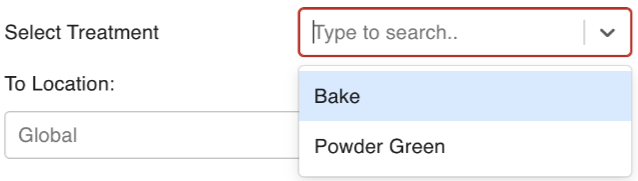
A Process Node may be repeated on a Process Tree to allow many alternative Treatments. As a simple example, a Process Node for "Paint" may have several opt-in Treatment alternatives for Red, Green, Blue, etc.
From an individual Treatment page, you can click on +ADD SPEC to attach a Spec to that specific Treatment.
Default Treatments may be assigned to Process Nodes.
- You are still able to select a Treatment while moving Parts if the Treatment selection was left blank.
- You will be prompted to add Treatments prior to racking if Treatments are missing.

Specify a Default Station for Nodes within a Default Process
Default Stations can be assigned to Default Processes similar to other Process Nodes. Station assignments are important in job tracking, Sensor integration, Scheduling, and Prioritization.
Occurences:
Users can set different default Treatments for different occurrences of the same Node within a Process. See Specs Configuration.
Process Composer
When you create a new Spec (or edit existing), you can select a Default Process with opt in/outs to define what workflow will be assigned a Part given Spec-Driven Processing.
Or, click the "Sideways S" shaped Compose icon in the Create Spec dialog to reach the Process Composer interface.
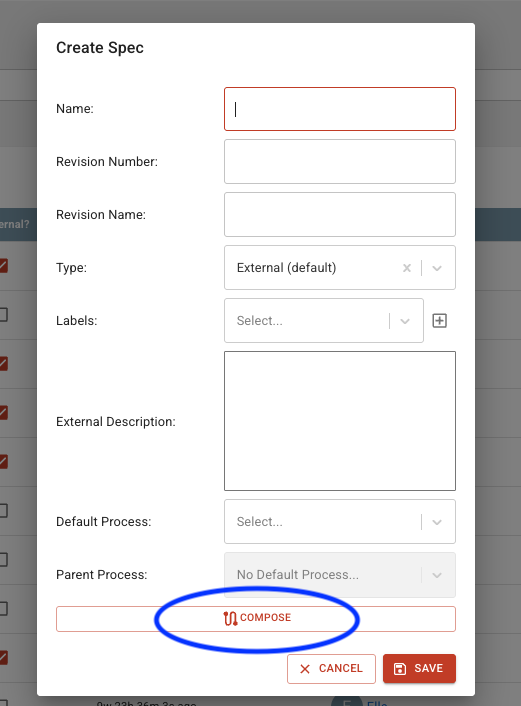
The Process Composer is a highly configurable map of all the Process Nodes you wish to include in the Process to be associated with that Spec. Add or remove Process Nodes as needed. When you click SAVE, the Process you've created is also available to use and adapt for other Specs you may enter.
Even with a default Process in place, the Spec still needs to be linked to an individual Node via Spec Field Assignment, and with established Parameters, to collect data.

Quality Assurance Nodes for Spec Review
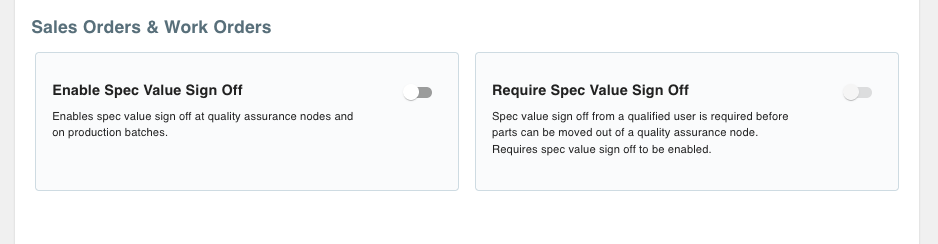
For quality assurance verifications, you can require a review for any or all Spec values, and can optionally require a signoff to move Parts along following Spec value collection.
Along with making sure that whoever will perform Spec review has "Read: Spec Review" permission enabled on their User Pages, there are also two Domain settings to activate for full functionality in your Domain: "Enable Spec Value Sign Off" and "Require Spec Value Sign Off":
Add a Node of Type "Quality Assurance Node" to a Process where you'd like to review Spec measurement results before allowing work to proceed. Assign a person who has been granted the "Read: Spec Review" permission:
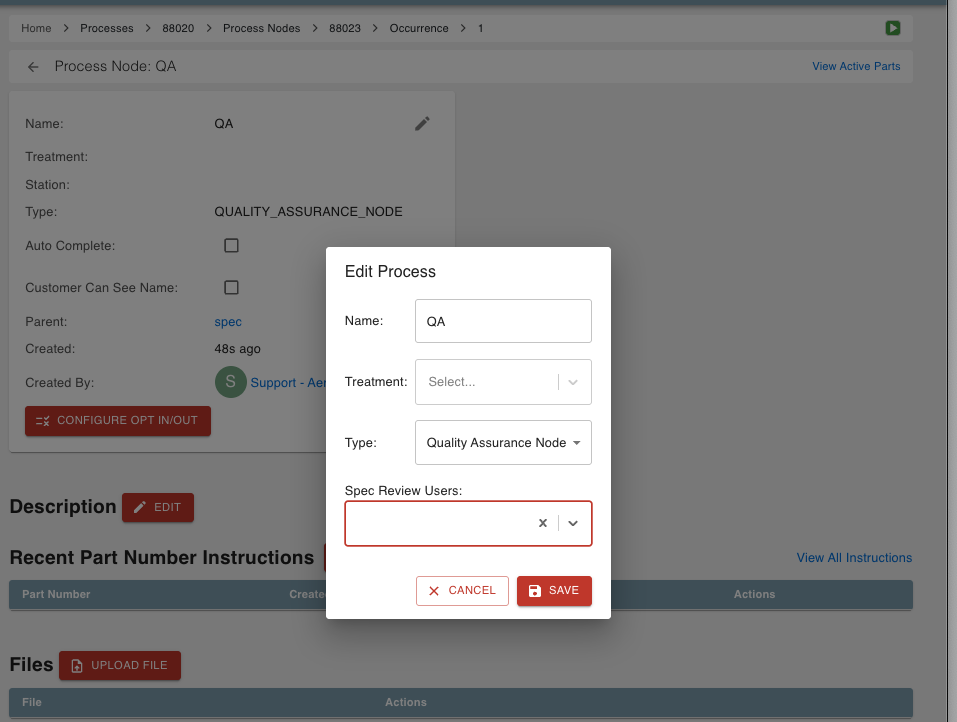
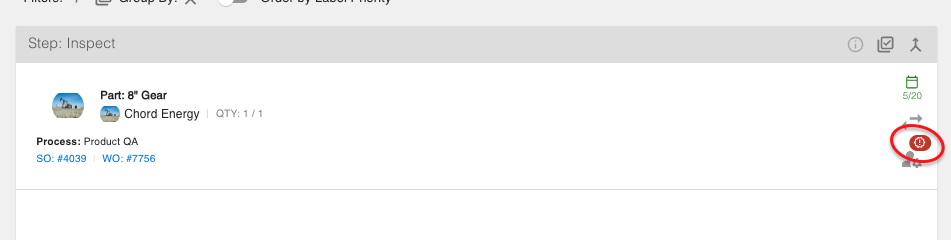
Now when Parts are stepped through the Process to the Quality Assurance Node, they will not be able to be moved without approval:

The Spec results may be reviewed from the Work Order, or from a Workboard created for the Quality Assurance Node. View the results and click on PASS or FAIL. The Parts will then be freed to step forward:

If all required measurements are entered but a Spec Review is required, the Workboard and Work Order will show a red "Stop" icon:
Complete the Spec Review as noted above. The icon will disappear.
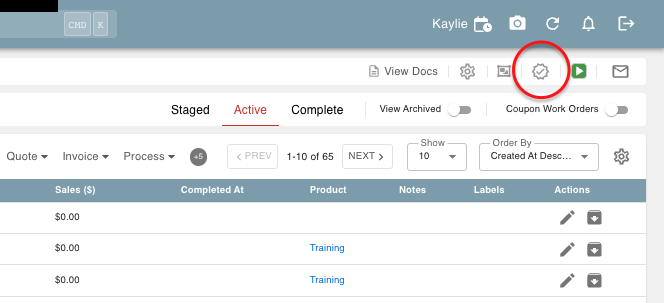
Current and past Spec Review sign offs can be viewed in the Spec Review tables by clicking the "certified checkmark" icon in the top menu bar:
Spec Review Assignment
- Spec Value reviewers can be assigned at the Quality Assurance Process Node and cascade to the following Recipe Nodes, or can be assigned solely to the Quality Assurance Recipe Node. Spec reviewers or Contract Review Users can not be cascaded to previous Recipe Nodes.
- All pending and completed Spec Reviews will show on the Work Order Page.
Specs on Specs
A Spec will sometimes contain a set of measurement requirements that are all included in another Spec. Or, a Spec published by one authority will require the inclusion of another. Rather than configuring the Spec Fields again individually, you can simply reference a saved Spec to add all its fields and processing associations to a parent Spec.
To reference a Spec, open its parent in the Specs Dashboard and click on +NEW REFERENCED SPEC. Find or select the Spec which only contains Spec Fields that are also to be included in the parent. Click SAVE. Now the referenced Spec is included as a component of the referencer parent Spec, and is included on the parent Spec page under Referenced Specs.
--
Was this article helpful?