- Print
Prioritization Overview
- Print
Prioritization
The Prioritization dashboard is used to rank work within your shop. Assigning rank to Part Accounts will quickly tell operators the order in which to process jobs.
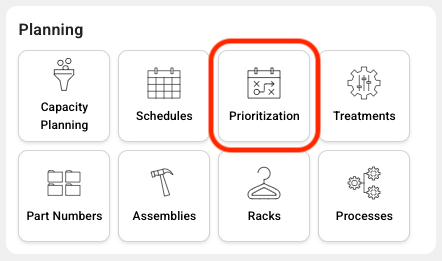
From your Steelhead Homepage, select the Prioritization tile in the Planning Section.
Prioritization Main Page
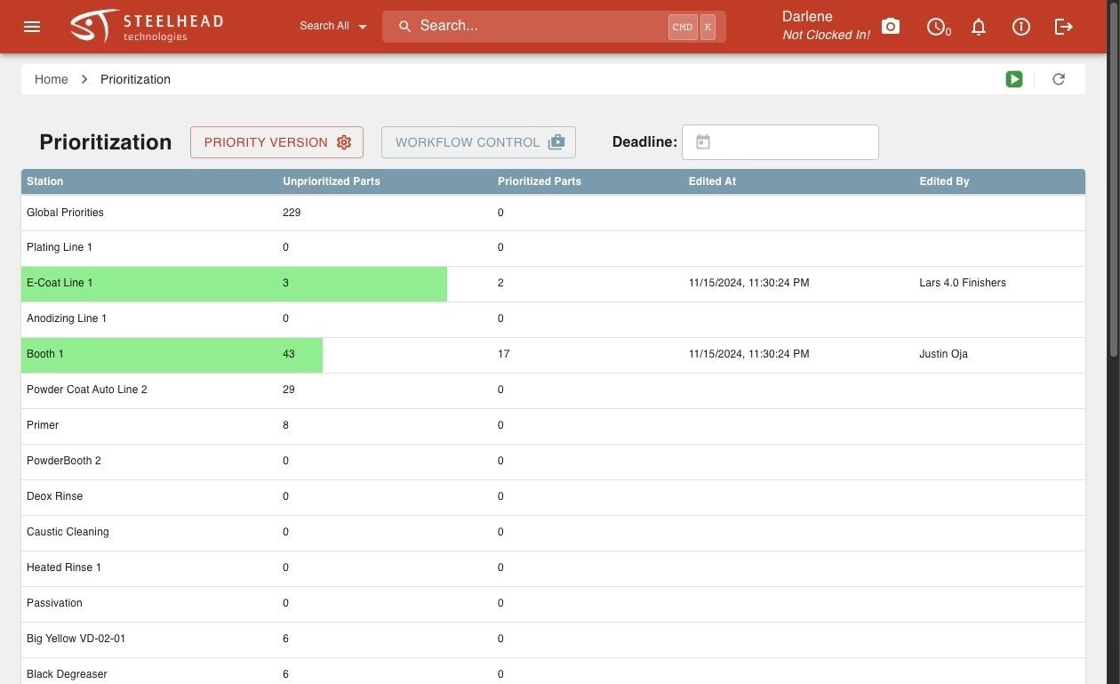
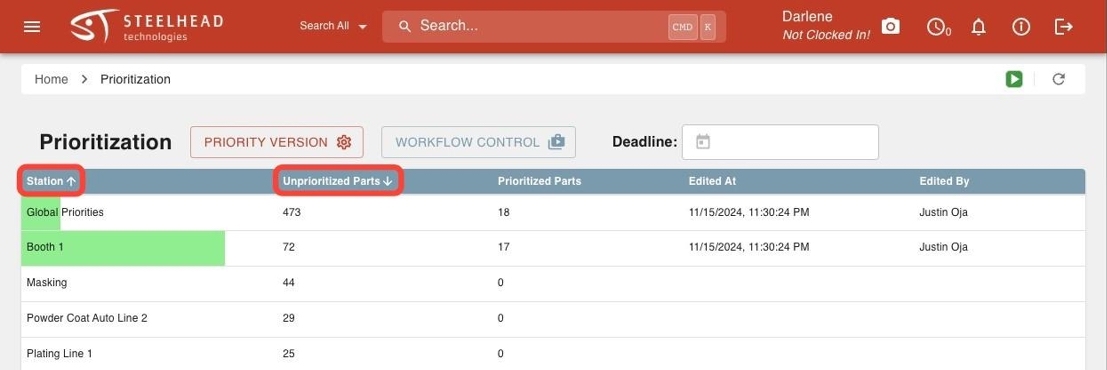
On the Prioritization page, you will see a list that includes Global Priorities and all Stations that have Parts that you can prioritize.
The table includes:
- Station name.
- Unprioritized Parts: Count of how many Parts in that Station have not been prioritized.
- Prioritized Parts: Count of how many Parts in that Station have been given priority.
- Edited At: Date and Time when the Prioritization of that Station has been edited.
- Edited By: Name of User who edited the Prioritization of that Station.
- Green highlighter that signifies the percentage of Parts that have been prioritized per list.
In order to be Prioritized, Part Number Treatments must be applied to both a Work Order and a Station.
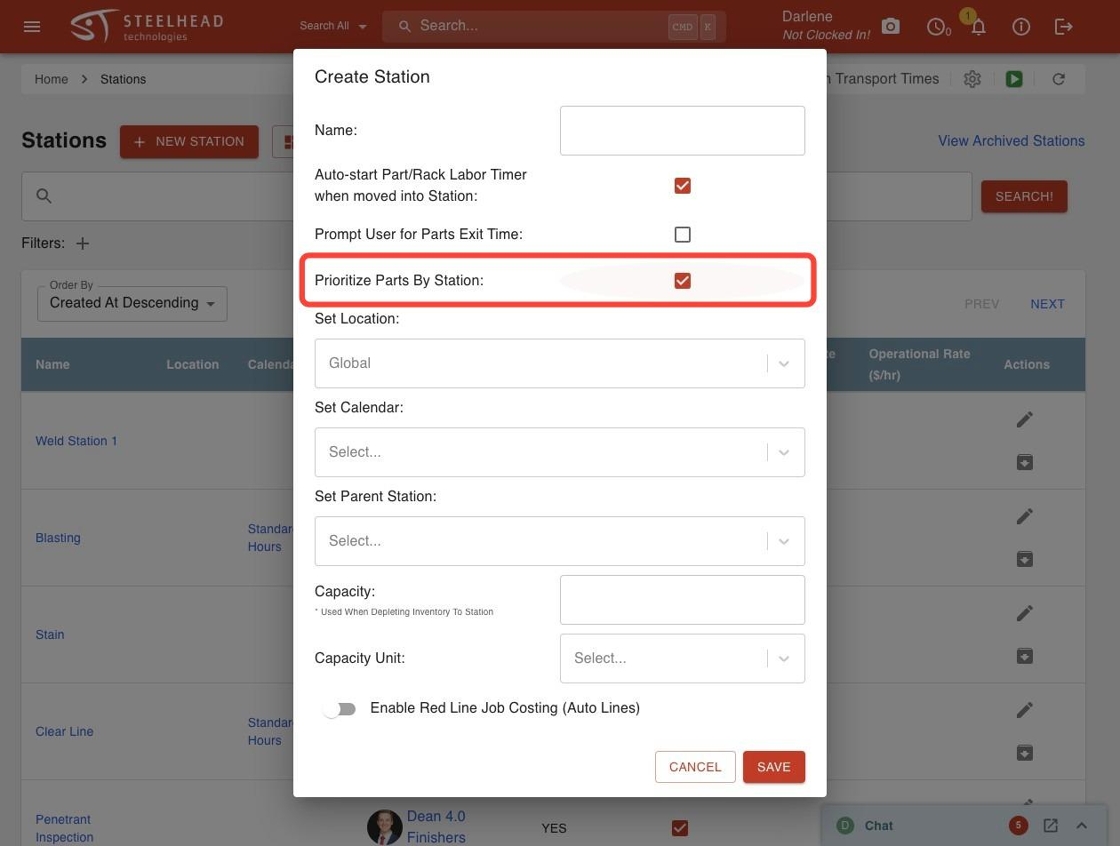
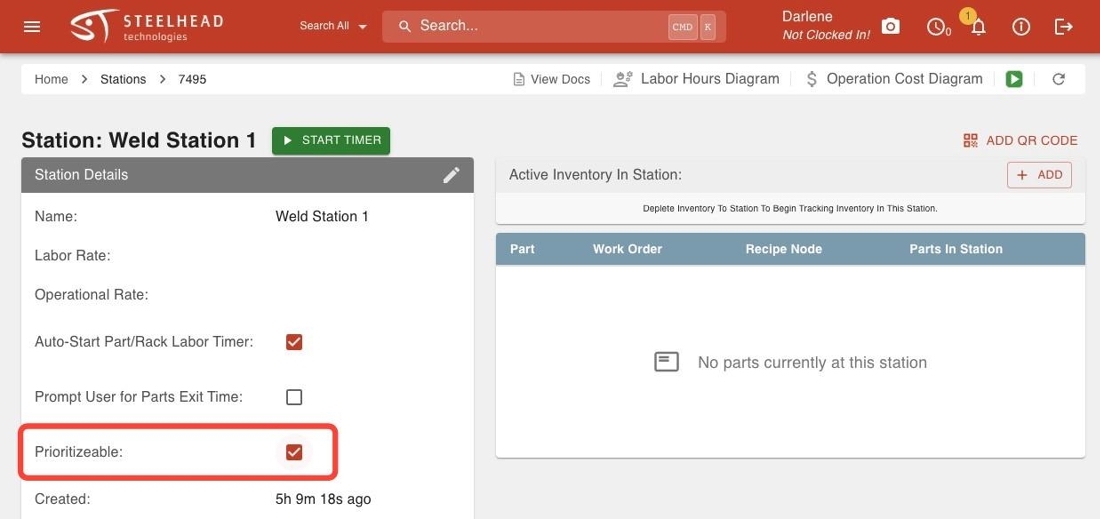
Users may select which Stations can have prioritizable Parts.
- From the Stations dashboard, click the checkbox in the Prioritizable column next to the corresponding Station.

- When creating a new Station, select the Prioritize Parts By Station checkbox.
- Within the Station page, select or deselect the Prioritizable checkbox.
Sorting
Select a Column Heading to sort the table by that column. Click the heading again to switch from Ascending to Descending order. The column sorting will stack on each other; sorting by one column does not cancel out the sorting of any other columns.
Across the top of the page are options to filter what is displayed in the table.

Priority Version
Priority Versions are used to simultaneously prioritize the same Parts in different orders based on various needs. For example, you could have a "Price" Priority Version, "Job Size" Priority Version, and a "Customer" Priority Version where you order the same jobs differently, depending on the Version.
To change your Priority Version, click the PRIORITY VERSION button and select the desired Version from the dropdown.
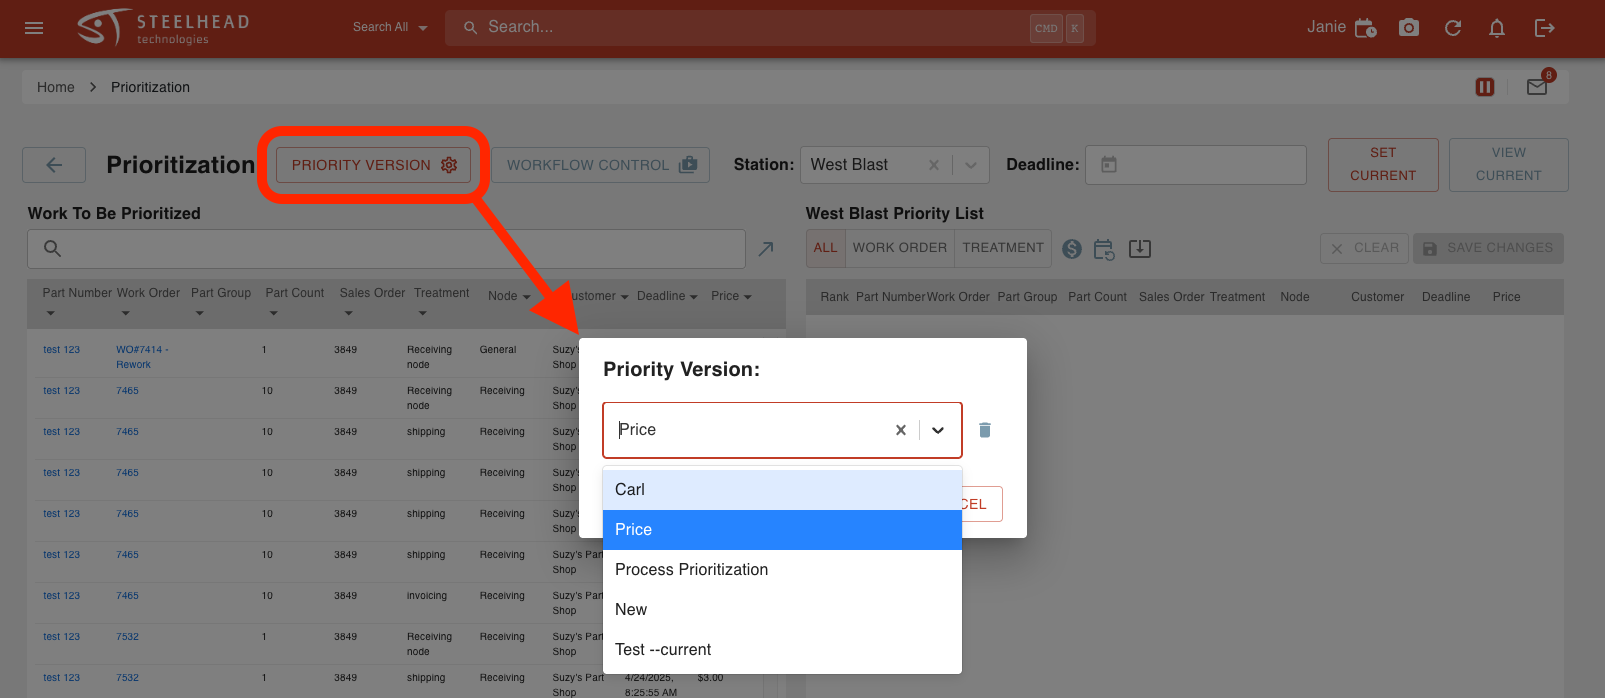
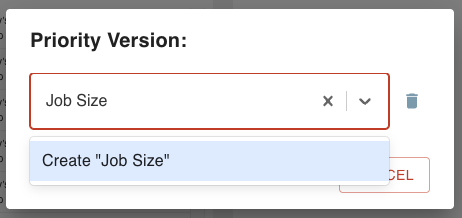
You can also create a new Priority Version from here by typing in a new name and clicking Create.
Set one Priority Version as the "Current" Version to communicate which Prioritization list your shop is currently using. To set a Priority Version as "Current" click the SET CURRENT button in the top left corner of any Prioritization page. You can also use the VIEW CURRENT button to quickly jump to the "Current" Priority Version.
Note: These buttons don't appear while you're viewing the "Current" Priority Version.

Workflow Control
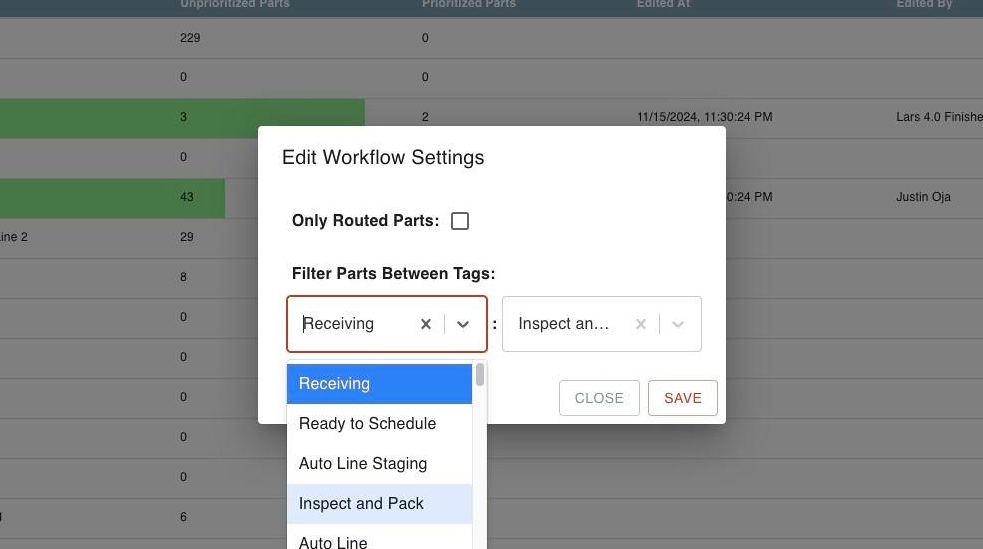
Use Workflow Control to limit the range of available Parts you would like to prioritize.
- You can choose to view Only Routed Parts
- Checking this box will give you all the Parts that have a current route associated with them.
- Use the "Filter Parts Between Tags" drop-down options to further focus only on the work that is at or between the selected Tags. If a Tag is not specified, all Parts before or after the defined start or end Tag will be included.
Deadline
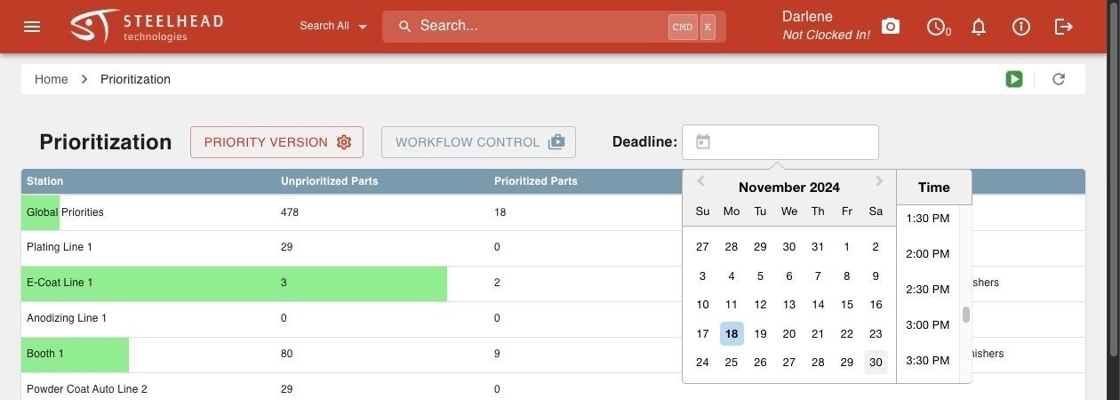
Select a date to see jobs which have a deadline set to match or precede that date.
