Creating and Managing Locations
- Print
Creating and Managing Locations
- Print
Article summary
Did you find this summary helpful?
Thank you for your feedback!
You can create new plant Locations or Locations within plants from the Locations Dashboard, found by clicking the Locations Tile within the Configuration Section of the Homepage.
Creating a New Plant
Allows you to create multiple plants or warehouses that are separated but part of the same company .
- From the "Home" page, click on the "Locations" tile.
- Click the "New Location Type" button.
- Copy from existing Locations.
- Additional Locations within this "Location type", or building/group of buildings, can be added by creating Locations within plants as shown below.
Creating Locations within Plants
Refers to physical Locations that are contained inside of the same plant or warehouse.
- Choose the plant that you want to add Locations to.
- Click the +New [Plant Name] button.
- Copy Locations from existing locations, or create new Locations.
- To create multiple new Locations at the same time, enter a "Count" to accommodate your organization.
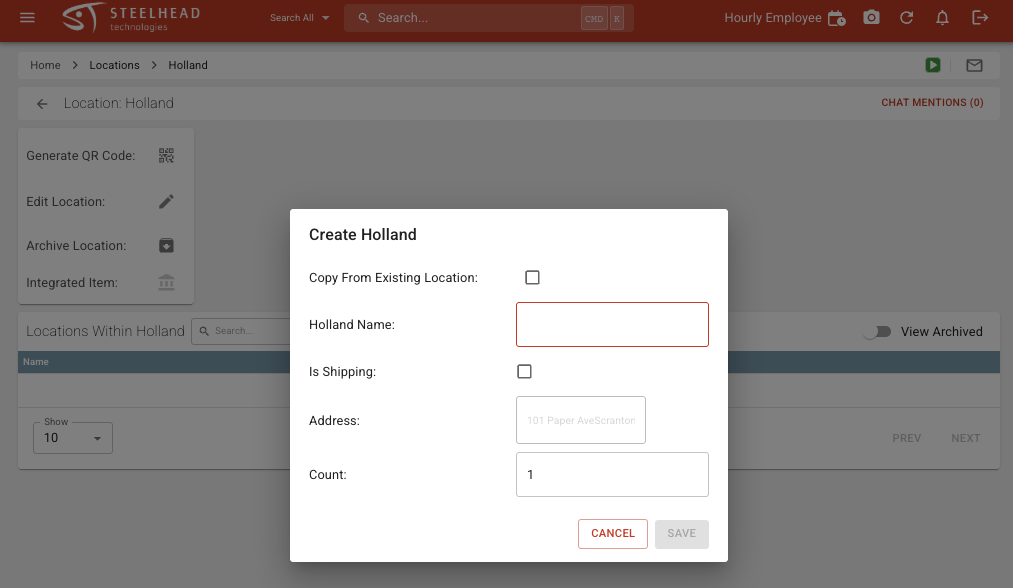
- To create multiple new Locations at the same time, enter a "Count" to accommodate your organization.
Demonstration video: Locations within plants
Within each new Location, you may create a new Location type and populate it with more Locations.
* This is useful for quickly creating storage information for warehouses that include many aisles, rows, shelves, etc.
Filtering the Locations Dashboard
Use the toggle switches on the Locations Dashboard to quickly view Empty Locations, Child Locations, or Archived Locations; or these categories in combination:
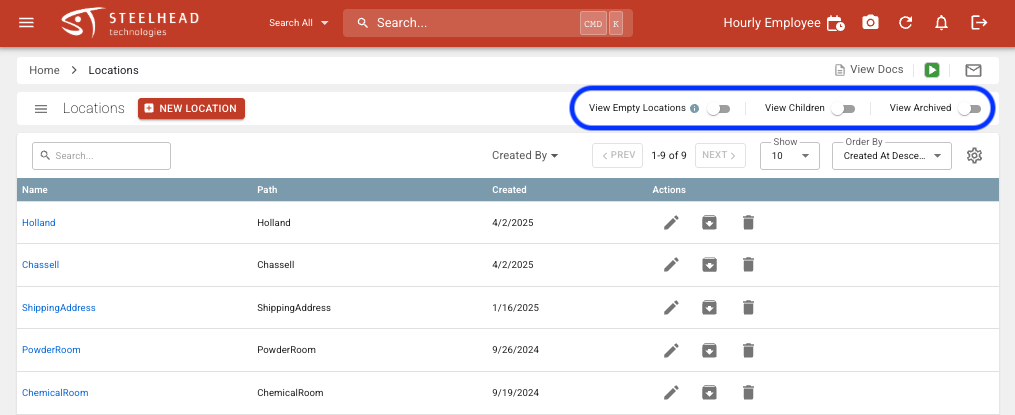
- Empty Locations are those that have no current Work Order Parts or Inventory Items assigned.
- Children are Locations within Locations.
- Archived Locations are those that have been removed from use.
Was this article helpful?