Job Tags
- Print
Job Tags
- Print
Article summary
Did you find this summary helpful?
Thank you for your feedback!
Overview of Job Tags
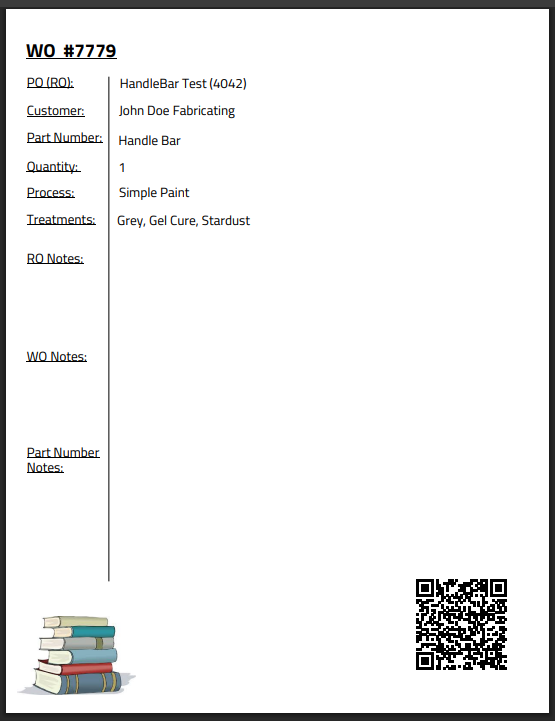
Job Tag PDFs are printable data-access forms that accompany Parts belonging to a Work Order through the plant or shop. Job Tags provide basic information and notes that every Station operator is able to reference. They include QR codes for scanner steps in the Processes.
Print Job Tag
To print out a Work Order Job Tag, click the "QR CODE" button on the Work Order page. Select either the regular or verbose Job Tag template.
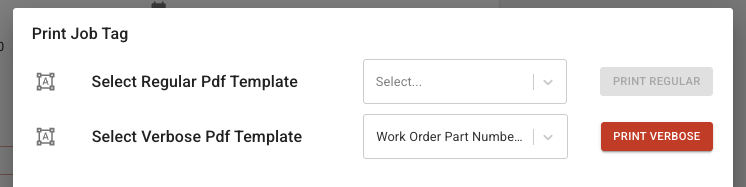
The print button opens a popup. If the popup is blocked by your browser, please select the "popup blocked" button after pressing the print button.
Job Tags can be customized. Common sections on Job Tags include:
1. Work Order Title
The Work Order that the Job Tag is attached to.
2. Purchase Order and Sales Order
The Purchase Order is the ID record of purchasing this part from supplier companies. The Sales Order is the order placed by the customer, which may contain many parts.
3. Customer
The name of the customer who ordered the work.
4. Part Number
The Part Number identifies which type of parts are included in the Work Order that the Job Tag is attached to.
5. Part Quantity
This is the amount of the specific part number that has been ordered.
6. Process
The Process shows the type of work that will be done on the Work Order.
7. Treatments
The Treatments are the specific steps that need to be performed on the Work Order.
8. Sales Order Notes
Notes entered on the Sales Order. These notes apply to all Part Numbers and Work Orders on the Sales Order.
9. Work Order Notes
Notes entered on the Work Order. These notes apply to all Part Numbers on the Work Order and the Work Order at large.
10. Part Number Notes
Notes entered on the Part Number. These notes apply to only the individual Part Numbers.
11. Company Logo
The customer's logo can be displayed on Job Tags for quick identification.
12. QR Code
The QR code opens the Work Order page for the Job Tag. This is useful for quickly finding more information needed for the parts.
Adding Specs to Job Tags
To include spec information on Job Tags, the specs must be included on the Process Nodes that the Part Numbers will pass through.
For example, if a part number on the work order has the specs "Powder Spec" or "Zinc Barrel Clear Trivalent", these specs must be added to the relevant process node. This will ensure that the spec information is displayed at the right step.
To do this:
- Navigate to the desired process.
- Scroll down to the process tree.
- Select the node where the spec field should appear.
- Select the hyperlink showing the process node that your station's recipe node derives from.
- Scroll down and click the "+ ADD SPEC FIELD" button.
- Select the specs you want to show on the Job Tag.
To learn more about how Specs and Recipes can interact, watch this video:
Adding Received Time and User to Job Tags
To include metadata information on Job Tags (who processed a Work Order, and when), you will need to open the PDF editor manually.
- In the Work Order, press the QR code button and then the "framed A" (edit PDF) button.
- A similar looking button should be pressed in the Actions column of the next page, on the PDF Template shown to be selected for use.
- Once this menu is opened you can choose a field in the template.
- Then click "Insert data Field" in the right-hand sidebar.
- Finally, select the "received batches" option in the table that appears.
Extra info for Stations used on Work Orders:
To quickly see User and Timer info:
- Go to the margin report on your WO and choose "billed hours".
- Sort labor hours by station to find out which of your workers had timers running, and for how long.
- Also, you can click on any of the ID numbers under Part Transfers labor and it will pull up more information that may help you.
Was this article helpful?