Shipping Troubleshooting
- Print
Shipping Troubleshooting
- Print
Article summary
Did you find this summary helpful?
Thank you for your feedback!
Parts Not Done Invoicing
In order to complete Parts that may appear to be stuck in Invoicing:
- Click on the Shipping Tile from your Steelhead Homepage.
- Click on "All Packing Slips", and then toggle on "View Not Invoiced."
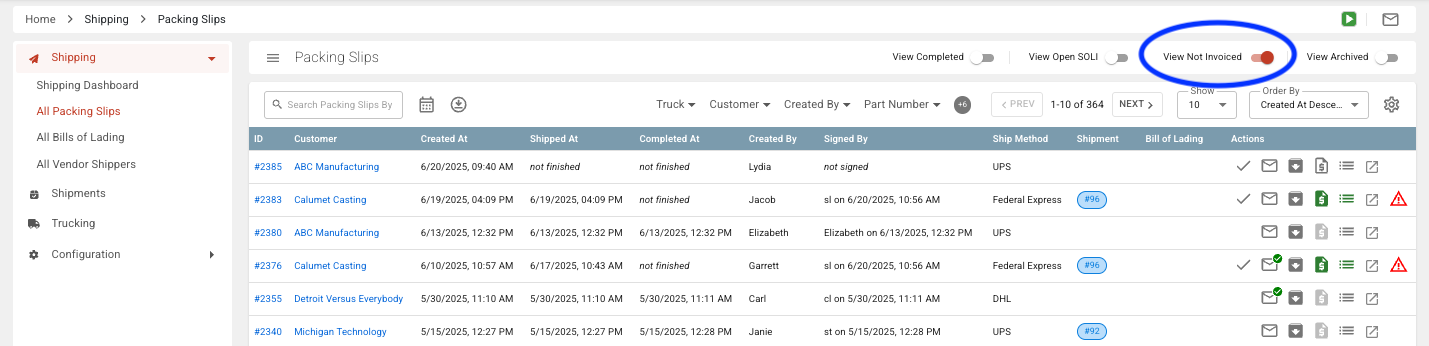
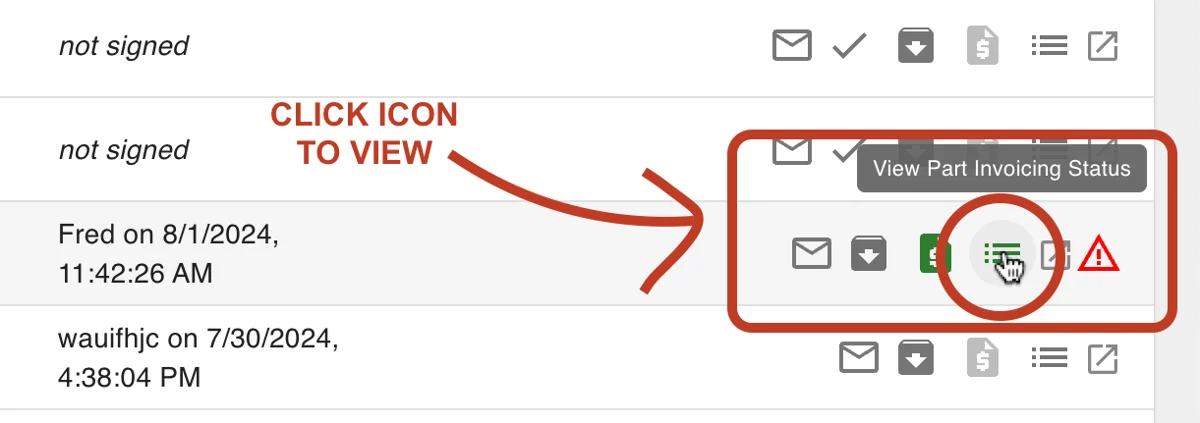
Scroll down and look for the red triangle Warning icon. Clicking it will open up a dialog box, which explains why Parts cannot be invoiced and gives possible corrections.

Click on the green icon, "View Part Invoicing Status."
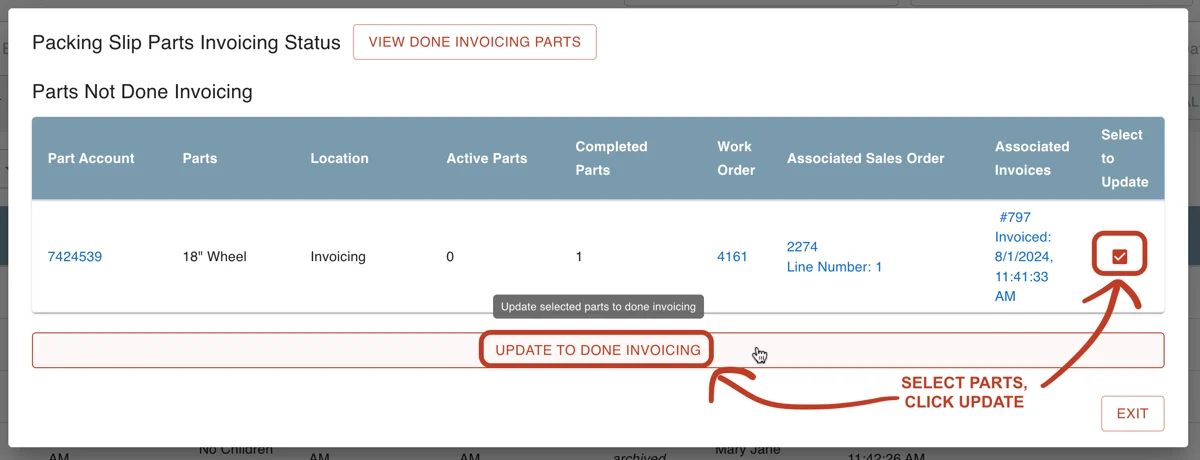
5.Select the checkbox next to the Parts you want to complete, then click UPDATE TO DONE INVOICING button.
Failure to Complete Parts
If you see an error when you press "complete parts" on a Packing Slip, here are some things to try:
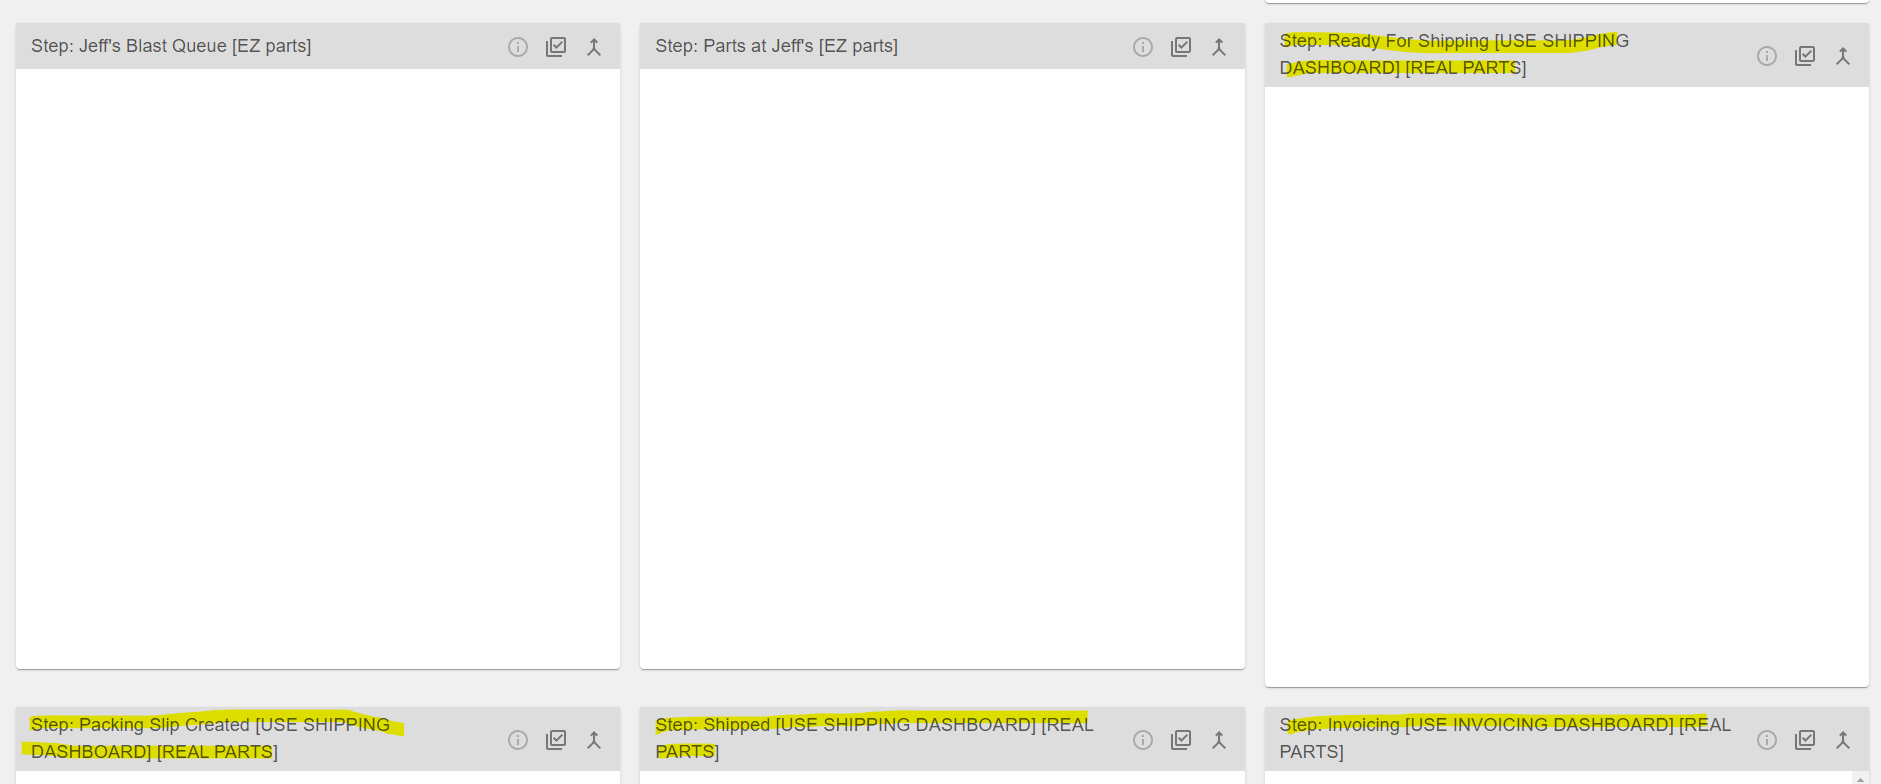
- Your Parts may have been moved to invoicing from somewhere besides the Shipping Dashboard.
- This may be caused by the presence of extra locations that don't do anything, removing them may help.
- Similarly, extra or unneeded workboards may cause this too:
Identify Parts on Hold
If you would like to see which Parts are on Quality Hold, here are some things to try:
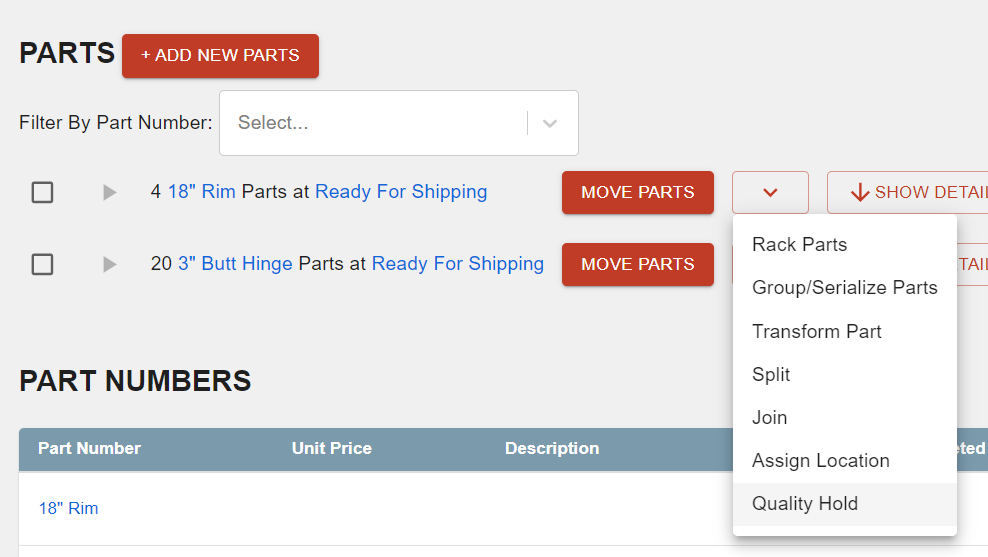
In the QMS system, they will display like this:
In the Shipping Dashboard they will display like this, with a triangle warning sign:
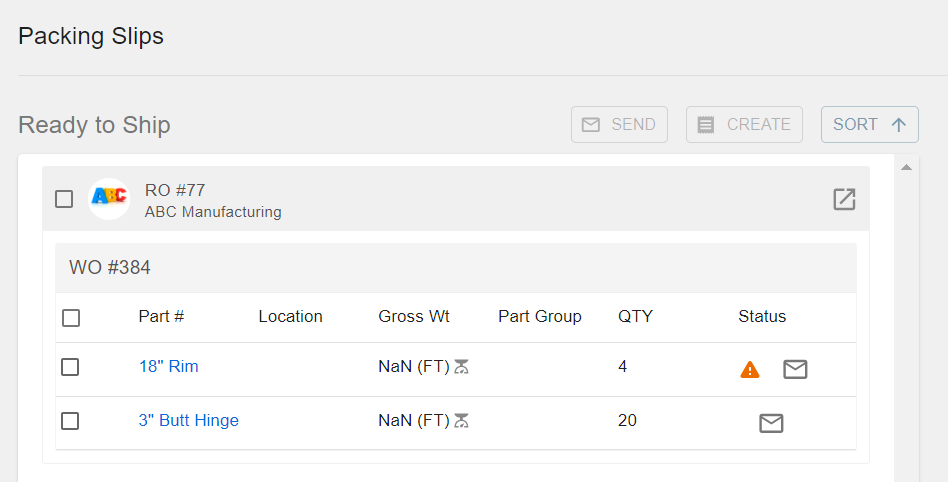
Once the Packing Slip is created the PDF will not note any Parts that are being held. In general Parts are put on hold before reaching the shipping stage, and it will not let you move held parts. Additionally, you are be able to add Packing Slip line item descriptions upon Packing Slip creation.
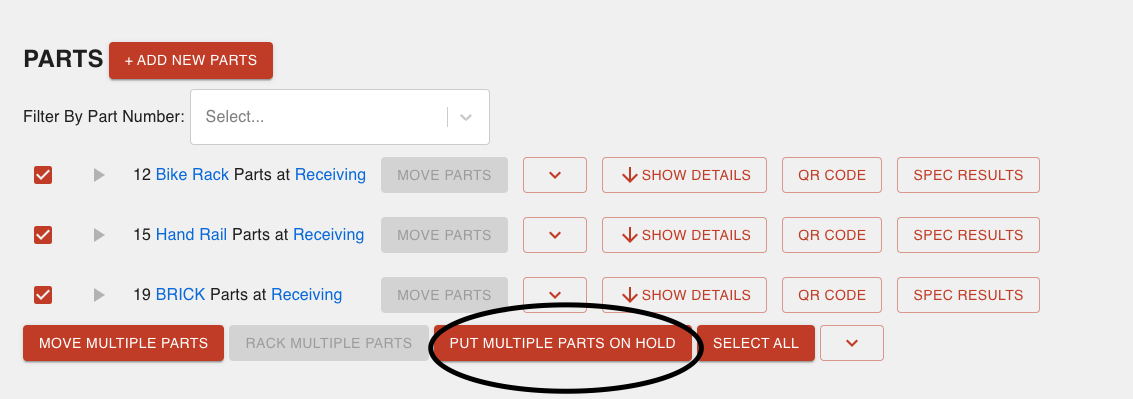
Multiple Parts on Hold:
To put multiple Parts (or a whole work order) on Quality Hold, use this button:
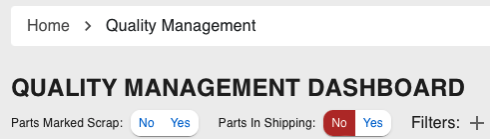
Filter for Quality Hold:
Steelhead gives you the ability to filter Parts on Quality Hold:
- By whether they have been scrapped.
- And whether they are returning to customer.
Packing Slip lists more or less Parts than it should
If one of your Packing Slips carries listings for Parts that it shouldn't, here are some things to consider:
- In all likelihood, extra and possibly empty columns have been included into this Packing Slip which shouldn't be.
- To fix, remove extra columns that may be blocking further Parts of a process like shipping or maintenance.
- If you would like to take Parts off, it's best to uncomplete the WO, and then delete the COMPLETE part transfers for all part numbers that need a new Packing Slip.
- Once that's done transfer the Parts back to "Ready for Shipping" and recreate the Packing Slip.
- Then you can then complete the parts/WO without re-invoicing them.
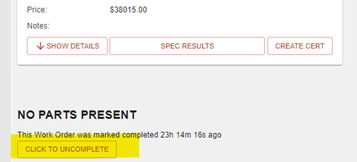
To Uncomplete Shippable Work Order and Revert Part Transfers:
- In the Work Order page, look for the CLICK TO UNCOMPLETE button and click it.
- After you complete this step, scroll down and click into Part Transfers.
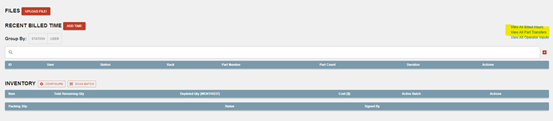
- Next revert the completed Part Transfers and they will move back to the Invoice Node.

- Return to the Work Order and transfer the Parts to the Ready for Shipping Node, from there you should be able to create a Packing Slip at the Shipping Dashboard.
- Once you have completed that step fully, return to the Work Order and complete the Parts again.
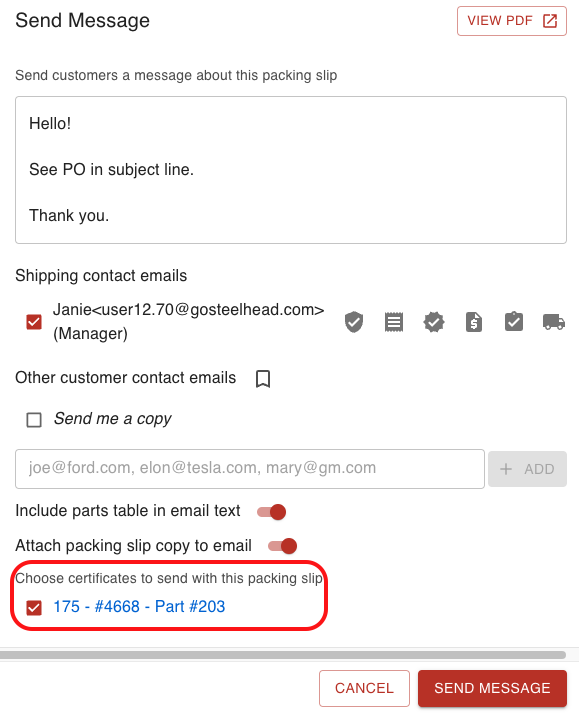
Connect Certs with Packing Slips
If you would like to send a Cert alongside a Packing Slip, here are some things to consider:
- Currently in Steelhead, the only way to send a Cert with a Packing Slip would be at the Packing Slip Drafts status (before it's finalized):
Managing Packing Slip Emails:
If you do not want the Packing Slip Draft step in shipping to make you send an email before moving on or making you deselect people to send the email to, follow these steps:
- Go to the Shipping Dashboard.
- Select email settings in the "Configure" part of the sidebar menu.
- In the "Packing Slip Finalized" section, turn on the "Disable on Finalize Transition" toggle.
Packing Slip Signed by Accident
If one of your customers signs a Packing Slip by mistake, here are some things you could try:
- The signature cannot be edited, but the Packing Slip can be archived and resent.
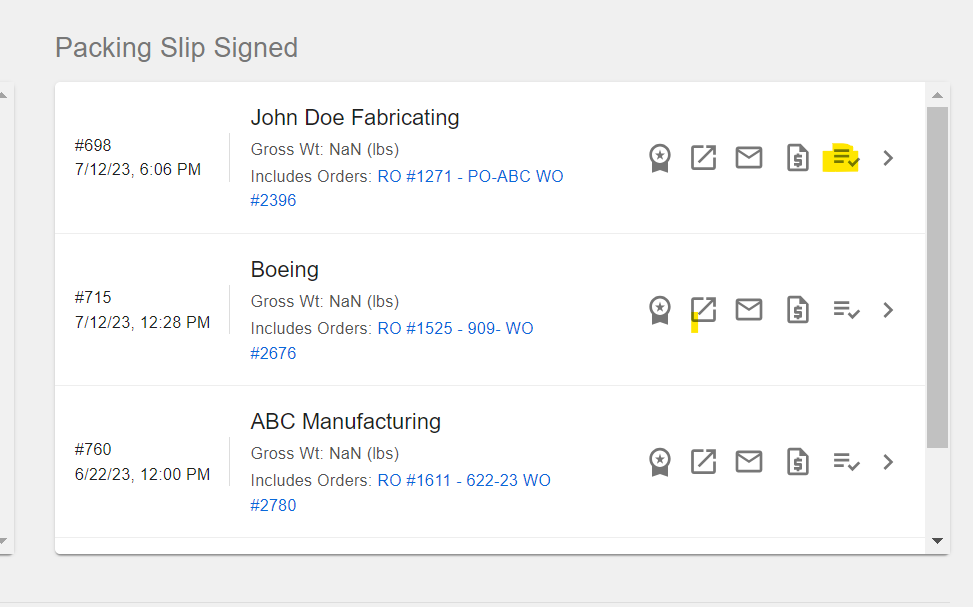
- This is the menu visible on the Packing Slip screen, press the highlighted button.
- This is the menu visible on the Packing Slip screen, press the highlighted button.
- From there you should see this popup:
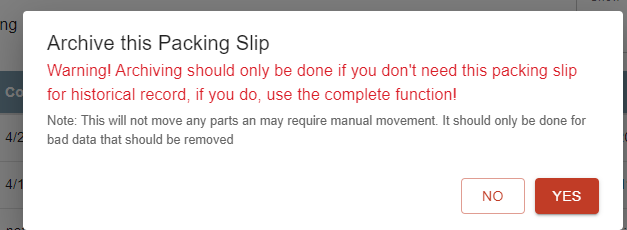
- Once that is archived you can go back into the work order, transfer those Parts back to "Ready for Shipping" and recreate that Packing Slip.
- This will provide a different Packing Slip number than the original.
Faulty Part Step from Shipping
If your Work Order fails to move from Shipping to Invoicing, here are some things you could try:
- Consider the active shipping quadrant.
- If you are not using the 4th shipping quadrant to complete shipping, the Parts get stuck in the shipped process node, and then need to be moved (on the work order) into the invoicing node to show under the ready to invoice filter.
- If you are using the 4th quadrant to complete shipping, the Parts automatically get stepped into the next node, invoicing.
How to move with a part transfer:
When there are Parts in shipping and you need to transfer, select the box next to the part number and go down and choose "move multiple parts". Then transferring will be enabled. From there choose "transfer" and you can pick the process node you'd like to move it back to.
- To run two Parts for the same customer through different processes, it may help to use two part numbers and have them go through different processes, seeing as you have to invoice separately for them.
- However, they should be kept on the same SO each time you use them so that you have a reminder between that and a part description that this is a unique order.
Prevent Racked Parts from being Shipped
If you would like to only ship unracked parts, here are some things to try:
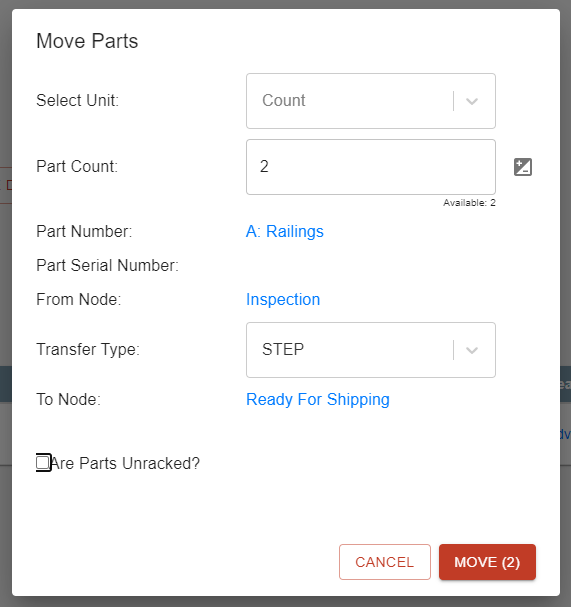
- You can always select this checkbox before moving the Parts to ensure that only racked Parts are moved:
Note:
It shouldn't be a significant problem if racked Parts are shipped by accident. The best thing here would be to unrack your Parts on the work order, and nothing in shipping should be affected.
Attach Pictures and Signatures
To attach pictures to a shipment, use this button shown on the Shipping Dashboard while it is in the drafting stage:

Then once it has been finalized, you can add signatures with this button:

Trouble Finalizing
If you are having trouble finalizing, try clearing all your "cookies", and refreshing the page.
Change the Quantity of Parts on a Packing Slip
If you would like to change the Quantity on a signed Packing Slip, here are some things you could try:
- The way that the Packing Slips are set up is that they reference the Parts that you selected when the Packing Slip was created.
- The Parts are then moved through the shipping nodes as the Packing Slip completes each step on the Shipping Dashboard.
- So, changing the part number on a completed Packing Slip would mean that the Parts are "orphaned" in the shipping nodes.
- This is why you can't edit the part number once the Packing Slip is created, it makes editing the slips harder, but it prevents Parts from getting lost from orders.
- Depending on where the Parts are and if they're completed or not, it might be easier to transfer those Parts back to "ready for shipping" and recreate the Packing Slip, because the way that the software moves the Parts requires it.
- If you think of the Packing Slip as a bucket that carries the Parts through each step of shipping, and then at the end you change the quantity of the Parts that are in the bucket, then the Parts that were removed are "nowhere" in the software.
- Adjusting the quantity at the end would retroactively invalidate the previous part transfer history records of which Parts were at each node at what time, which is why it's not possible to do currently.
Already-sent Packing Slips:
If you update a previously sent Packing Slip to have a different quantity, a customer can have two copies of the same Packing Slip (with the same ID) that show different part quantities. It may be best to create a new Packing Slip with a new ID number. Confusion could arise either way.
One possible solution (if you go the route of creating new) might be to include a "revised from Packing Slip #XXX" in the description of the new Packing Slip. This way there is some form of audit trail.
Edit Ship-to or Bill-to Address for a Customer
If you would like to edit these addresses, here are some things to try:
- If your customer has already synced over to QBs we actually can no longer edit those options, you will have to make the changes in QBs.
- You can tell if a customer has synced over if this house looking icon under the actions column is a dark grey.
- If that is not the case with the customer you are trying to edit, feel free to contact Steelhead CS.
- Alternatively, when entering in a new sakes order, you can select the "update address" button and it saves the defaults.
- In order to Invoice you should first select a ship to address or set is as same as the billing address.
Combine Multiple Packing Slips
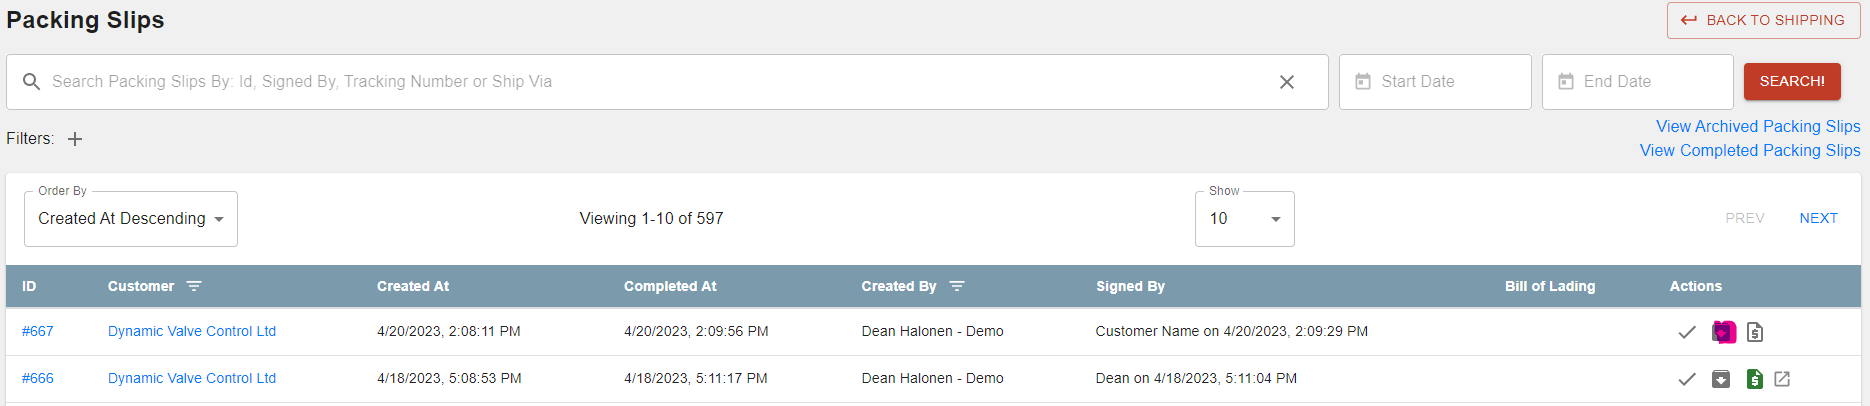
If you have multiple Packing Slips you'd like combined and just signed once, here are some things you could try:
- This needs to be done in the Packing Slip drafts box, where you can select all Packing Slips under that customer you'd like combined.
- Then click combine to master, and then step the master Packing Slip to the finalized card.
- If you want to do it from the Packing Slip Finalized box you have to create a shipment, and then you can sign for the shipment and that signature will apply to all Packing Slips.
Tutorial video: Combine Packing Slips to one Shipment
To do this, use the "Combine to Master" Packing Slip feature from the drafts box.
Was this article helpful?