Process FAQs
- Print
Process FAQs
- Print
Article summary
Did you find this summary helpful?
Thank you for your feedback!
Scrapping Parts from the System
If Parts need to be scrapped from a Work Order, but need to be tracked from a quality perspective. In order to put your scrapped part in the Quality Dashboard, follow these steps.
- Parts should be put on a quality hold, and be marked for scrap.

- Then from the Quality Dashboard, the Hold can be removed with documentation created in regards to the scrap. This includes created Non Conformance Reports.
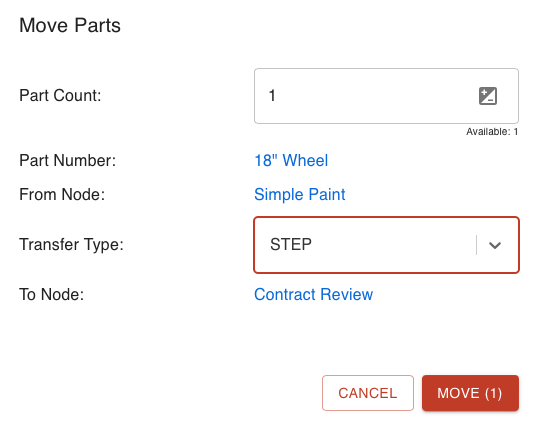
How to Scrap Parts through Quality
If Parts do not need to be approved from a quality perspective, move Parts and change the transfer type to scrap. You will still see the Qty Scrapped and the Scrap Rate on your Work Order in the Part Number table.
Rack Parts to Combine Data Gathering
If you would like a way for the timer and temperature Specs to populate all Part Numbers in the tank that they are processing at one time rather than clicking on each one to start the timer and record the temperature, see Racking and Unracking.
- If the Parts are on a Rack, you can take all measurements at once.
- If they are not on a Rack each Part measurement needs to be taken separately.
- To Rack Parts, they must all have the same Spec Fields and Treatments applied.
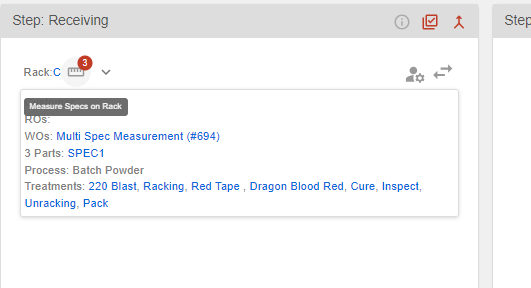
To Rack the Parts properly, press the button showing a person and a gear which takes you to the work Parts screen. Once there, select the Parts you want to Rack and then select the button to Rack them:

Send Parts to Location
If you would like to assign Parts to a specific destination in your shop, here are some things you could try:
- If needed, you can break up the Workboards by station and by location. So if you have two places — like 'Location A' and 'Location B' — and both have a 'Booth 1', you can make sure the Parts go to the right booth in the right place.
- A simple way is to assign a location directly in the Work Order, find the dropdown next to move parts, where you will find the assign location dialogue.
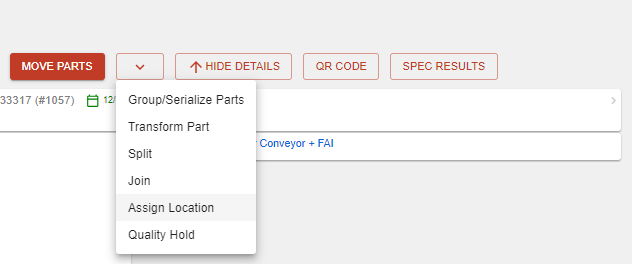
- You can also pick a location using the Work Parts button. When you're moving Parts to the next step, you can choose the next station and the new location. This lets you move Parts from one place (like Location A) to another (like Location B) as they go through the process.
Remove Duplicate Part Numbers
If there are unnecessary copies of a Part Number, here are some things to try:
The extra ones should be archived, this is possible from the Part Number by selecting the archived checkbox in the info card for this Part Number. Unintentional extra copies can possibly be recognized by things like empty descriptions and information that is incomplete or not up to date.
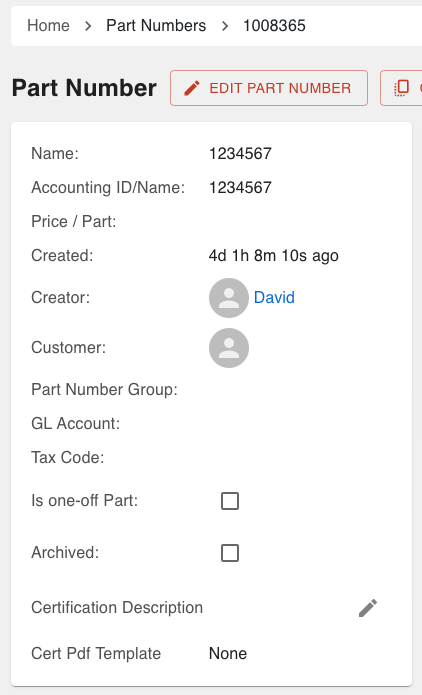
Part numbers can also be archived from the Part Number tile page, with the archive button.
Archived Part Numbers will be in the archived Part Numbers view on the Part Number tile.
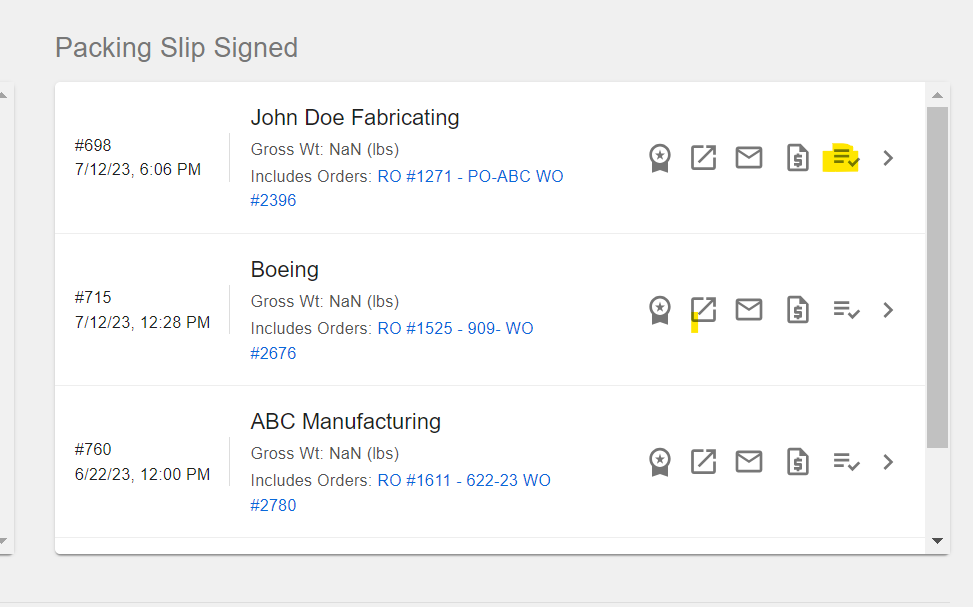
Work Order stuck in Shipping Dashboard
If trying to move Parts from shipping nodes from the Work Order, but everytime you move parts, your are brought back to the shipping dashboard;
- Consider the active shipping quadrant.
- If you are not using the 4th shipping quadrant to complete shipping, the Parts get stuck in the shipped process node, and then need to be moved (on the Work Order) into the invoicing node to show under the ready to invoice filter.
- If you are using the 4th quadrant to complete shipping, the Parts automatically get stepped into the next node, presumably the invoicing node.
How to move Parts from the shipping nodes to invoicing on the Work Order:
When there are Parts in shipping and you need to transfer from the Work Order, select the box next to the Part Number and go down and choose "move multiple parts". Then transferring will be enabled. From there choose "transfer" where you can pick the invoicing node.
Renaming the Work Order Recipe
A recipe can be renamed for a single Work Order, establishing a unique Recipe Name. This can be useful to give a job a distinct name to print on Job Tags.
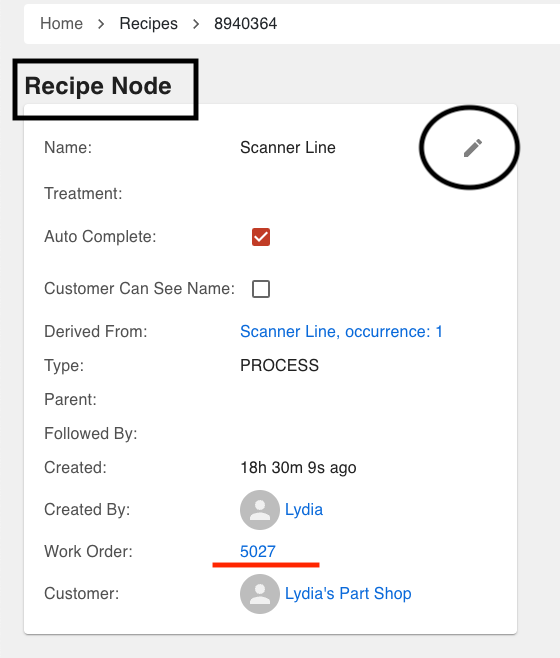
On a Work Order, scroll down to the Process Tree and click on the top Node with the Process name.
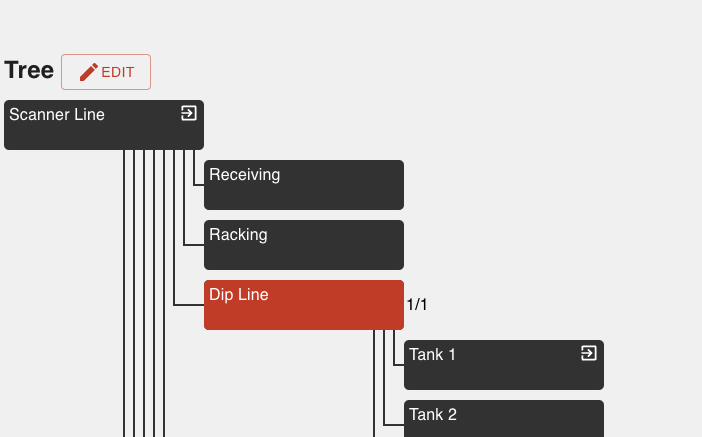
When you select the top Node and then scroll up, you will see the box for the 'Recipe Node' (this is how you know it is for just this Work Order). Select the edit pencil icon, and rename the Recipe to the new name.
After refreshing, navigate back to the Work Order to see the recipe changes. This will also update on your job tag.
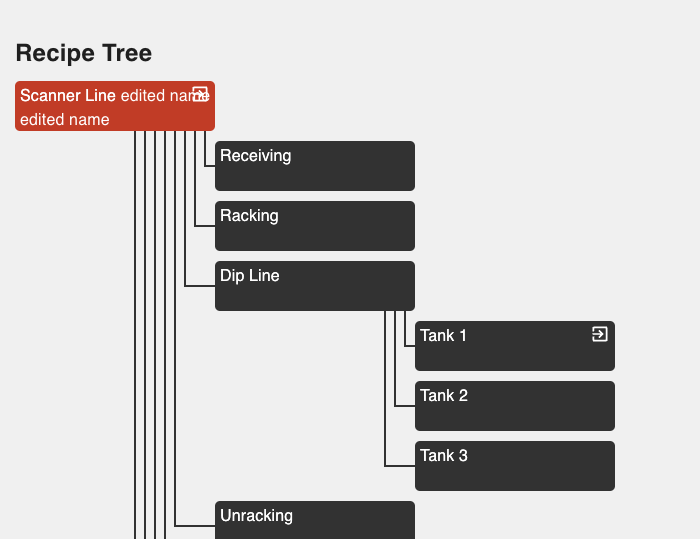
Unique Recipe names will also be established when recipes are created with the process composer at order entry, typically with the schema of 'Part Number Name- Process Name.'
Assign Default Process to a Part Number
- Navigate to the Part Number.
- If the desired default Process exists, select it from the Process Setup menu.
- The next time an order is received for this Part Number the Process will be defaulted.
- If the desired Process hasn't yet been created, go to "Edit Part Number", then Process Composer, and then create a Process for this Part.
- Create.
- Select from a default Process.
- Or use Process Composer to create a new Process that will be stored with that Part Number.
- Save
Adding a Recipe Node to an Active Work Order
If a Work Order has already been created, however an opt in has been missed, or perhaps the recipe was composed incorrectly, here is how to correct:
- If Parts have already moved past the point in the recipe where you wanted to add the missing node, you will notice that the recipe is greyed out when editing the tree, rendering the tree uneditable. In order to add this node back in, create a rework for this part and compose a new Recipe for the Rework Work Order.
- Otherwise delete the part transfers to move the Parts back to a previous step before the position for the missing Node.
Incorrect Process Changes
If a process was composed or changed incorrectly, this can be reverted with the following steps.
- From the Steelhead homepage, navigate to the process tile, and find the process that has been configured incorrectly.
- If a past version of the process is correct, ensure that you are clicked into the parent node of the process.
- On the left hand side of the process click on 'View History,' select the version of the process that you would like to restore, then of course, click restore version and save.
Extra Guidelines
Restoring past versions of Process Trees does not include Process Node name changes.
Deletions are not tracked under Process Tree history.
Part Number Instructions
Each Process Node can have its own instructions, visible to operators. These instructions are Part Number specific.
If you would like to set these up, click into the appropriate Process Node, and add new instructions.
- If instructions are for all Part Numbers, do not select a Part Number for the instruction; simply write the instructions in the markdown editor and click SAVE.
- If the instructions are for a specific Part Number, select the Part Number, then write instructions in the markdown editor and SAVE.
These instructions will be visible on the Work Order underneath Show Details, or when working Parts on a Workboard.
Unable to Restore General Node to Parent Node in a Process Tree
If a Process was made without a Parent Node, this Process will not show up in the Processes list unless the Node is changed to a Root Node.
- Add a Tag to the Node in the Process that should be switched to a Root Node.
- From the Process page, filter by that Tag, and edit the Process Node to the Root Node.
Shared Node hierarchies
If a Process Node is shared and one of the Processes that it is under already has a Parent Node, you will not be able to associate it with an additional Parent Node.
Unable to Change a Process Node Type to Staging
If a Process Node has a Station assigned, you will not be able to change the Node to a Staging Node.
Was this article helpful?