Part Numbers
- Print
Part Numbers
- Print
Article summary
Did you find this summary helpful?
Thank you for your feedback!
A Part Number is an alphanumeric text identifier for an item which may be entered on Quotes, Sales Orders, and so on. It designates a product or component. They are generally associated with a certain Customer, but can be created without one.
Part Numbers inform most other functions in Steelhead.
For more information about Part Numbers, read the following articles:
- Creating New Part Numbers
- Part Number Inventories
- Adding or Removing Parts from Work Orders]
- Part Number Groups
Part Statuses and Designations
Active parts are instances of Part Numbers that are on a Work Order and being worked on. They may be anywhere in a Process, from Receiving to Invoicing.
Parts become Complete when work has finished; they have been shipped or picked up, and the Customer has been invoiced. Parts may be completed from the Work Order page, or from the Invoicing Dashboard after the Parts have been invoiced.
Staged Parts is a name used for Parts which are on a Sales Order, but haven't been received and/or aren't on a Work Order.
Part Number Pages
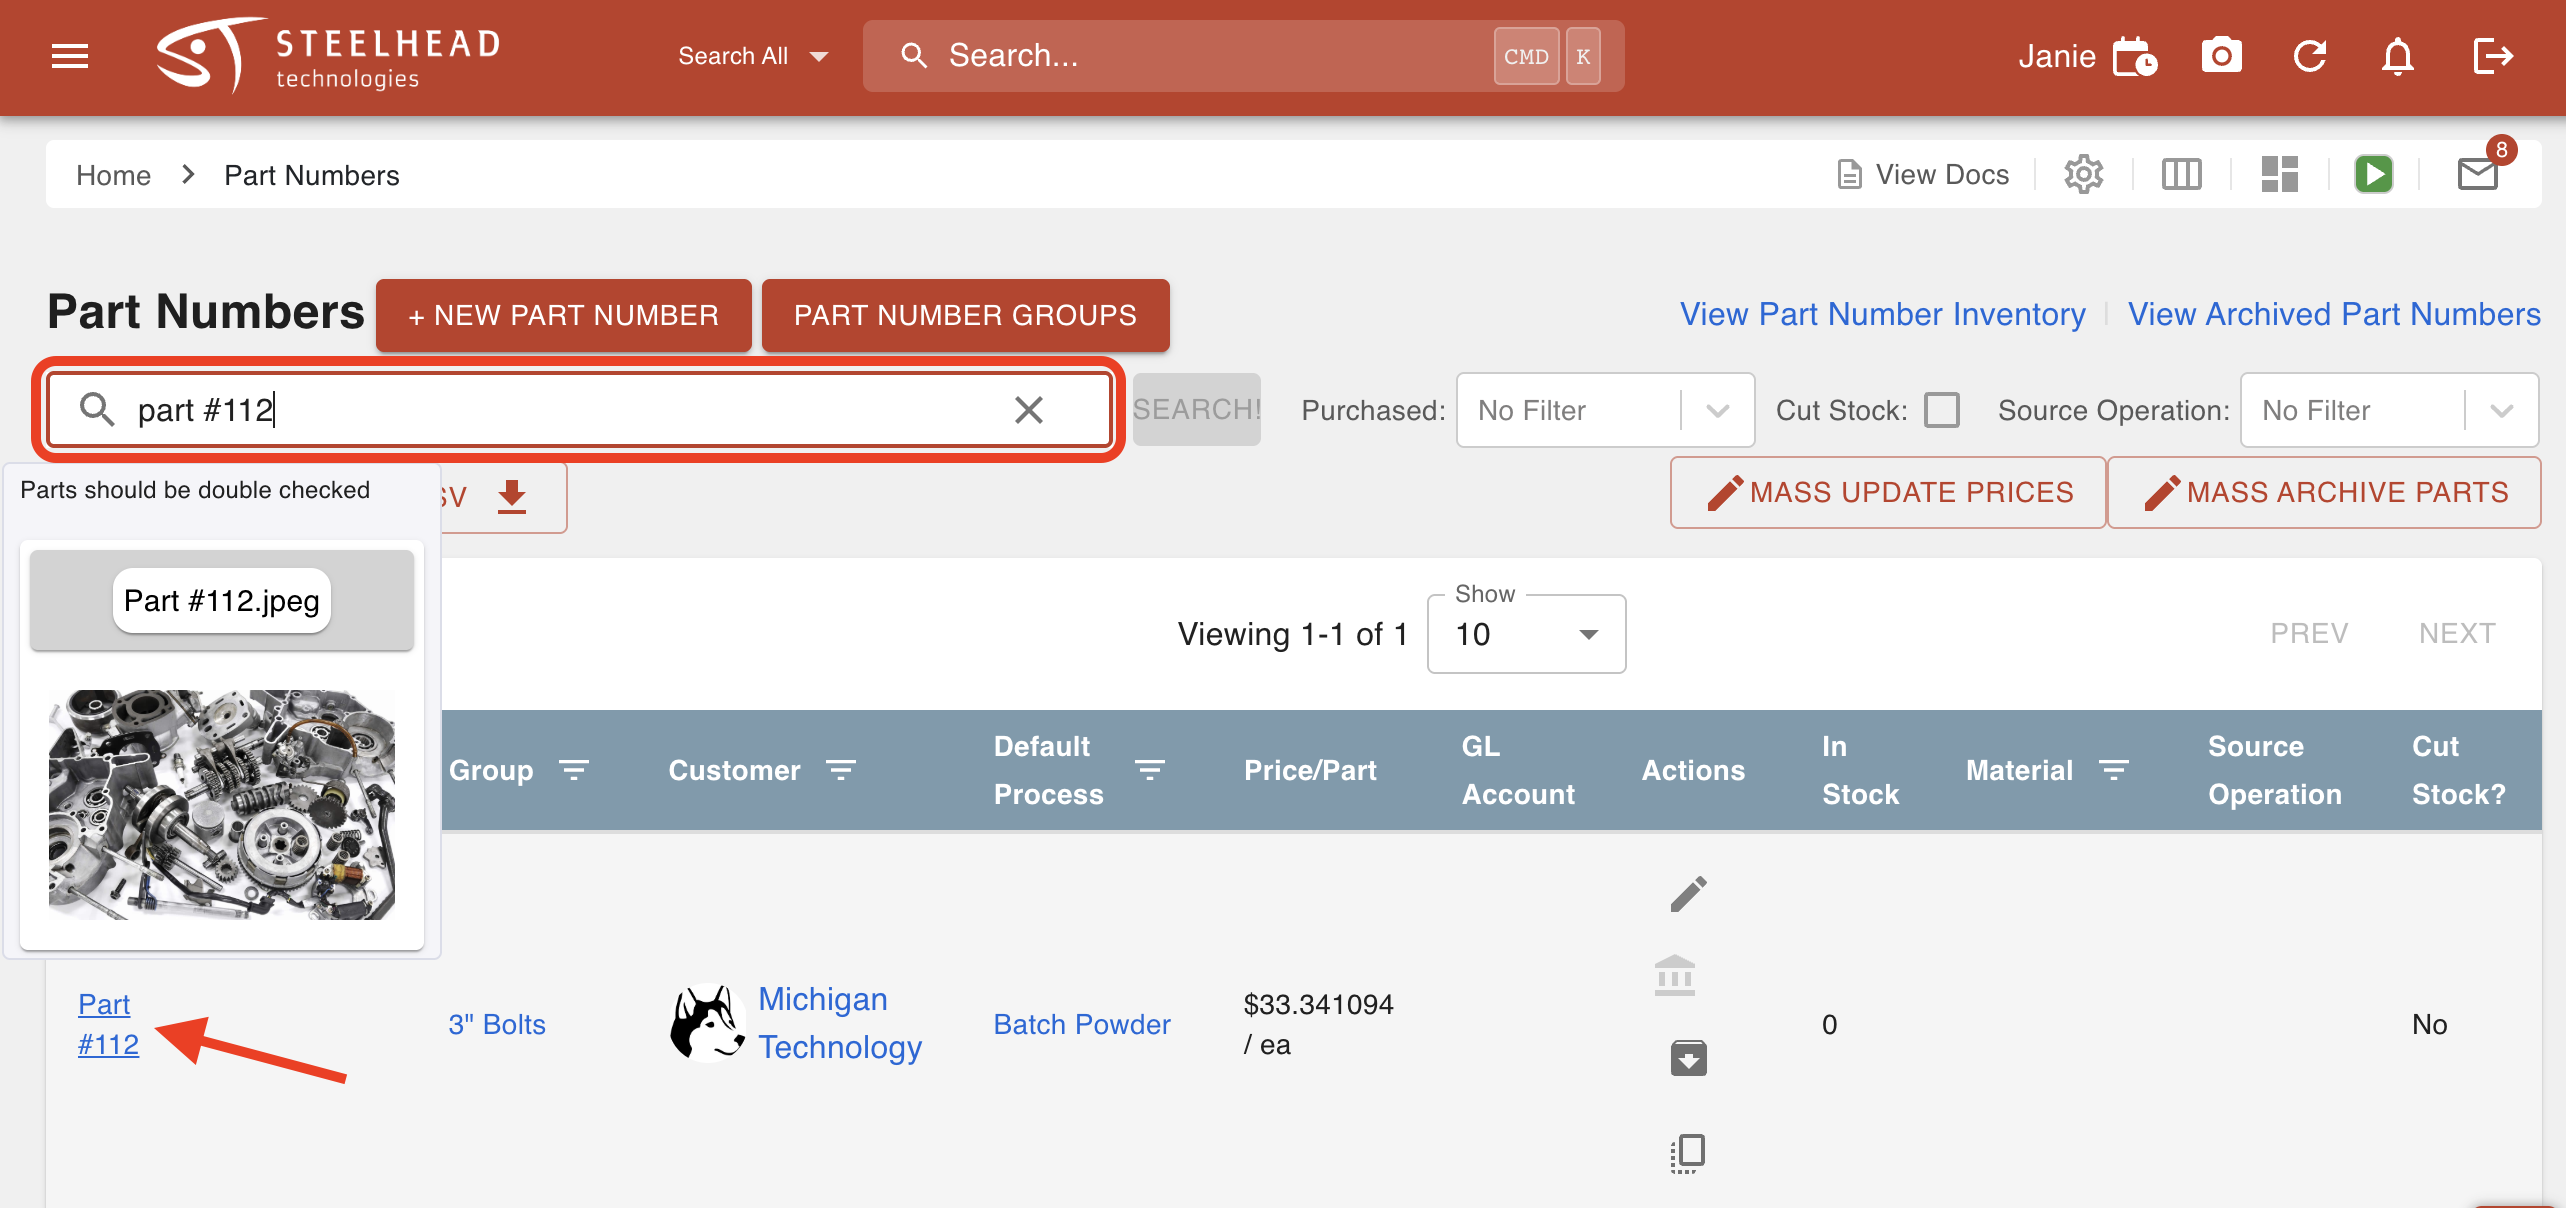
To enter into a Part Number page:
Navigate to the Part Numbers Tile from the "Planning" section of the Steelhead homescreen.
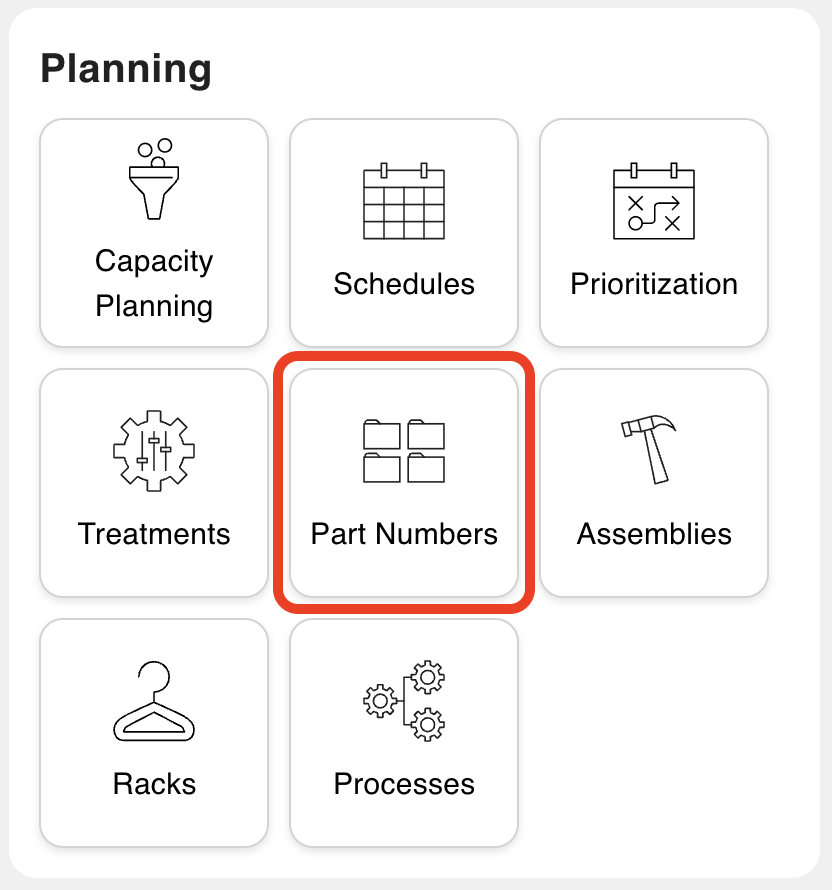
Look up the desired Part Number and click the associated hyperlink to enter the Part Number page.


The beginning of a Part Number page displays the information you added when you created the Part Number.

All the fields are optional to fill in. The information may include:
- Name of Part Number
- Time stamp that Part was created
- Creator
- Customer
- Fill out if only one Customer uses the Part.
- Material
- Geometry type
- Part Number Group
- Pricing
- Use the Plus icon to add a default price to the Part.
- Will also pull prices from Quotes for you to choose from.
- GL Account & Tax Code
- Accounting information.
- "Is one-off Part:" check box
- Is checked only if you plan to use the Part once, then it will be auto-archived after use.
- "Is Coupon:" check box
- Is checked if you need the Part Number to also function as a Coupon during production for spec purposes.
- "Archived" check box
- Is checked if the Part Number you're viewing is archived.
- Certification Description
- A text field associated that provides important information about the certification requirements or specifications for that Part.
- Cert PDF Template
- Allows for Part-specific Certification documentation formatting.
- Integrated Item
- Links Part Numbers with external accounting systems.
The other sections at the top of a Part Number page are Custom Inputs and Related Links.

To add Custom Inputs to a Part Number:
Navigate to the Part Numbers Tile from the "Planning" section of the Steelhead homescreen.
Click the Gear icon at the top of the Part Numbers dashboard.

Click the green Plus icon to create a new form element.
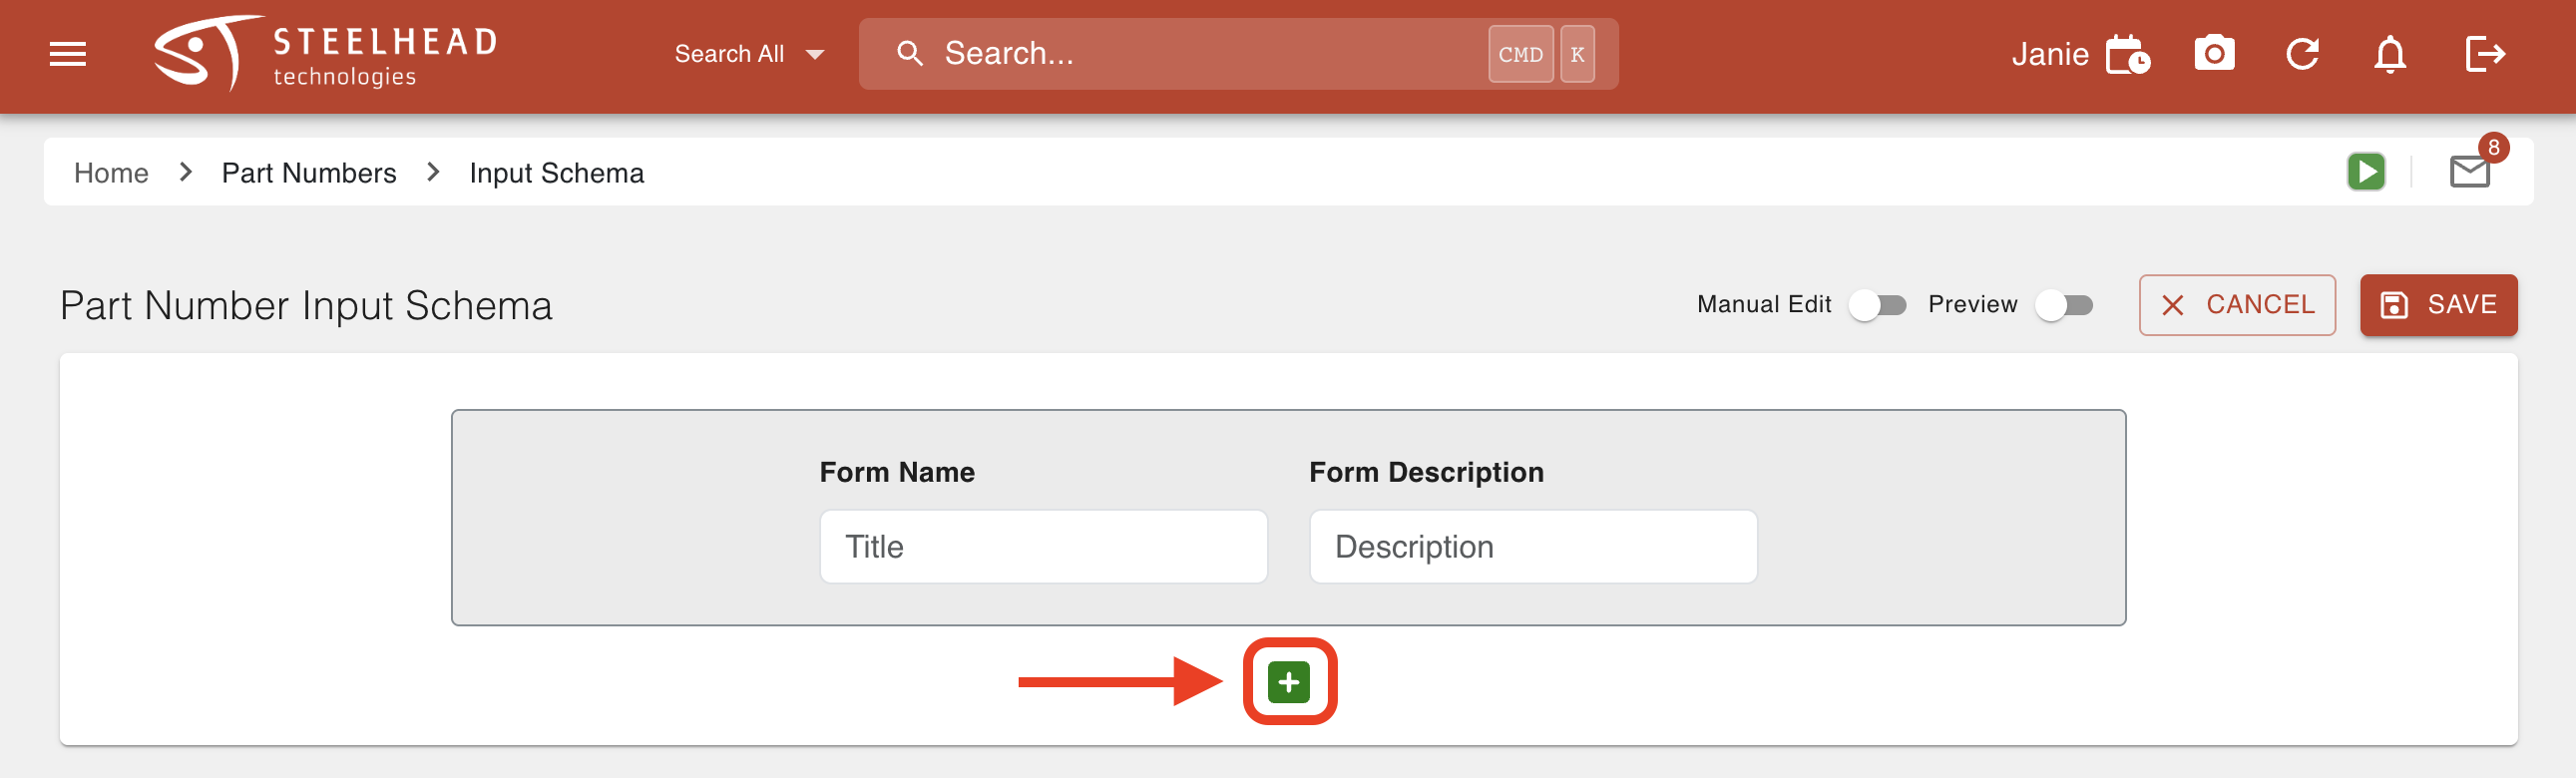
Fill out the necessary information, for example, adding the custom input to describe how heavy the Part is.

Click SAVE.
Enter into the desired Part Number page.
Click the Edit pencil icon in the Custom Inputs section.
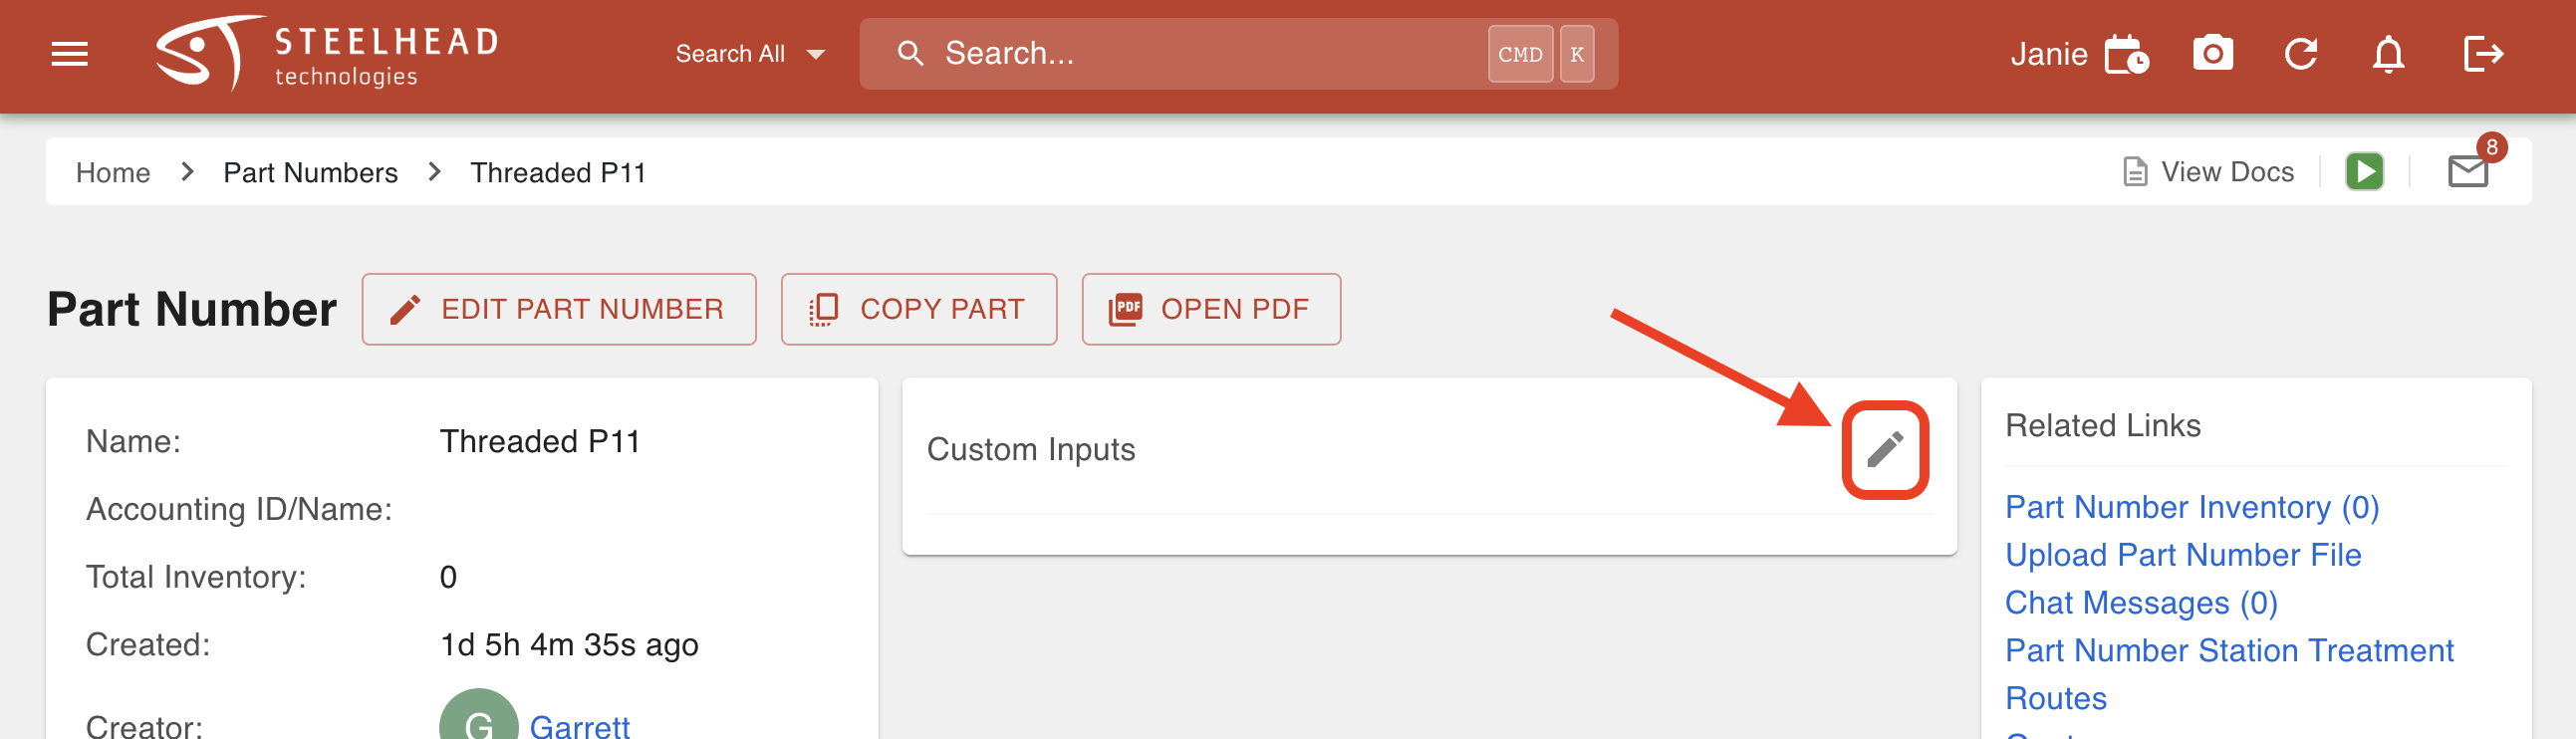
Click Use Newest Schema.
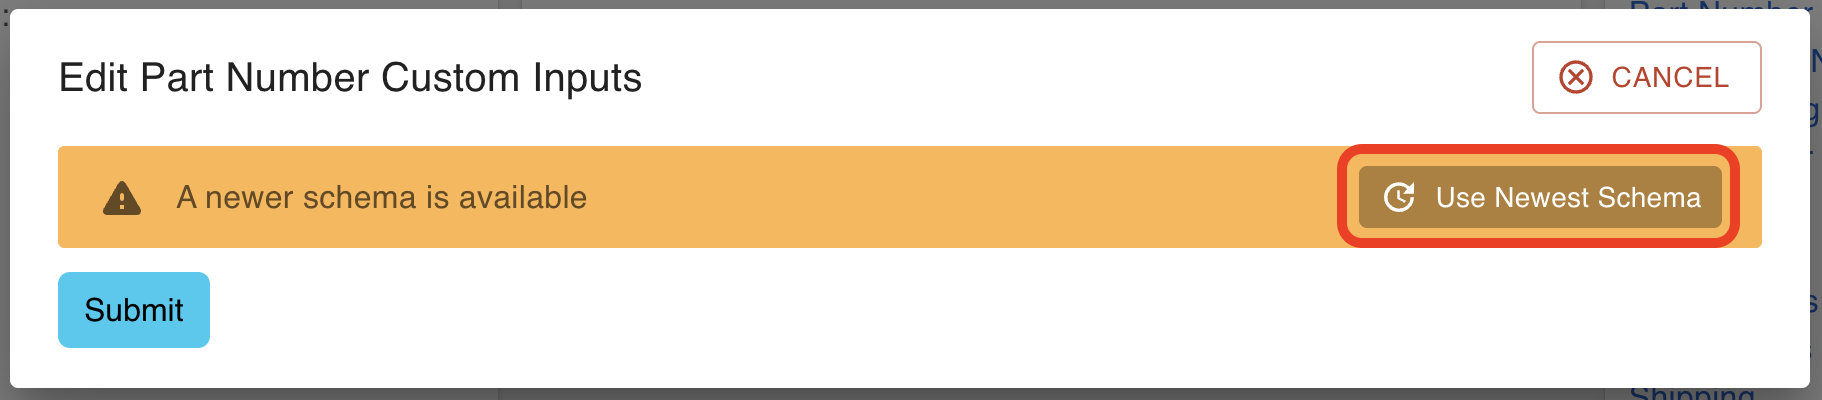
Click Submit.
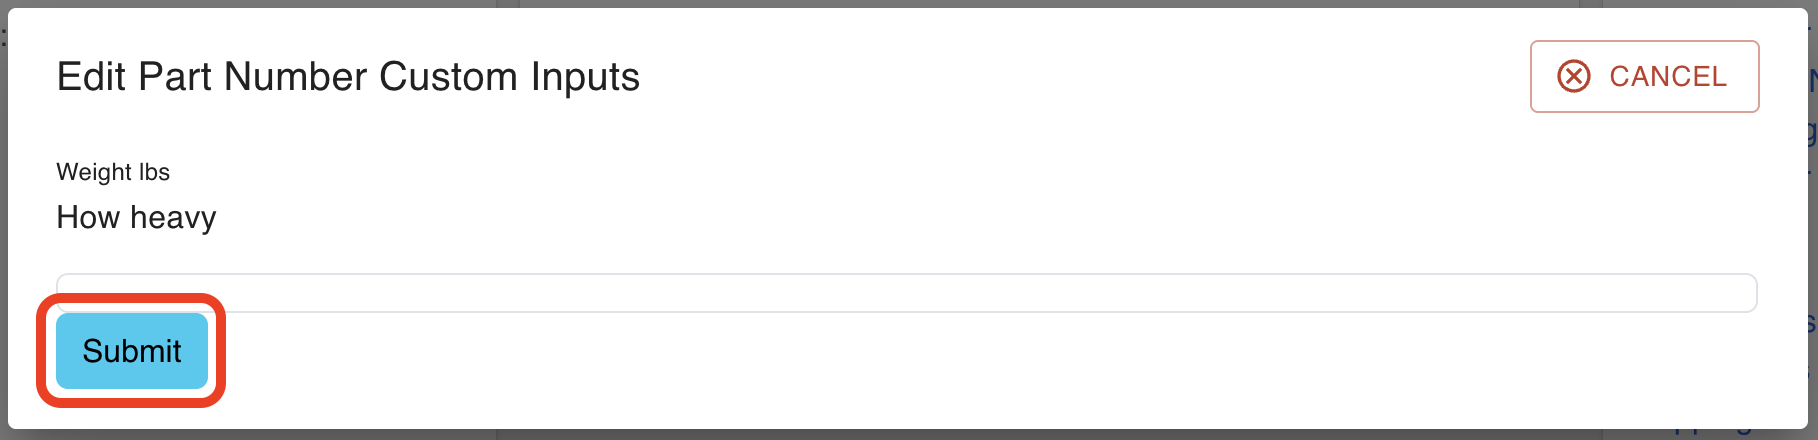
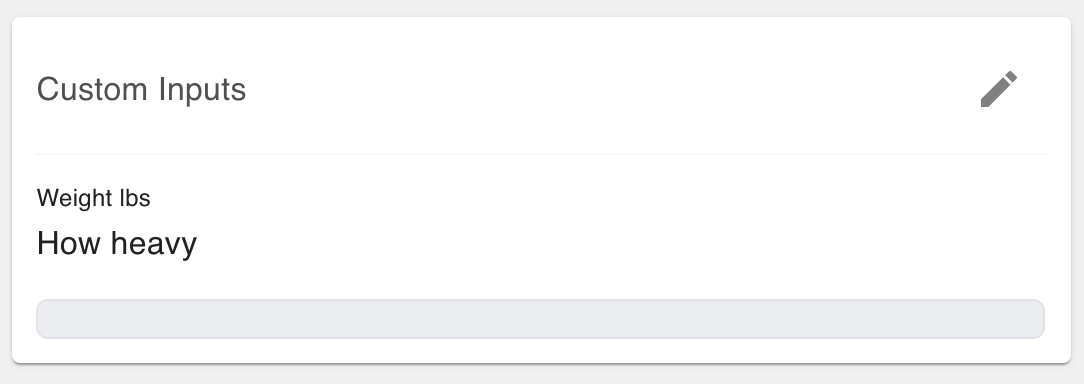
View new Custom Inputs from the Part Number Page.


Descriptions
When you scroll down a Part Number's page, the next two sections are "Description" and "External Description".
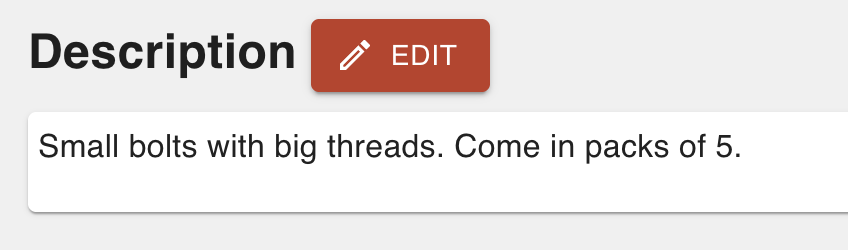
The "Description" section gives you a space to physically describe the Part for Operators to reference as the Parts move through production. This description is for internal use only. To add a Part Number description:
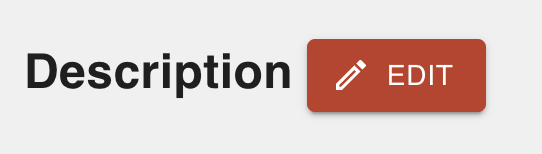
Click the EDIT pencil button next to the "Description" header.
Input the description and click SAVE.
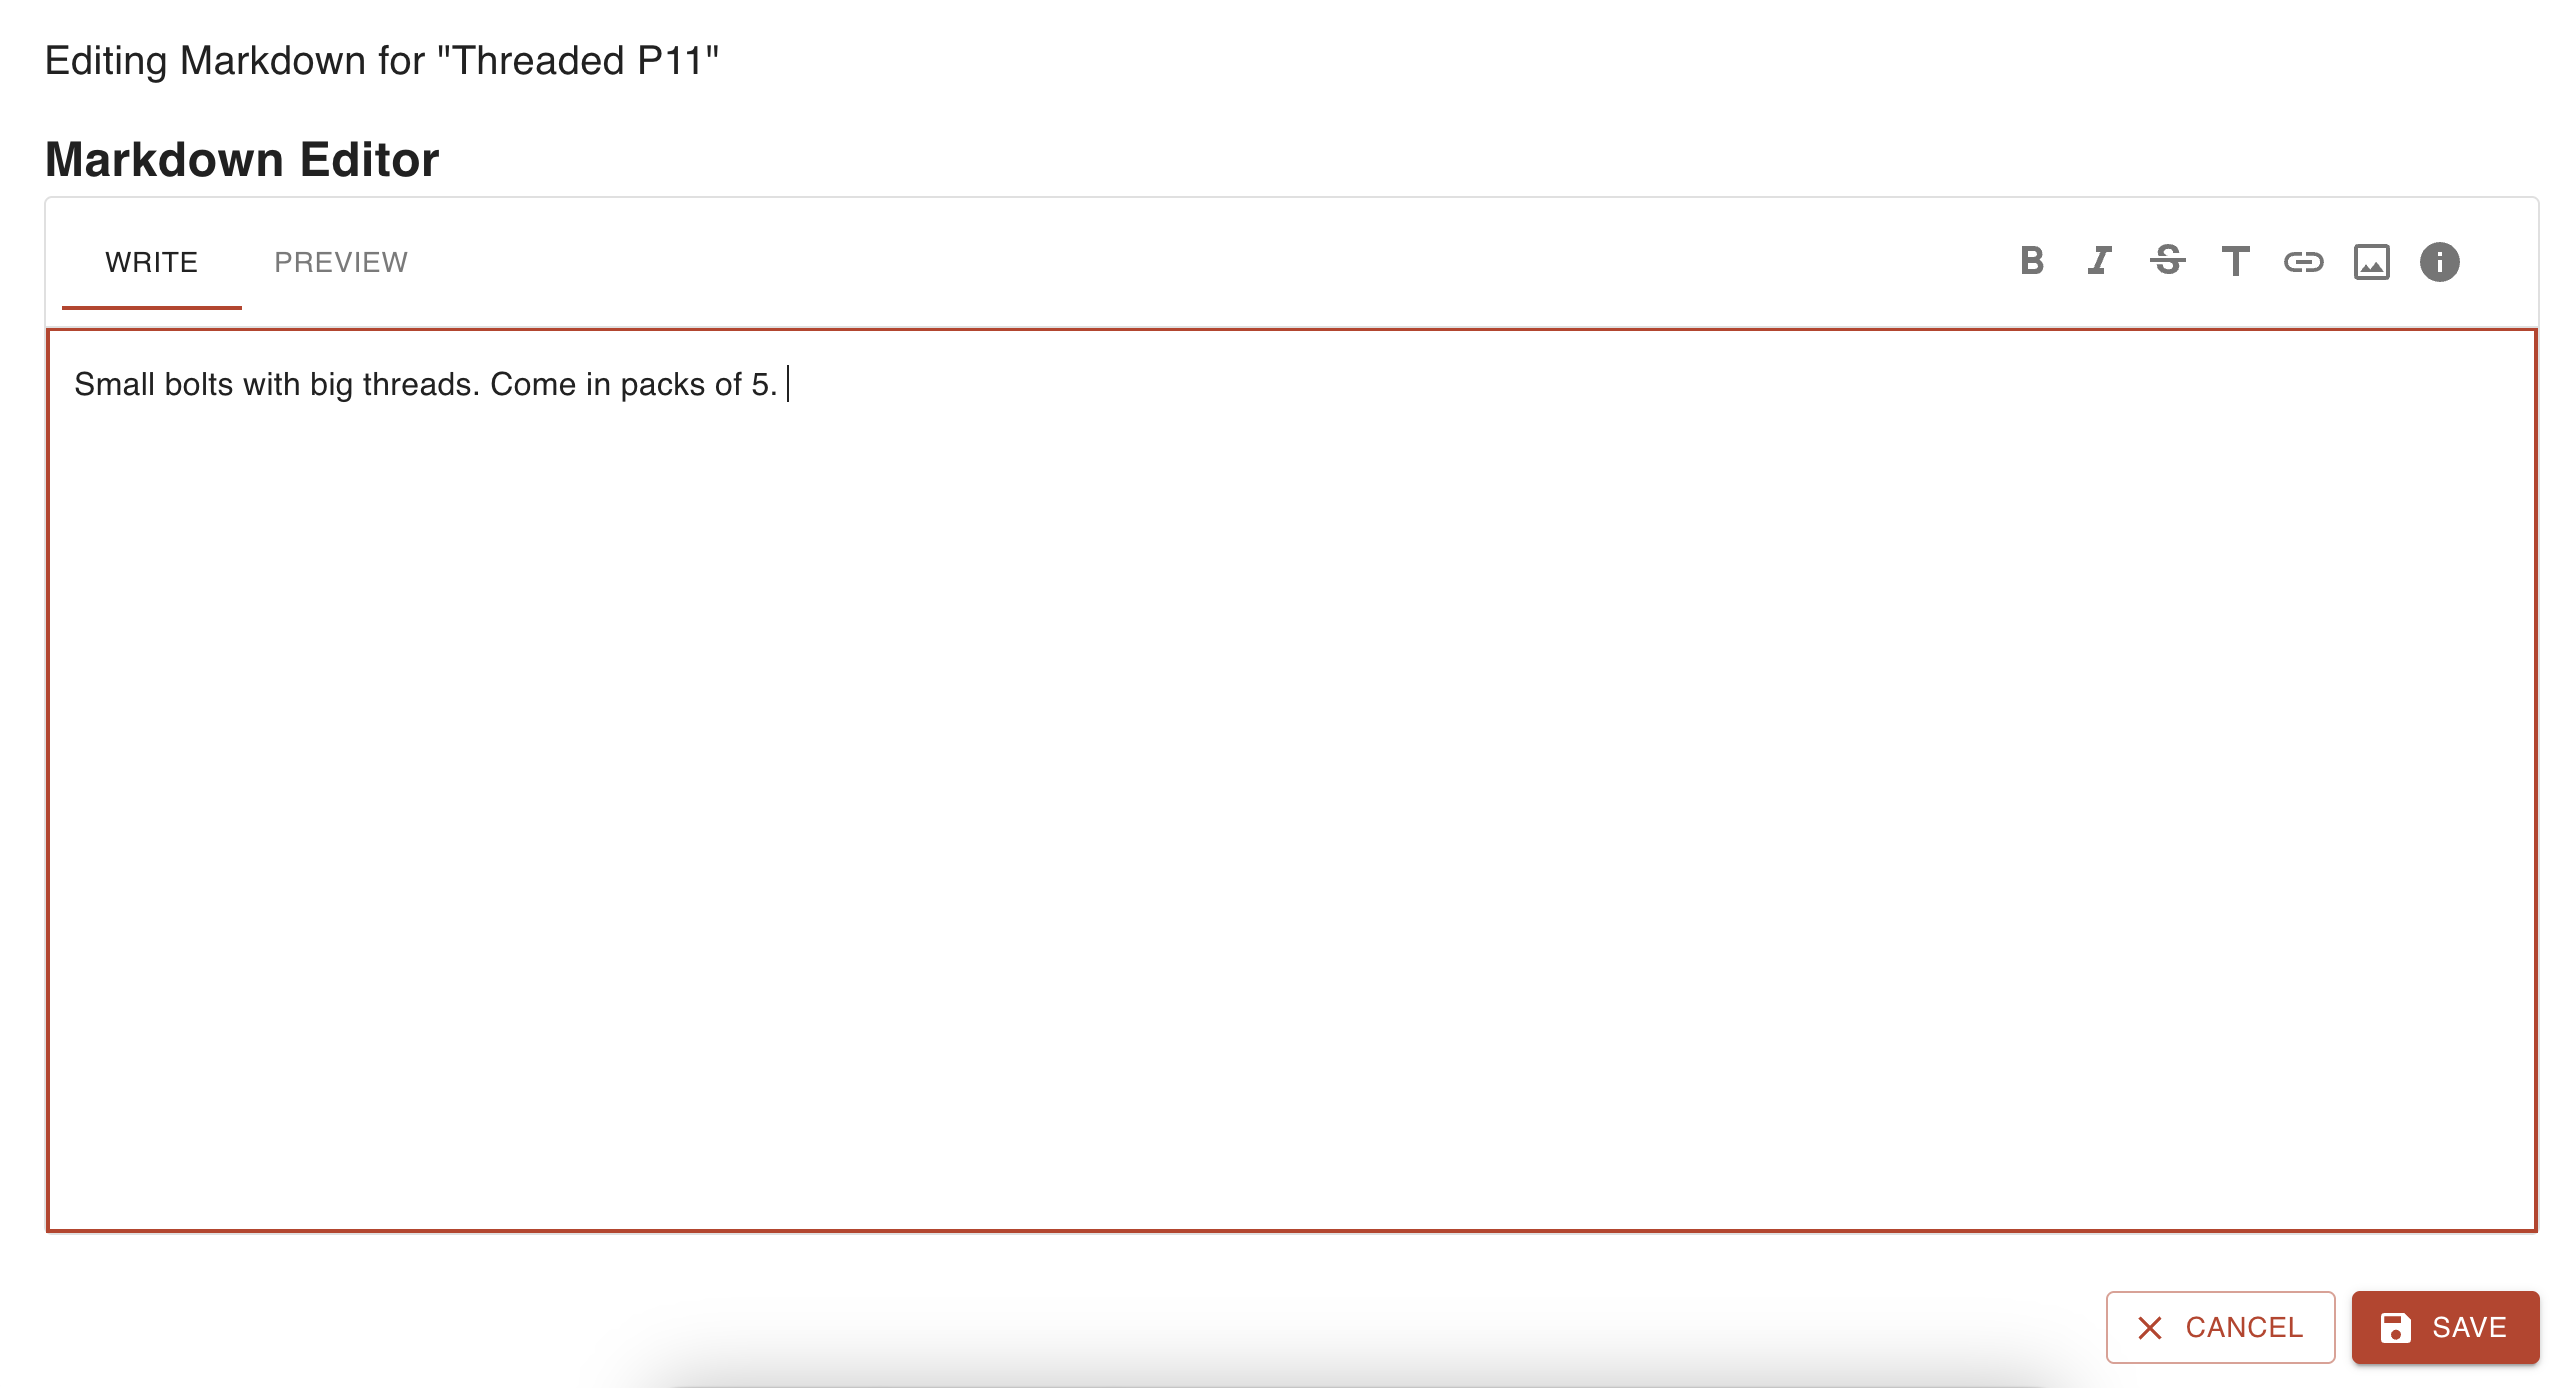
View the description from the Part Number page.


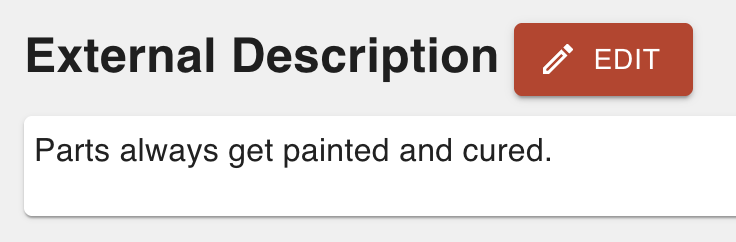
The "External Description" section refers to a physical description of the Parts that will be displayed in the Customer Portal for your Customer to view. This description is for external use and shouldn't contain any sensitive information.
To add an external description to a Part Number:
Click the EDIT pencil button next to the "External Description" header.

Input the description and click SAVE.
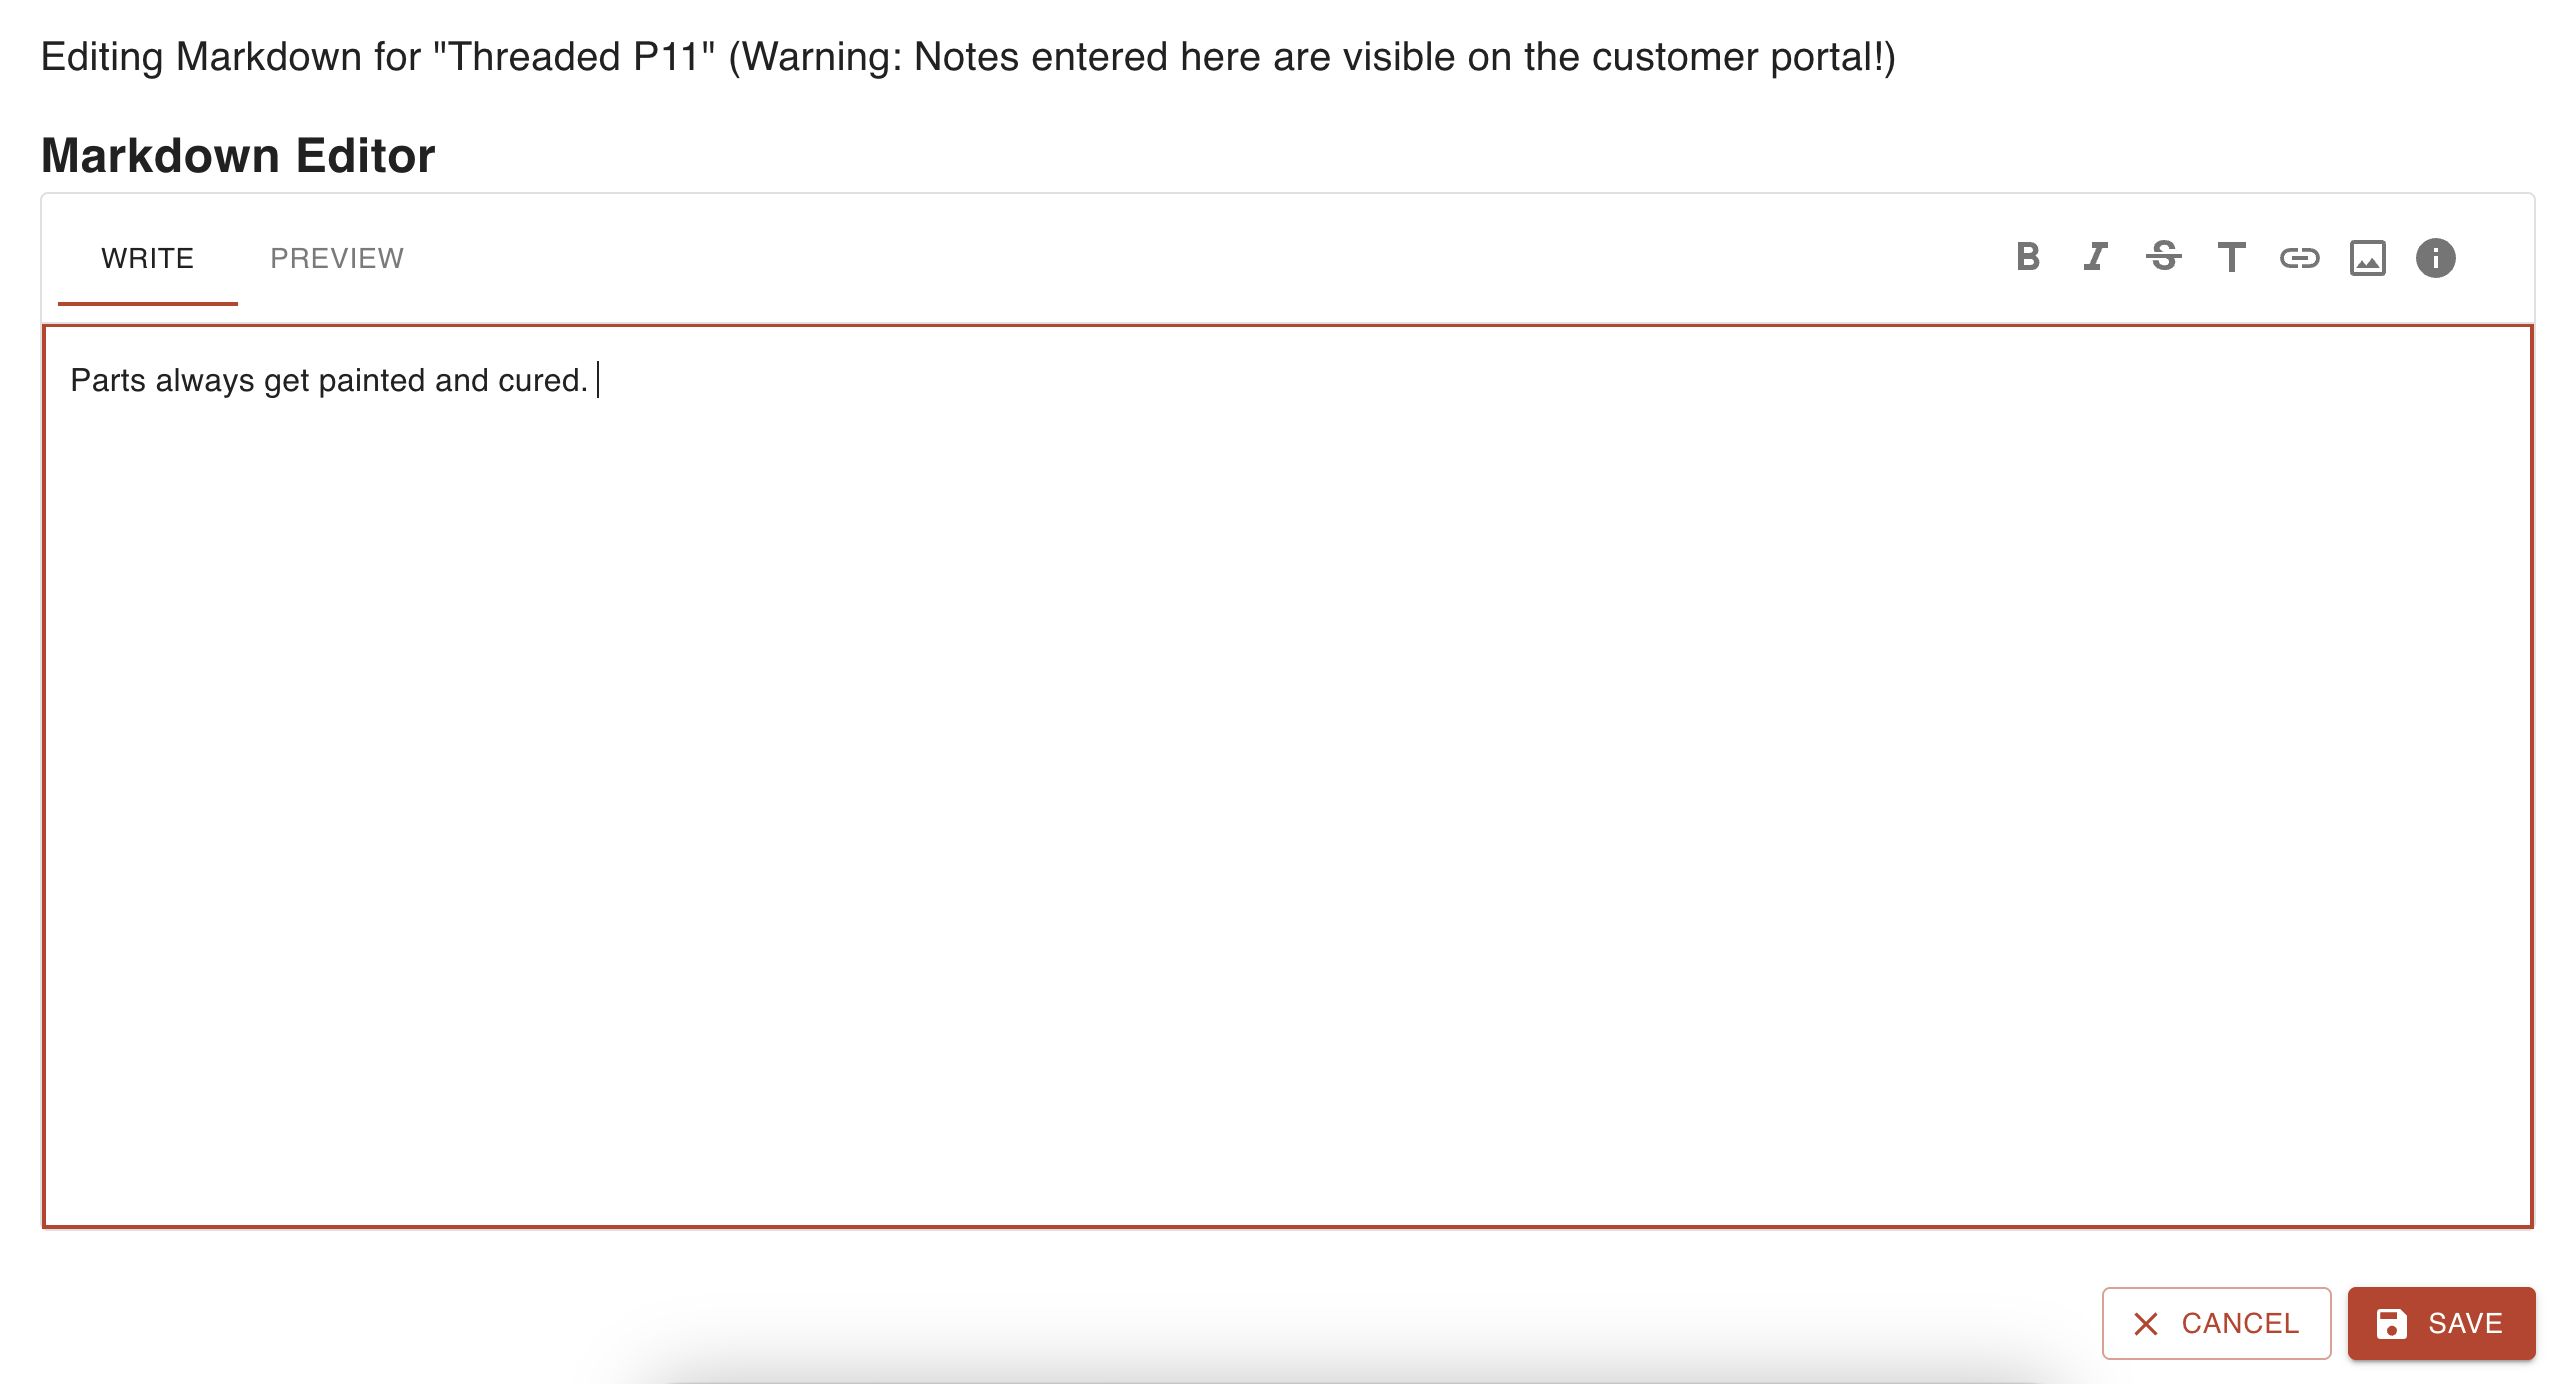
View the external description from the Part Number page.


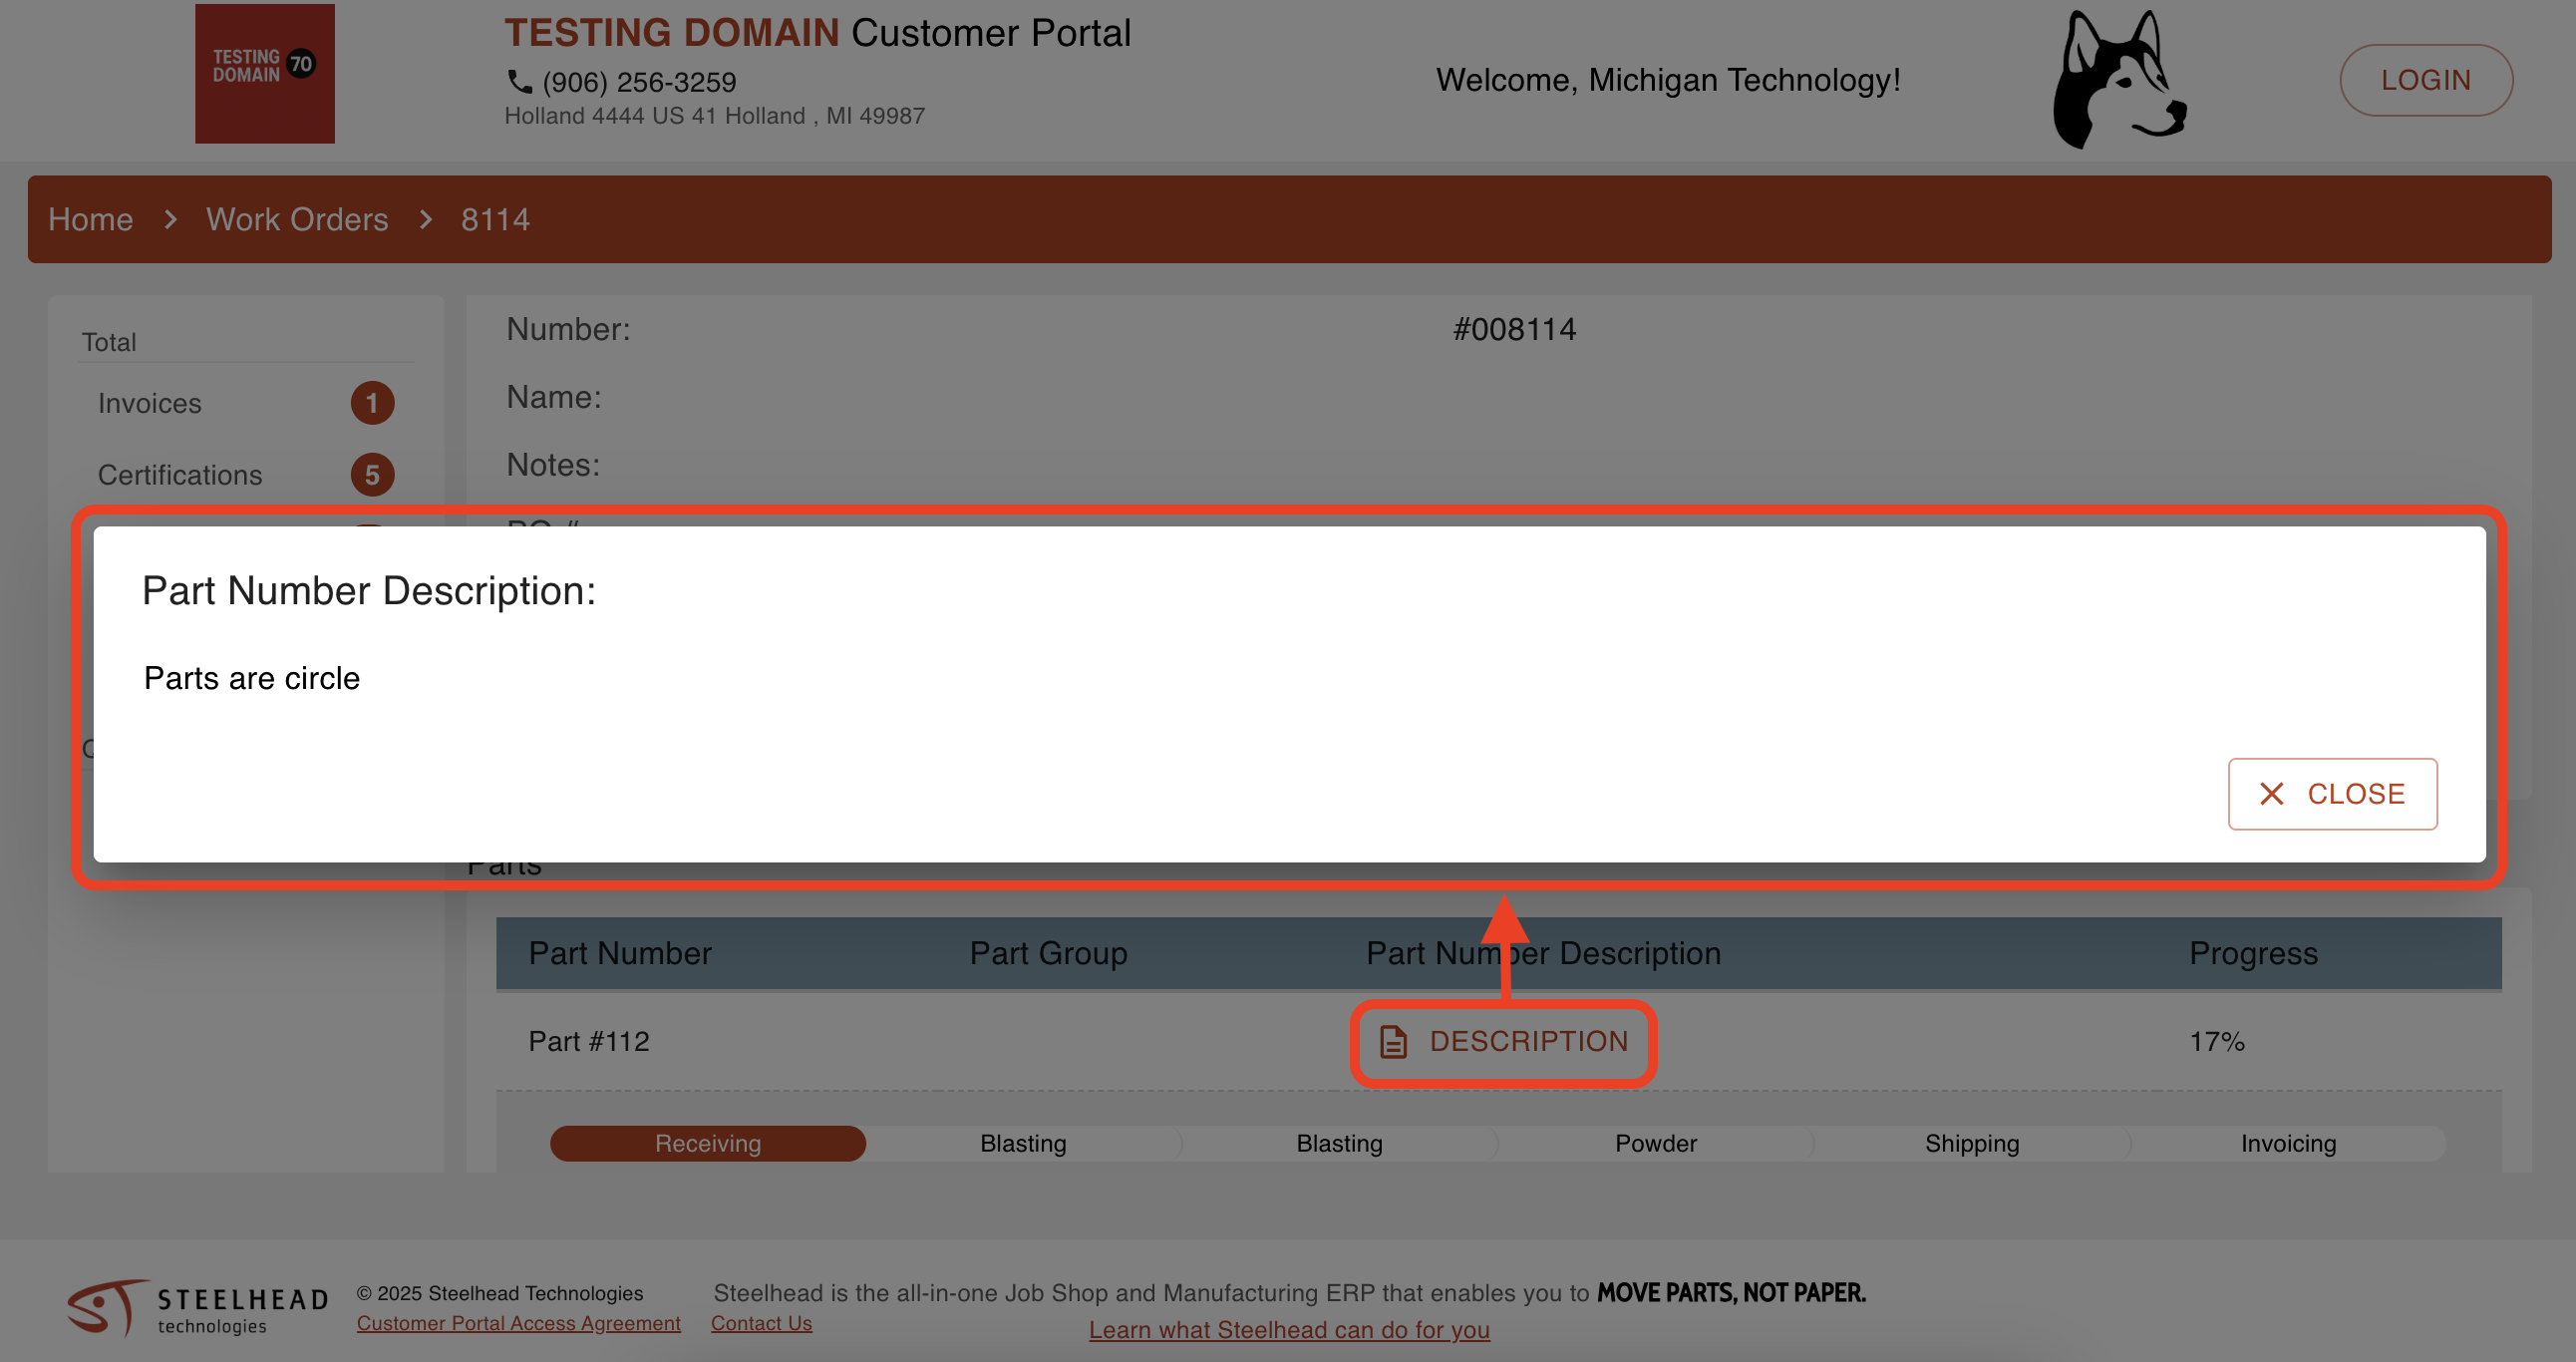
View External Description in the Customer Portal
Good practice is to view your external description in the Customer Portal to make sure it is displaying the information that you want. To view the Part Number's external description from the Customer Portal view:
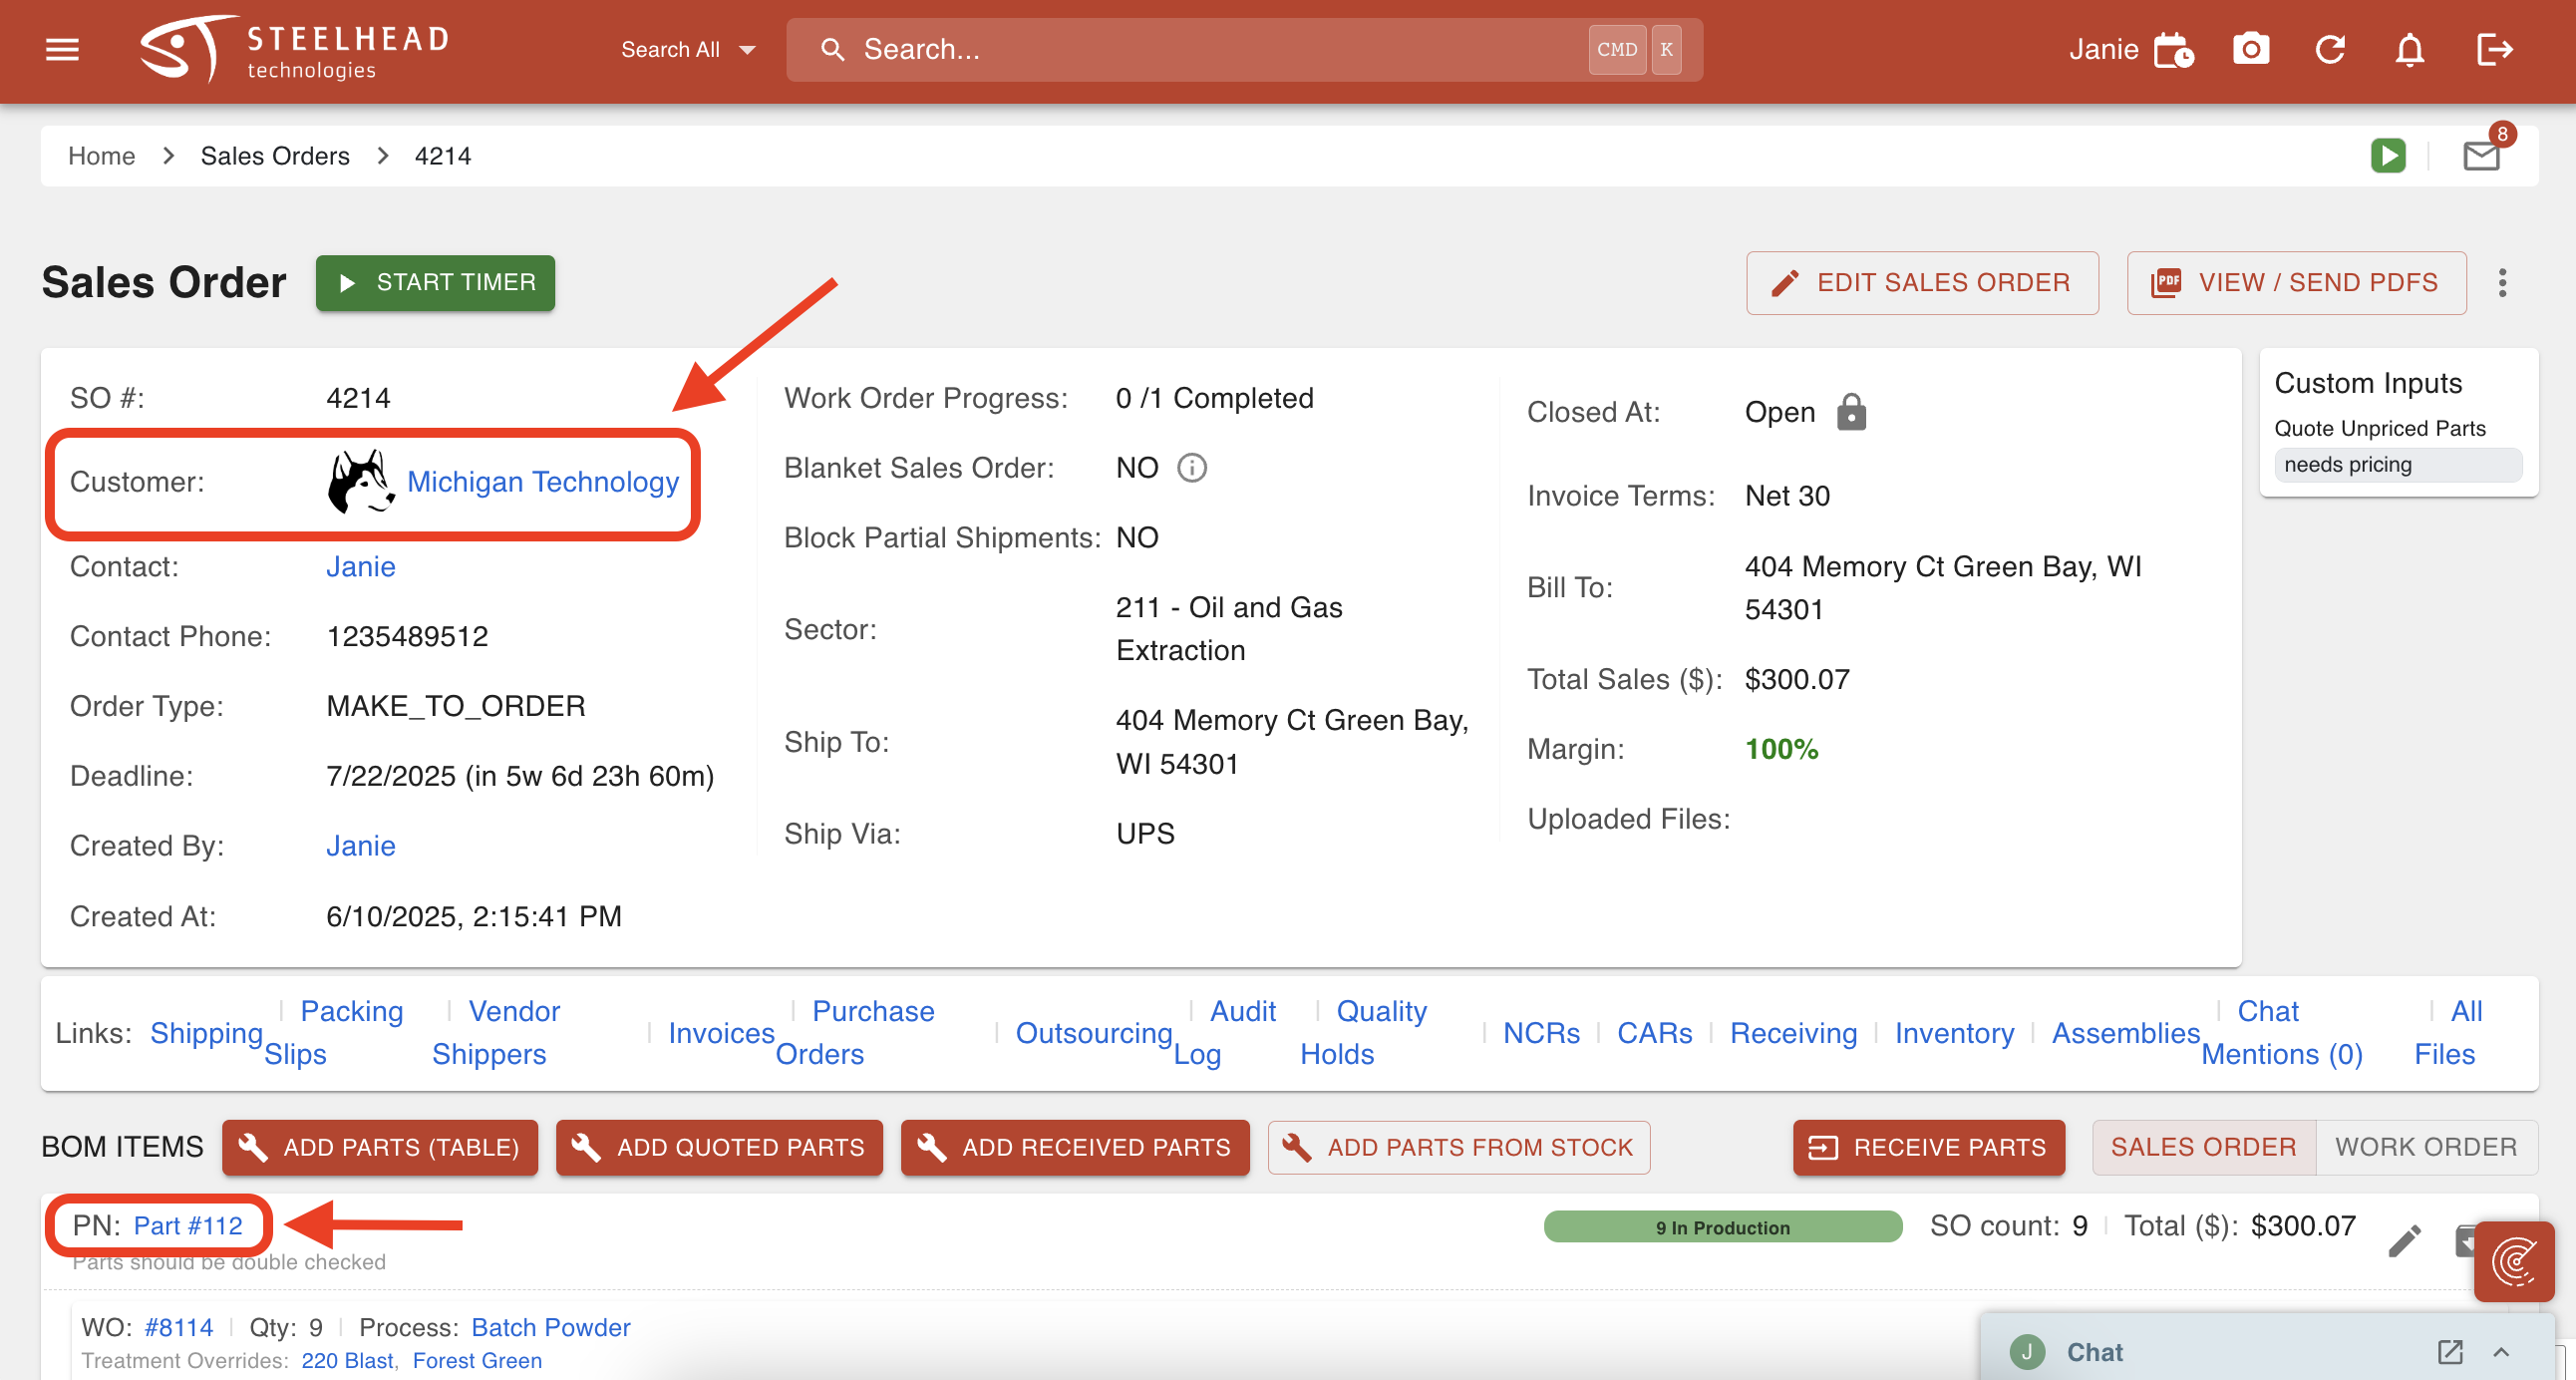
Add the Part to a Sales Order for the desired Customer.
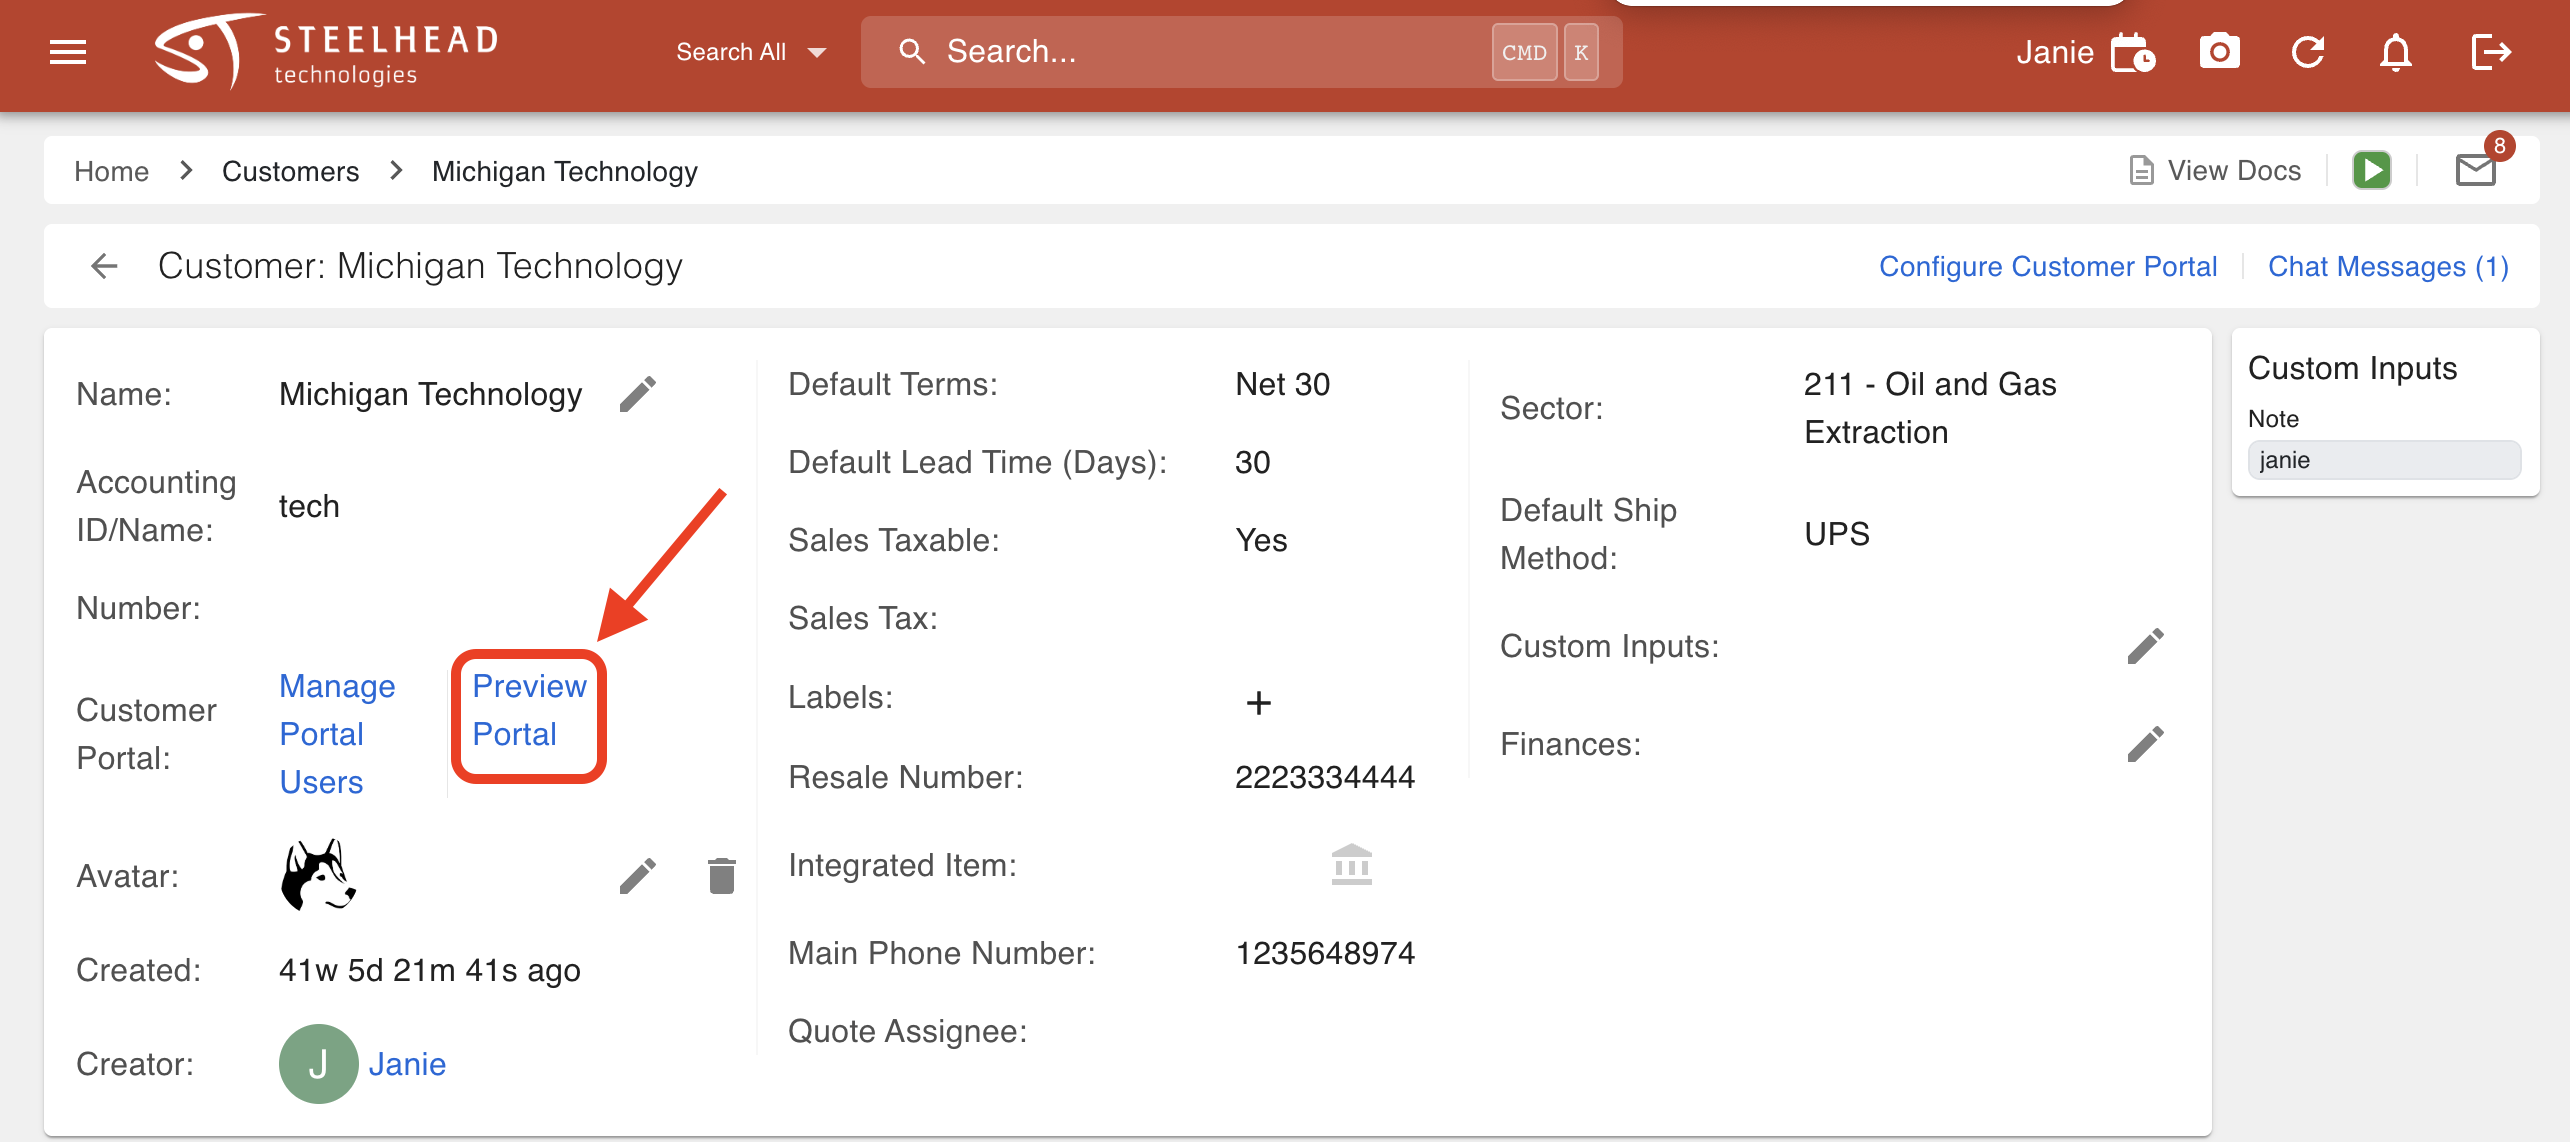
Enter into the Customer's page and click the link to "Preview Portal".
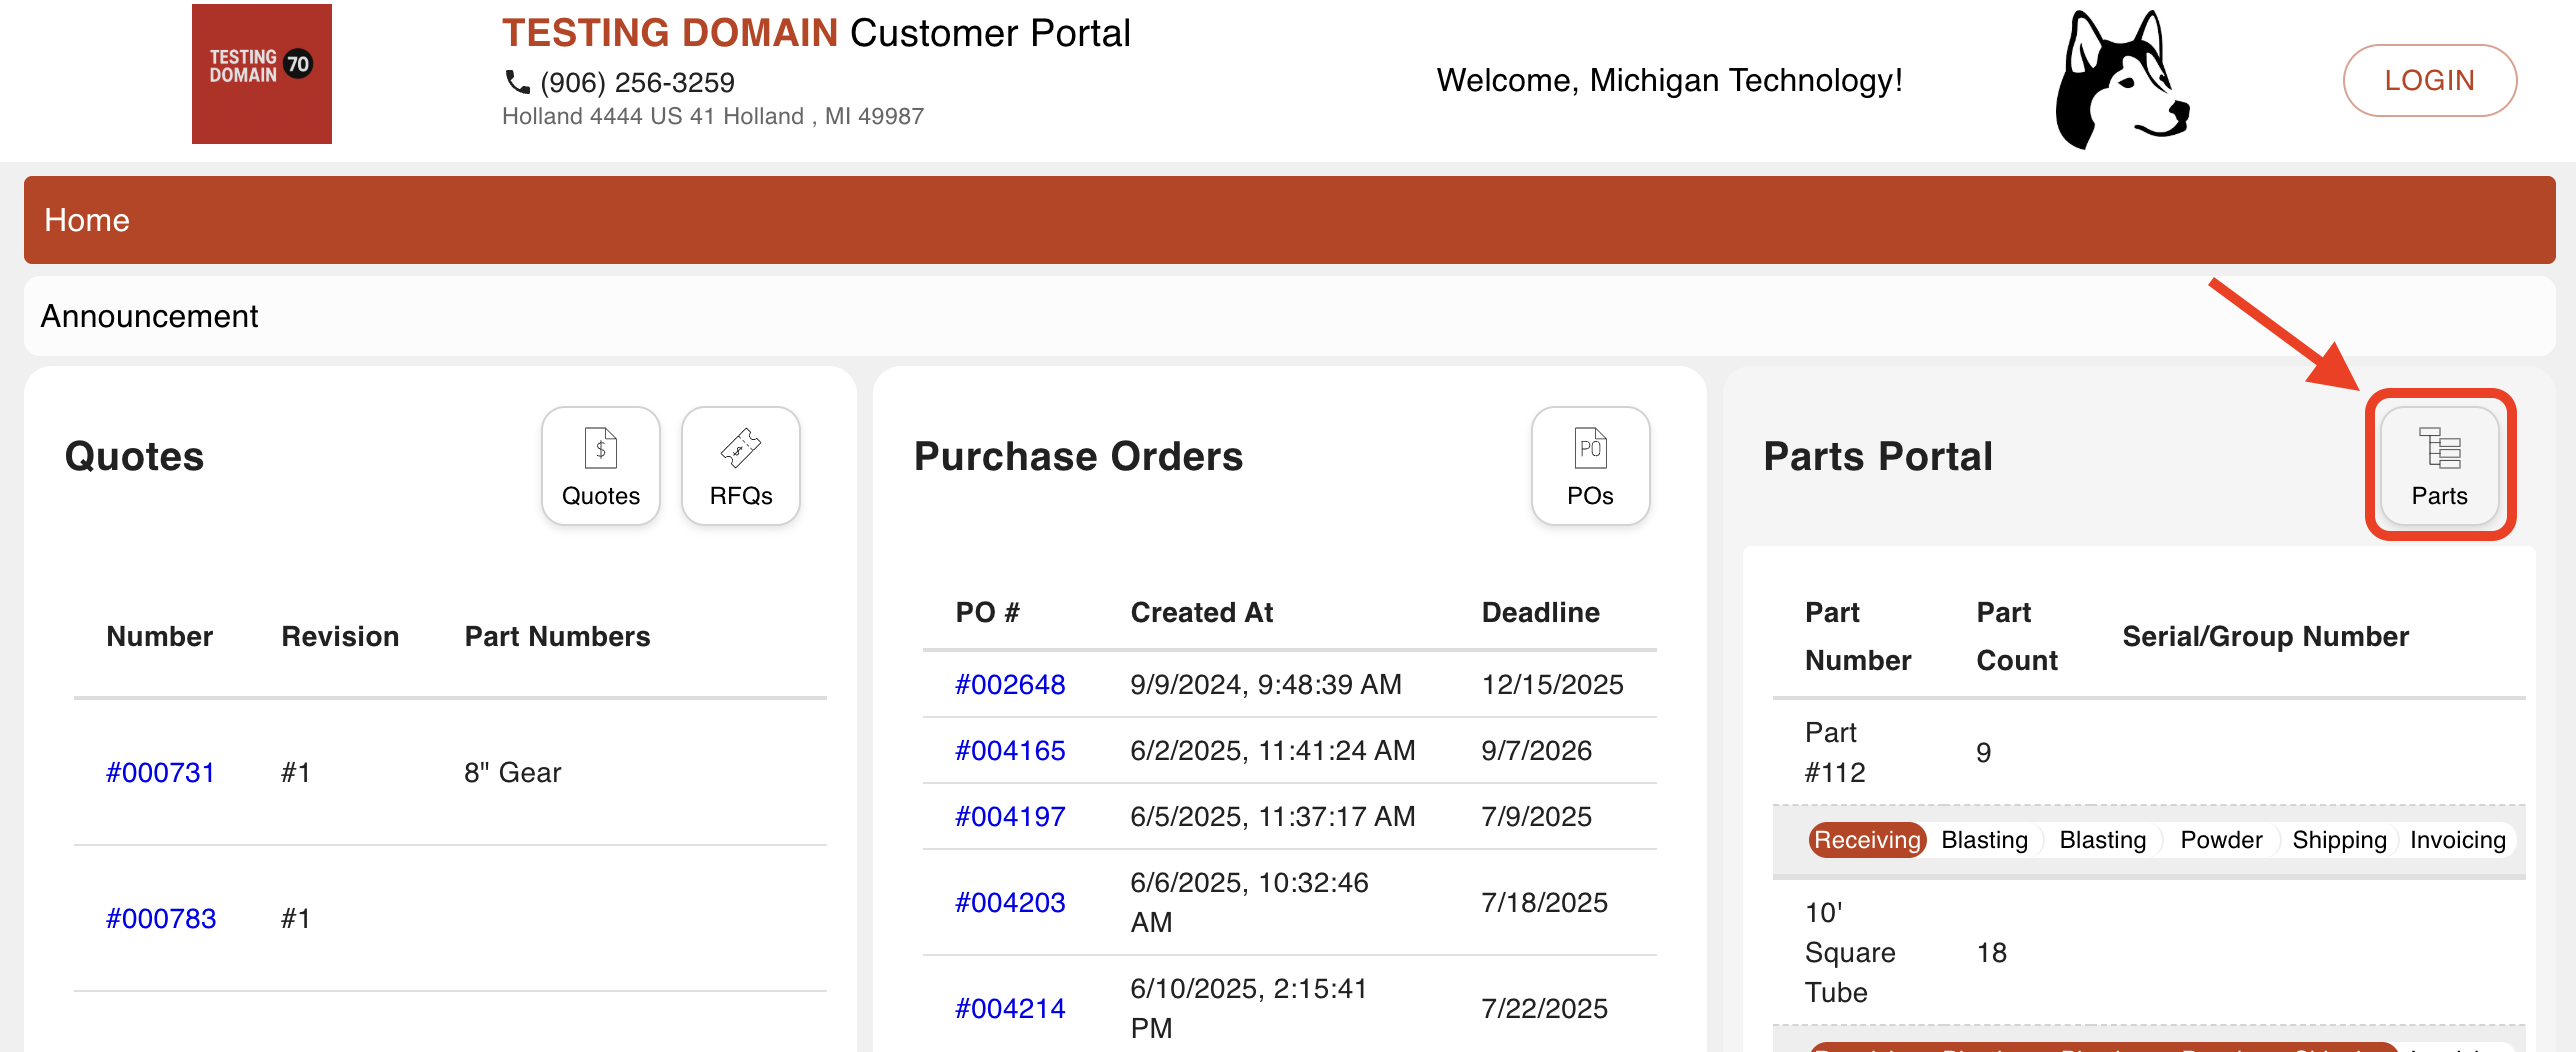
Enter into the Parts Portal.
Click the Work Orders tab and find the Work Order associated with the Part Number.
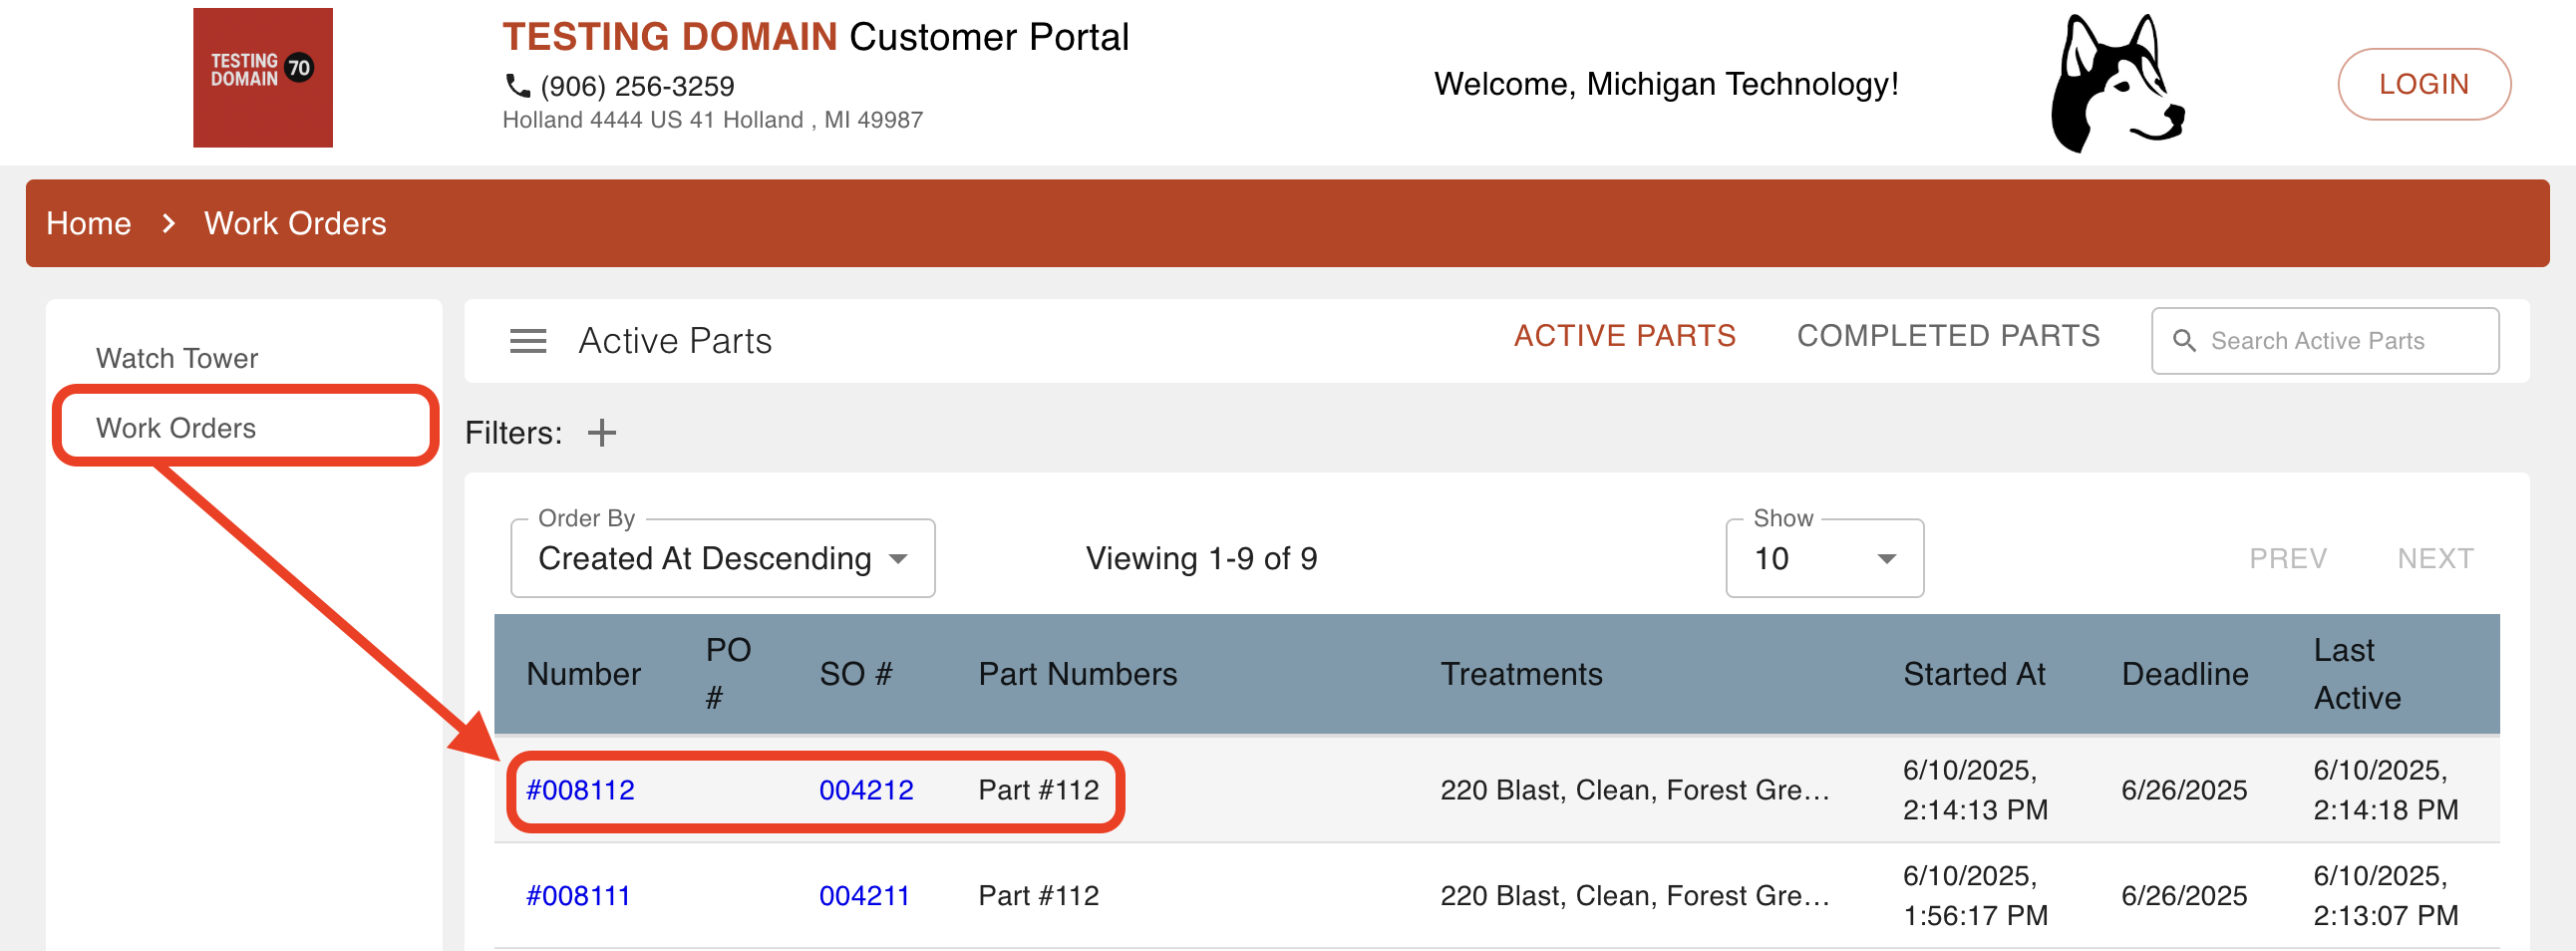
Click the DESCRIPTION button to view the external Part Number description you configured.


Was this article helpful?