- Print
Part Labor Timers
- Print
Labor Timers
Labor Timers are used for employees to track time spent on various tasks, including working Parts, doing Maintenance, entering Sales Orders, time on Stations, Workboards, Racks, etc.
Once a Time Segment has been Saved, it will automatically be entered as a Billed Labor time segment.
Starting a Labor Timer
- From your Steelhead homepage, click on the green Start Labor Timer button
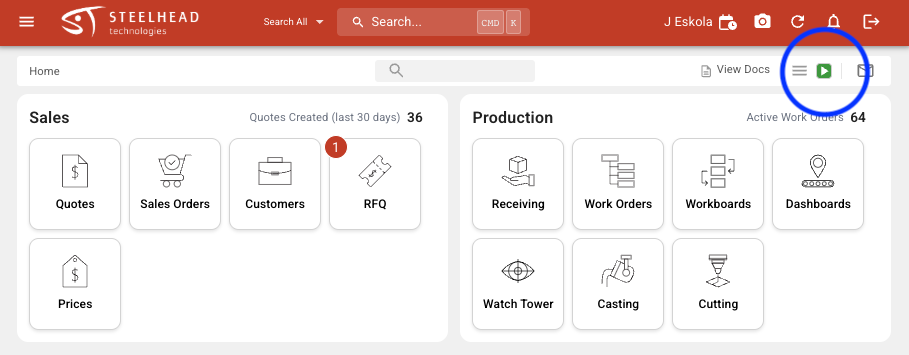
- This will bring up the Labor Timer dialog box, where you can choose a Station, find a Part Account or Rack, Sales Order, or Maintenance Event.
Find and select the task you will be starting work on. By clicking the ADD button, you can add multiple line items of where you will spend your time.
Click SAVE to start the timer.

Note: Adding multiple lines is meant to be an outline of what your day may look like.
Stopping a Labor Timer
- When you're ready to stop a timer with multiple line items, click the Stop Timer button.
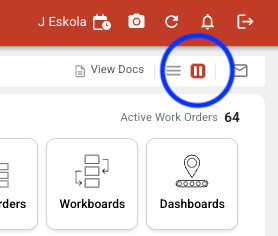
- You will be asked to confirm and/or edit the time you spent in each area. The Total time will automatically be split evenly between each line.

Click SAVE.
- To edit your time segments, you can scroll to the "Recently Ended Timers" section of your User Page and click the edit pencil icon:

Make the correction, and click SAVE.
Starting a Timer on Parts from a Work Order
When a Station is associated with a Process Node, and the Station is set up or edited with the "Auto-Start Part/Rack Labor Timer" checkbox checked, a timer will start automatically when Parts or Racks are moved into that Process Node. See the article about Stations for more information.
- You can start a timer from the Parts section on a Work Order by navigating to the desired Work Order.
- Scroll down and click the START TIMER button on a Part. This will instantly start clocking time for that part on that Work Order.

Starting a Timer from a Workboard
You can also start a timer from within a Workboard.
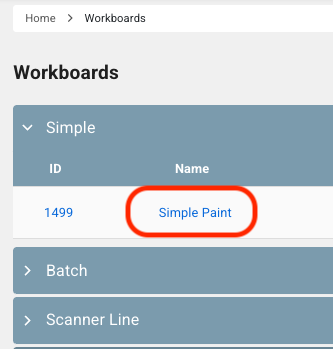
8. Click the Workboards dashboard from your Steelhead Homepage.
9. Click the name of a Workboard:
- Click on the Work Parts tool on your Work Order.
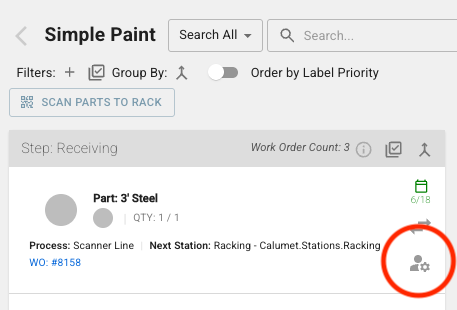
- Clicking the START TIMER button will instantly start clocking time for that Part on that Workboard:

Starting a Second Timer
- If you already have a timer running, confirm the time spent on that timer and click SAVE. That will Save the previous timer AND start the new timer.
Stepping a Work Order out of an active Timer
You can add as many Parts and Work Orders as necessary to an active Timer. By following the instructions below, you can also remove Work Orders from a Timer individually while keeping the others active.
Activate the Domain Setting to "Maintain Billed Labor Segments upon 'Save & Start New Timer'" in order for your previous selections to be listed automatically when the Save & Start New Timer button is clicked. If this setting is turned off, the previous selections will be cleared, and new selections will have to be made.
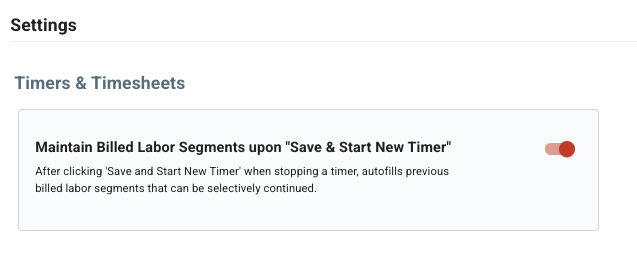
You can clock in on multiple Work Orders at a time and step one Work Order to a different Node without stopping the other Work Order timers:
Adding or removing a Work Order part will stop the current running Timers but immediately begin new Timers for the Parts. This can be done from anywhere, including Workboards and Work Orders.
To do so:
Click START TIMER button, or click the green "Start Labor Timer" play icon in the top right of your screen.
- If a START TIMER button was clicked, adding multiple requires the "Add Current Active Billed Segments To New Timer" checkbox to be checked before saving.
- If "Start Labor Timer" play icon was clicked, then click the Part Accounts/Racks button in the "Start Labor Timer On" dialog. Search for the Work Order(s) and select all desired Parts. Click SAVE.
When a Work Order should have it's timer stopped, click the red "Stop Labor Active Timer" pause button in the right corner of your screen.
Verify current Timers and click the SAVE & START NEW TIMER button. This will stop the Timers and allow for immediate restart of Timers.
Remove the desired Work Order Part from the list.
Click SAVE.
Now, move the removed Work Order part to the next Node. Current Timers will keep running.
Starting a Timer on a Rack
- You can also start Labor Timers on Racks. Choose a Rack Workboard from your Workboards dashboard.
- Click the green Labor Timer button directly on the Rack. This will instantly start clocking time unless you have a timer running already.
Active Timer Dashboard
- You can access the Active Timer Dashboard via the Workforce Section of the Steelhead Homepage.
- The Active Timer table in the Active Timer dashboard shows Started At, Elapsed Time, Details, and Actions.
The Recently Ended Timers table shows the Sales Order Number, Work Order Number, Part Number, Recipe Node, Station, Rack, Started and Ended times, Total Duration, and Actions. - In the Billed Labor Hours section, there's a visual graph of where you've clocked your time. Adjust the view of the time segment by month, week, or day.
Editing Billed Labor Time Segments (Timeline Graph Editor)
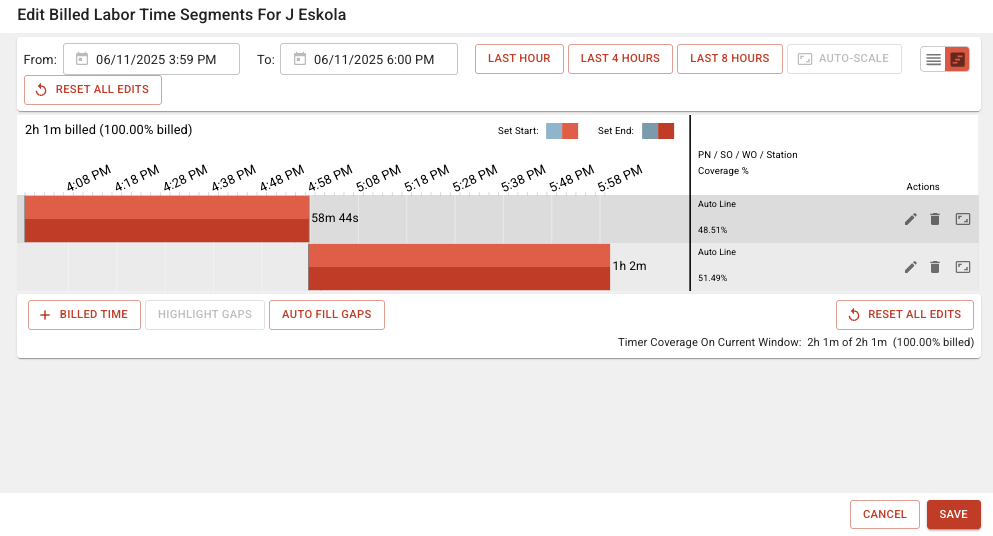
- Clicking on ALL BILLED HOURS from the User Page will bring you to a time graph and allow you to edit your Time Segments:
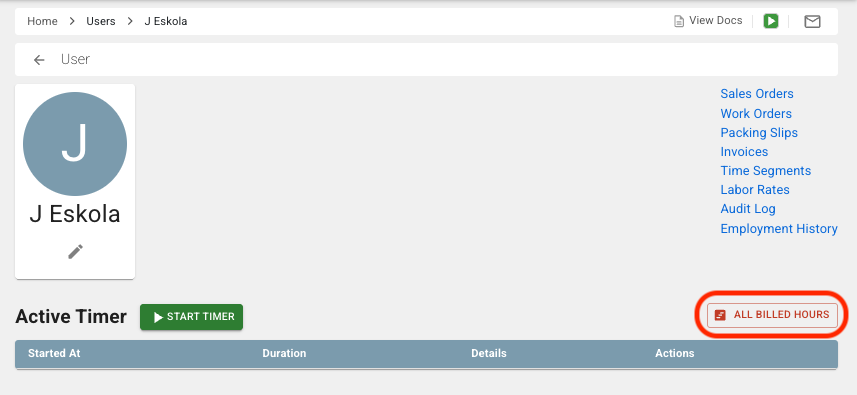
Note: This will bring up the same page as the graph icon (Timeline Graph Editor) from the Stop Labor Timer dialog box:

Click HIGHLIGHT GAPS
The HIGHLIGHT GAPS button helps you see where you may have forgotten to start a timer.
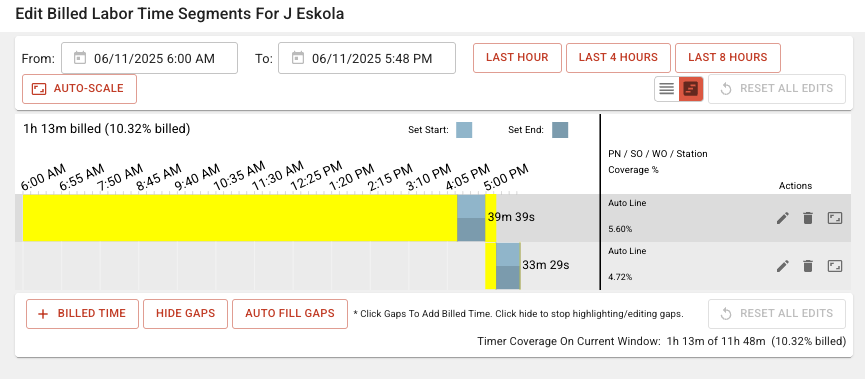
- You can AUTO FILL GAPS, or make adjustments with the calendar/time functions:
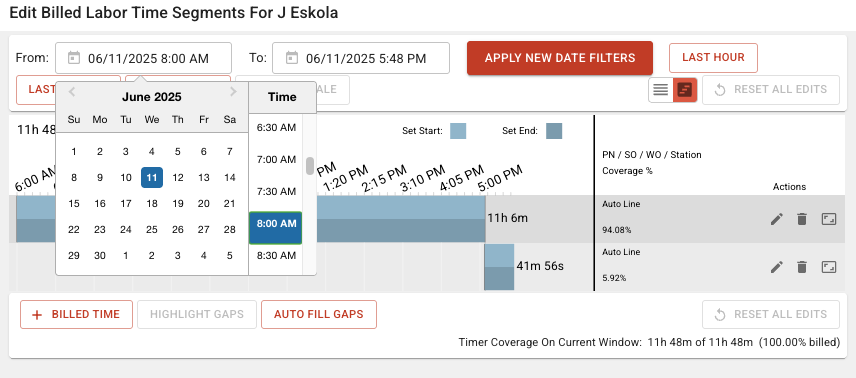
- Click RESET ALL EDITS to revert.
- Click SAVE to save any changes
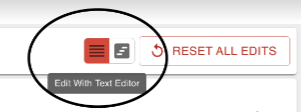
With this option you are able to edit billed labor time for a User by manually entering times, duration, or a coverage percentage
Starting a Timer on a Sales Order
- To track time on entering or changing Sales Orders in Steelhead, click the Sales Orders Tile from the Homepage.
- Open a Sales Order
- Click START TIMER. The Labor Timer will instantly start counting up.
- Click STOP TIMER
- Confirm or edit the time spent. Use the RESET ALL EDITS button to revert any changes you made.
Click SAVE to close, or SAVE & START NEW TIMER to start another timer.
Starting a Timer on Maintenance
- To start a Labor Timer for doing Maintenance, navigate to the Maintenance tile from your Steelhead Homepage.
- Select a Maintenance Event
- Click START TIMER. The time will start counting up instantly.
- Once you're done with the maintenance, click STOP TIMER.
- Confirm or edit the time spent. Use the RESET ALL EDITS button to revert any changes you made.
Use the Open Timeline Graph Editor icon to make further changes to any of your recent timers.
Click SAVE to close, or SAVE & START NEW TIMER to start another timer. - You can also start a timer from within the COMPLETE MULTIPLE NODES page.
- Click START TIMER. The time will instantly start counting up.
- Click STOP TIMER when done. Make sure to confirm your time and click SAVE.
See Margins on a Work Order
- Labor Timers will automatically add Billed Labor Time to Work Orders. Navigate to the Work Orders Tile from your Steelhead Homepage.
- Select a Work Order
- Click on "View Margin."
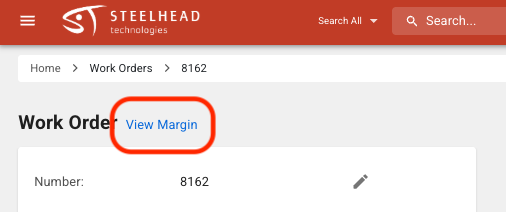
- You can see the Part Labor Cost has been automatically calculated based on the Labor Cost of the employee that logged time on that Work Order.
See also: Timer Dashboard article

