Guide to Creating Assemblies (Cutting Step 1)
- Print
Guide to Creating Assemblies (Cutting Step 1)
- Print
Article summary
Did you find this summary helpful?
Thank you for your feedback!
Cutting Step 1 - Creating Assemblies
- Open the Assemblies dashboard from the Steelhead Homepage.
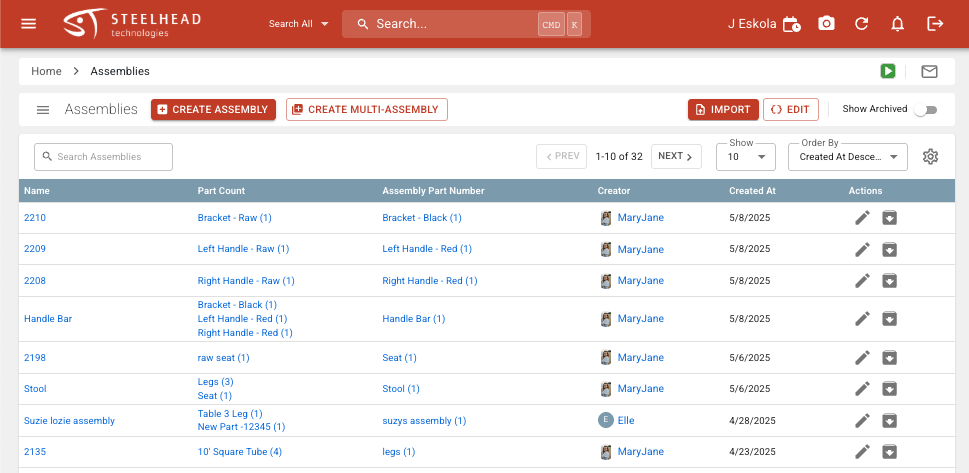
Click +CREATE ASSEMBLY.
Name the Assembly if desired under Assembly Name. Start typing the Assembly Part Number. If you haven't yet created that specific Part, click "Create" and fulfill the "New Part Number" dialog.
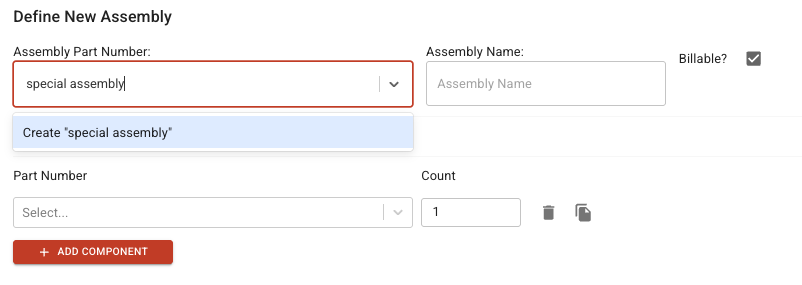
Click SAVE to return to the "Define New Assembly" dialog (you do not need to fill in any information here).
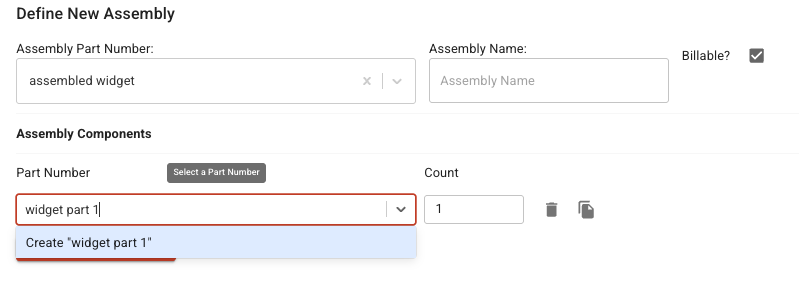
Start typing the Part Number name of your first Assembly Component. If you have not yet created that Part, select "Create (component name)."
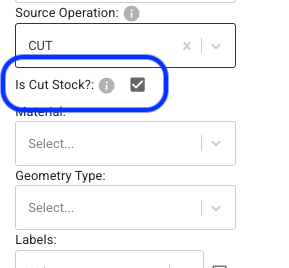
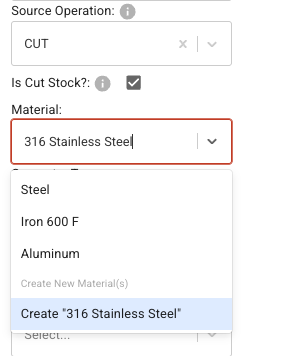
- Under Source Operation:
- Select "CUT" for a raw cut shape
- Select "CUT - Create Blank on Save" if you have machining to do on the part after Cutting.

Cut Stock
- The "Is Cut Stock" checkbox is to say whether or not this Part Number will be used to create other parts (i.e. A 4x8 piece of sheet metal would be Cut Stock).
Select a Material from the Material drop-down or start typing to search. If you have a new Material, select "Create (Material name)."
Type in the Substrate and select "Create (Substrate name)."
Fill in any other information you'd like to add in the dialog, and click SAVE.

Select a Geometry Type or add your own by clicking "Create."
Put in a Name and Description if desired, then select the dimensions that the Part has. Upload an image if desired.
Click to find your file or drag and drop a file into the dialog box.
Click SAVE.
Click SAVE.
Fill in any other information desired, then click SAVE & CREATE BLANK.
Click SAVE for the Part Number.
Click "ADD COMPONENT", then select or type in the name of the next Component.
If creating a new Part Number, select "Create (Component name)."
Fill any desired information and click SAVE.
Make sure you have the correct Count for each Assembly Component Part Number. For this example, one Steel Table Top-02 and four Steel Table Legs-02 make up one Steel Table-02. Once you have all components on your Assembly, click SAVE!
Select your Assembly Name to open it up.
Scroll down to see the Process Tree and edit if needed.
--
Was this article helpful?