Receiving Dashboard
- Print
Receiving Dashboard
- Print
Article summary
Did you find this summary helpful?
Thank you for your feedback!
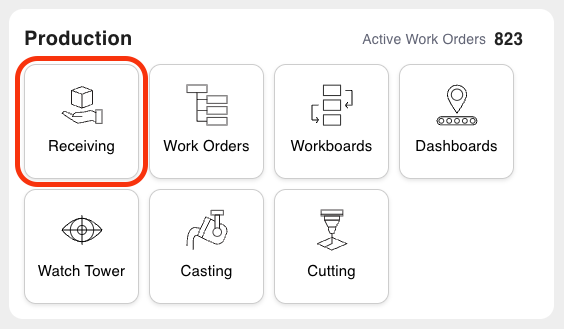
The Receiving Dashboard is used for receiving Customer Parts, outsourced Parts, and Purchase Order items. To access the Receiving Dashboard, open the Receiving Tile from the Production Section of the Homepage.
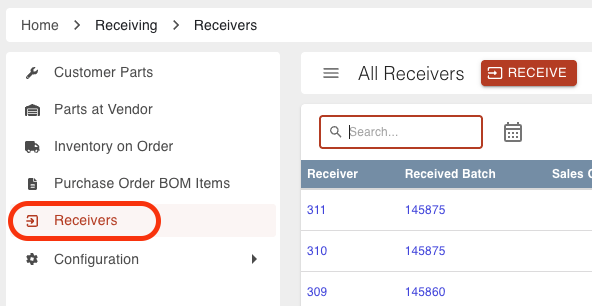
Pages accessible from the Receiving Dashboard sidebar consist of:
Customer Parts
The Customer Parts page of the Receiving Dashboard includes all Parts that have been received from Customers, to enter the workflow. For more information, including how to receive Parts, visit the Receive Parts article.
Parts at Vendor
The Parts at Vendor page of the Receiving Dashboard includes all Parts that were shipped for outsourcing, that will be received back eventually. For more information, including how to receive Parts, visit the Receive Parts article.
Inventory on Order
The Inventory on Order page of the Receiving Dashboard includes all Purchase Order Items that are on order. From here, items can be received and added to inventory in Steelhead. For more information, including how to receive Inventory Items, visit the Receive Inventory article.
Receivers
Click here to see a Receiver PDF Tutorial Video.
The All Receivers page can be accessed from the Receiving Dashboard sidebar.
There are three types of receivers:
- Outsourcing Receivers
- Customer Part Receivers
- Inventory Receivers
The different types can be filtered on the Receivers page.

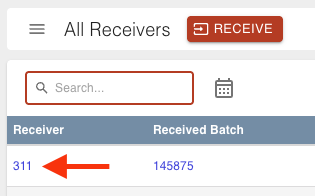
Purchase Order items can be received from the Receivers page by clicking the RECEIVE button at the top of the page.
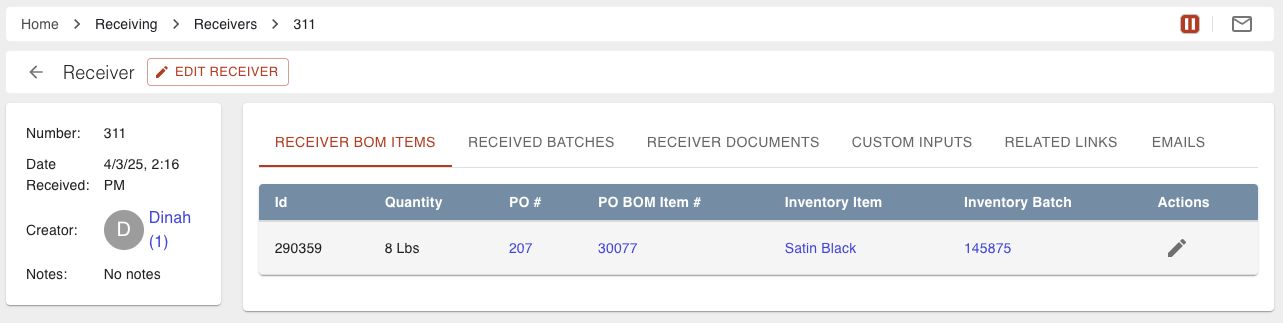
To open an individual Receiver, click on the Receiver Number.
Individual receiver pages include details such as number, date received, creator, notes, receiver BOM items, received batches, receiver documents, custom inputs, related links, and emails.
There are many ways to navigate the All Receivers table:
- Search for Receiver Number
- Filter by Date
- Filter by Sales Order, Created By, Purchase Order, Vendor, Part Number, Inventory Item, and Work Order
- Move to next and previous page
- Determine the quantity of Receivers displayed on each page using "Show"
- Order By
- Created At Descending
- Created At Ascending
- Best Match
- Configure table columns
There are a few other actions that can be performed:

- Click the Edit Receiver pencil icon to add/edit the notes, date received, and custom inputs.
- Click the View Receiver PDF icon to open the PDF.
- Click SEND RECEIVER and customize the email before sending to recipient(s) of choice.
- Click SIGN RECEIVER PDF to sign the Receiver.
- The signature can be configured to display on the Receiver PDF.
Customer Part Receiver PDFs can also be accessed from:
- Sales Order documents.
- Packing Slips (when the Domain Setting called "Default Receiver PDF at Packing Slip" is toggled on).
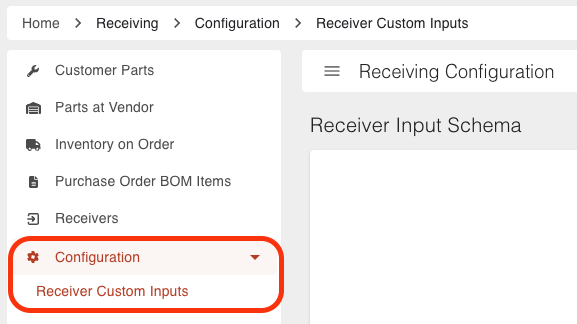
Configuration
The Configuration sidebar option allows for configuration of Receiver Custom Inputs. Receiver Custom Inputs can be entered on Receiver creation or edit. View the Custom Inputs article to learn more about setting up custom inputs.
--
Was this article helpful?