Custom Inputs
- Print
Custom Inputs
- Print
Article summary
Did you find this summary helpful?
Thank you for your feedback!
Custom Inputs allow for entry of extra information that may not be native to Steelhead.
Custom Inputs can sometimes be pulled into PDFs or used in Power Tools. Reach out to Steelhead Support with questions regarding these features.
Custom Input Locations
There are several locations in Steelhead in which Custom Inputs Schemas can be configured. A schema controls what the User sees, including the layout, components, ordering, and grouping of the custom inputs being requested. Once schemas are configured, Custom Inputs can be entered and viewed in various places:
Quotes, Bills, Purchase Orders, Customers, Vendors, Specifications, Shipping, Users, Stations, Sales Orders, Inventory, Quality, Treatments, Work Orders, Operator Inputs, Part Numbers
Configuration of Custom Inputs is highly flexible. See the instructions below:
Configure a Custom Input Schema
Array, Certification Spec Limits, Checkbox, Date, Date-Time, Drop-down, Integer, Long Answer, Number, Password, Radio, Short Answer, Spreadsheet Input, Time
Quotes
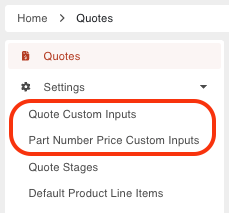
The configuration pages for the schemas of Quote Custom Inputs and Part Number Price Custom Inputs can be found in the sidebar of the Quotes page, under Settings.
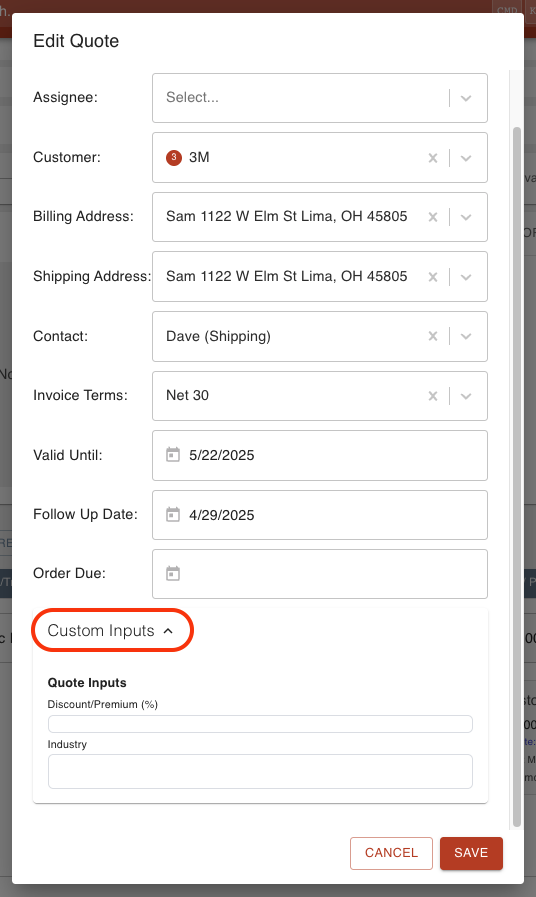
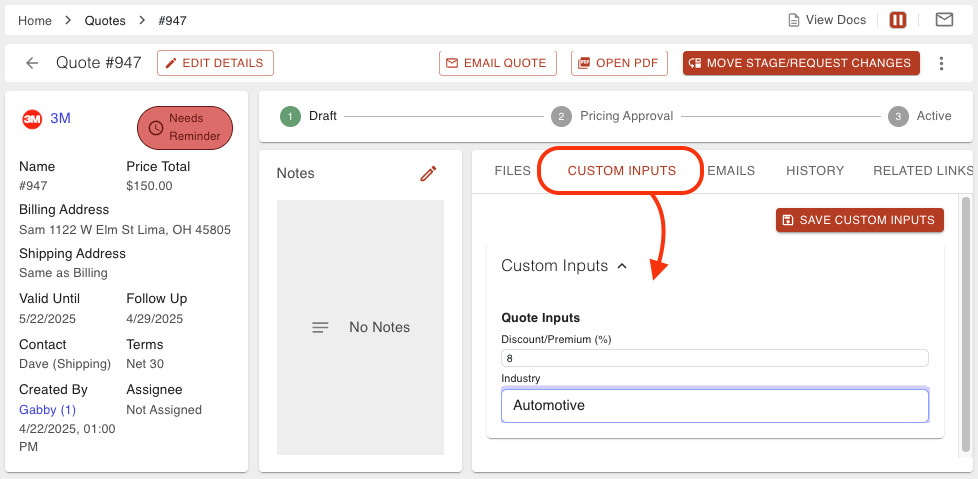
Quote Custom Inputs can be entered and viewed when creating and editing a Quote, and in the Custom Inputs section of a Quote page.
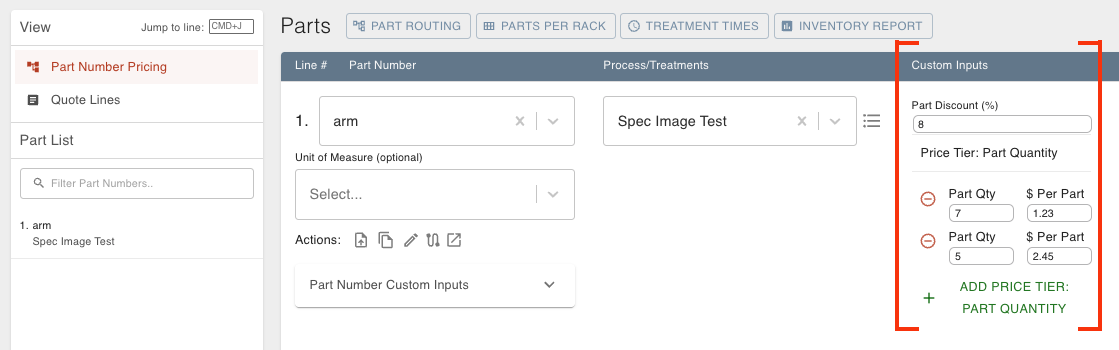
Part Number Price Custom Inputs are generally used for Power Quoting. They can be entered when adding or editing Part Number Pricing information on a quote.
Bills
The configuration page for the schema of Bill Custom Inputs can be found in the sidebar of the Bills page, under the Settings dropdown.
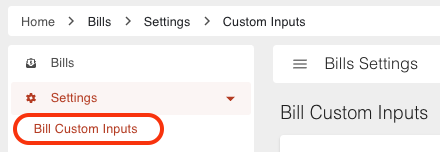
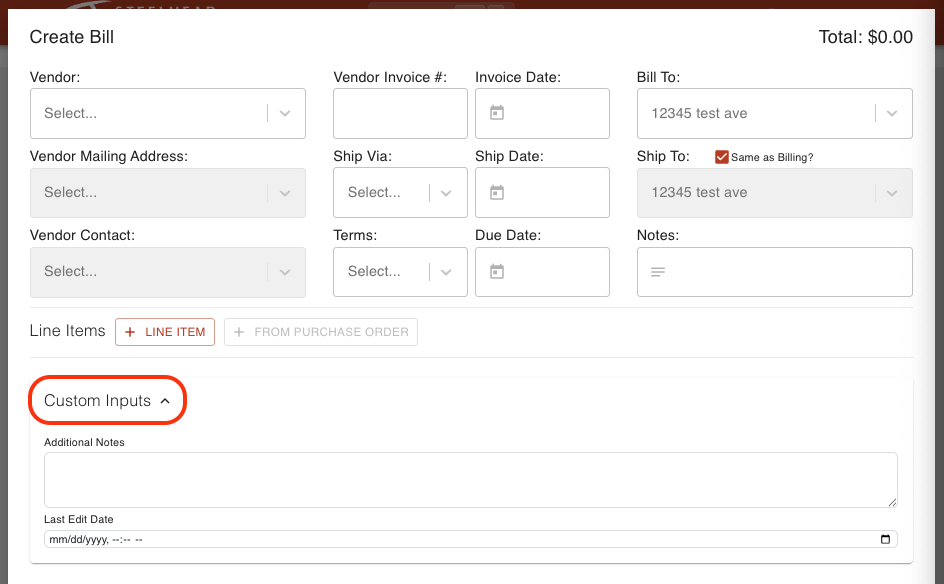
Bill Custom Inputs can be entered when creating or editing a Bill.
Purchase Orders
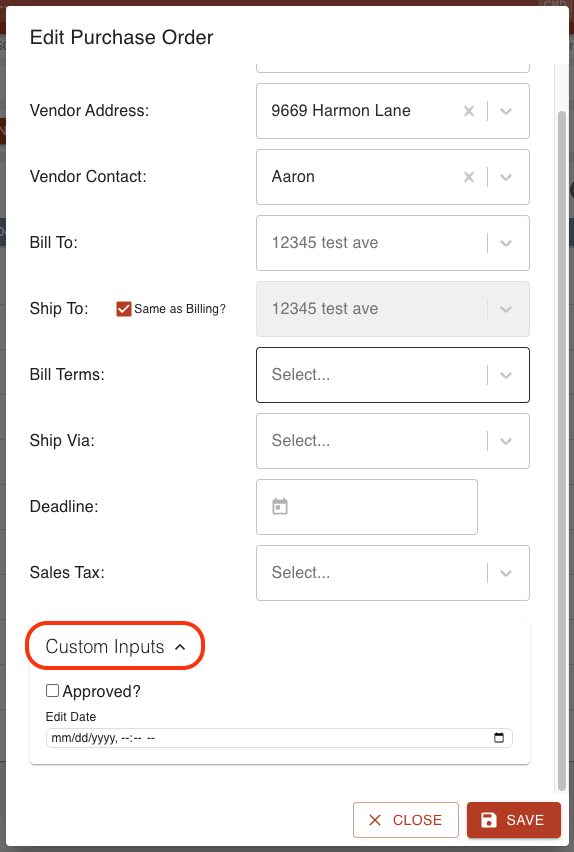
The configuration page for the schema of Purchase Order Custom Inputs can be found by clicking the gear icon in the right corner of the Purchase Orders page.

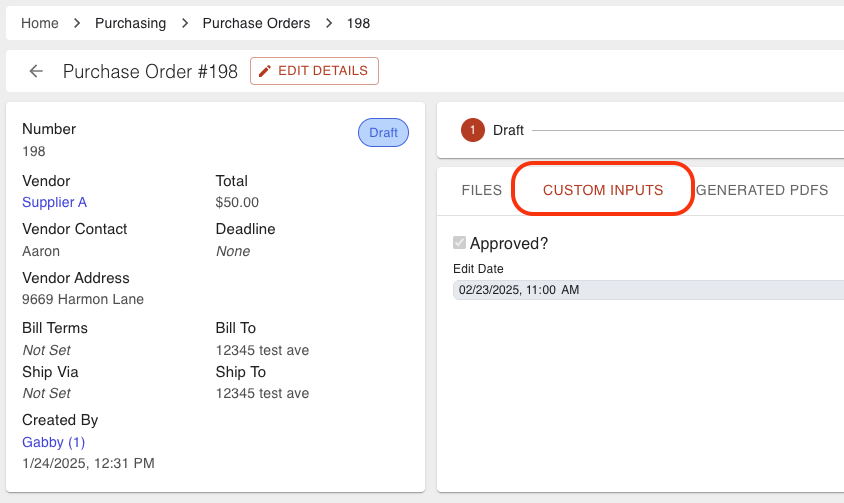
Purchase Order Custom Inputs can be entered when creating or editing a Purchase Order and viewed in the Custom Inputs tab of the Purchase Order.
Customers
The configuration pages for the schemas of Customers Custom Inputs, Customer Contacts Custom Inputs, and Customer Addresses Custom Inputs can be found in the sidebar of the Customers page, under the Settings dropdown. There are also links in the Addresses and Contacts sections on a customer page.

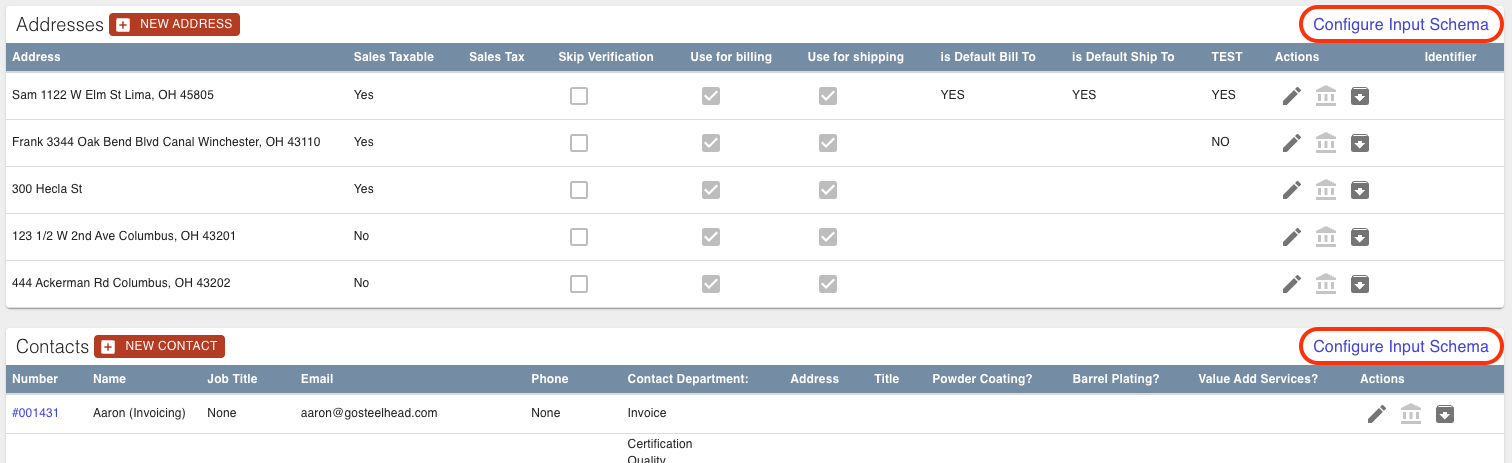
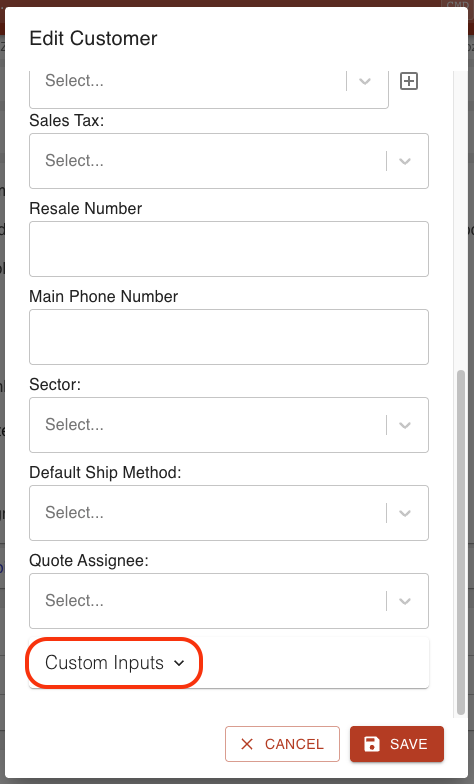
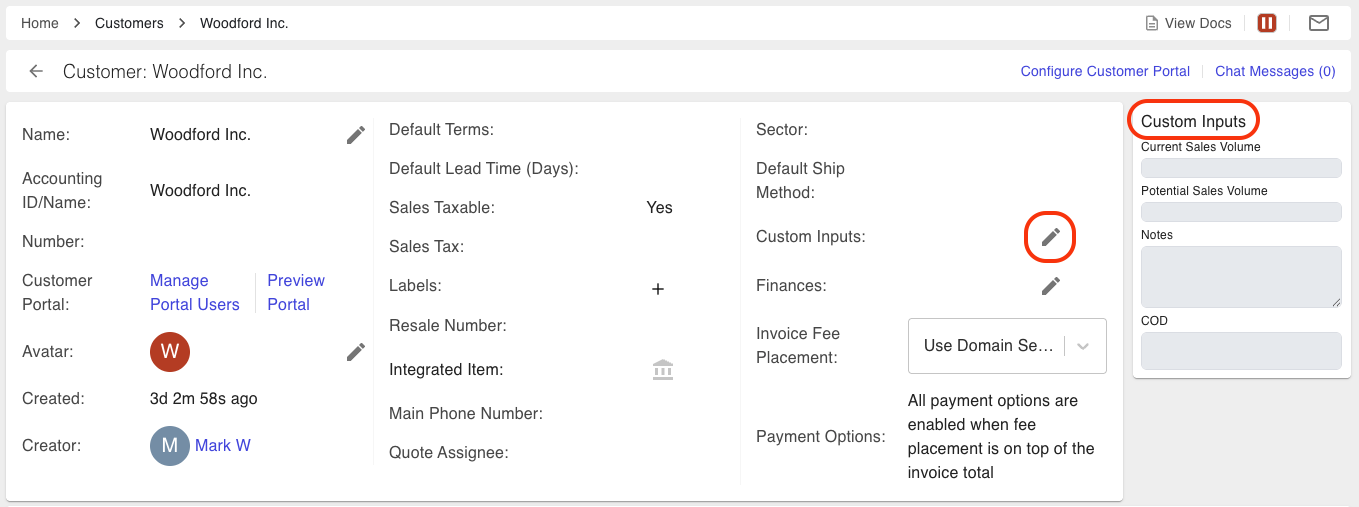
Customers Custom Inputs can be entered when creating and editing a Customer as well as through clicking the edit pencil next to "Custom Inputs" on a customer page. They can be viewed on the Customer and Work Order pages, and when creating a Packing Slip and Invoice.


Customer Contacts Custom Inputs can be entered when creating or editing a Customer Contact. They can be entered and viewed on the Contact page. They can also be viewed on the Customer page Contacts table.


.png)
Customer Addresses Custom Inputs can be entered when creating or editing a Customer Address. They can be viewed on the Customer page Addresses table, and when creating a Packing Slip and Invoice.


Vendors
The configuration pages for the schemas of Vendor Custom Inputs and Vendor Contacts Custom Inputs can be found in the sidebar of the Vendors page, under the Settings drop-down. There is also a link on the Vendor Contacts table.


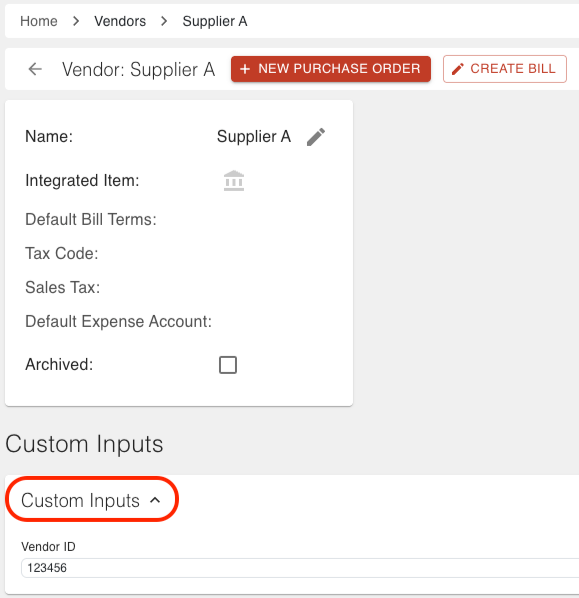
Vendor Custom Inputs can be entered when creating and editing a Vendor, as well as on a Vendor page.

Vendor Contact Custom Inputs can be entered when creating and editing a Vendor contact, as well as on a Vendor contact page. They can also be viewed on the Vendor page Contacts table.
.png)


Specifications
The configuration page for the schema of Spec Custom Inputs can be can be found by clicking the gear icon in the right corner of the Specs page.

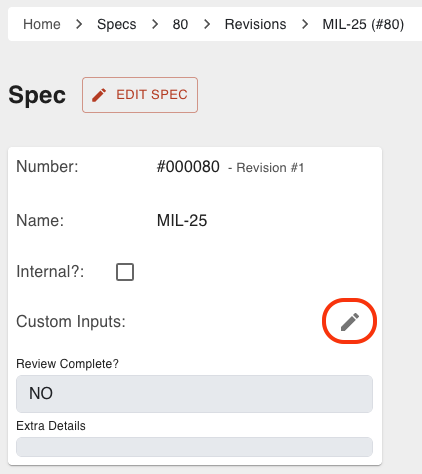
Spec Custom Inputs can be entered when creating and editing a Spec, as well as on a Spec page. They can also be viewed on a Spec Summary.
.png)
.png)
Shipping
The configuration pages for the schemas of Packing Slip Custom Inputs and Bill of Lading Custom Inputs can be can be found in the sidebar of the Shipping page, under the Configurations dropdown.

Packing Slip Custom Inputs can be entered when creating a Packing Slip or editing a draft Packing Slip. They can be viewed on a Packing Slip page.


Bill of Lading Custom Inputs can be entered when creating and editing a Bill of Lading.

Users
The configuration page for the schema of User Custom Inputs by clicking the link in the top right corner of the Users page.

User Custom Inputs can be entered when creating and editing a user, as well at the bottom of a User page.
.png)
Stations
The configuration page for the schema of Station Custom Inputs can be can be found in the sidebar of the Stations page, under the Settings dropdown.

Station Custom Inputs can be entered and viewed on a Station page.

Sales Orders
The configuration page for the schema of Sales Order Custom Inputs can be found by clicking the gear icon in the top right corner of the Sales Orders page.

Sales Order Custom Inputs can be entered when creating or editing the basic details of a Sales Order. They can be viewed in the Custom Inputs section, near the top of a Sales Order.


Inventory
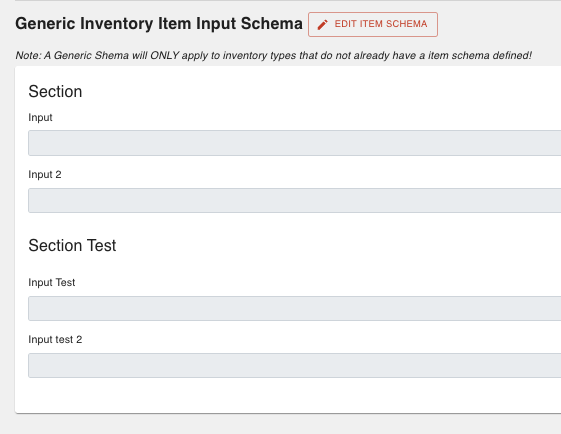
The configuration page for the schemas of Inventory Custom Inputs and Inventory Batch Custom Inputs can be found by clicking the gear icon in the top right corner of the Inventory Types page. Select a specific Inventory Type to configure custom inputs for, otherwise leave ‘Generic (Default For All Types)’ selected to configure custom inputs for all Inventory Types.

Inventory Custom Inputs can be entered when creating and editing an Inventory Item. They can be edited and viewed on the Inventory Item page.

.png)
Inventory Batch Custom Inputs can be entered when receiving Inventory Items. They can be edited and viewed on the Inventory Batch page.


Quality
The configuration page for the schemas Quality Hold Custom Inputs, Main NCR Custom Inputs, NCR Investigation Custom Inputs, and NCR Disposition Custom Inputs can be found by clicking the gear icon in the top right corner of the All Quality Holds page or NCRs page.

The configuration page for the schemas of CAR Main Report Custom Inputs, CAR Investigation Custom Inputs, Corrective Action Custom Inputs, Action Verification Custom Inputs, and Root Causes Analysis Custom Inputs can be found by clicking the gear icon in the top right corner of the CARs page.

The configuration page for the schemas of RMA Main Report Custom Inputs can be found by clicking the gear icon in the top right corner of the RMAs page.

Quality Hold Custom Inputs can be entered when putting parts on quality hold. They can be edited and viewed on a Quality Hold page. They are also found in the All Quality Holds table.


Main NCR Custom Inputs, NCR Investigation Custom Inputs, and NCR Disposition Custom Inputs can be entered when creating and editing an NCR. They can be viewed on an NCR page.


CAR Main Report Custom Inputs, CAR Investigation Custom Inputs, Corrective Action Custom Inputs can be entered when creating and editing a CAR. Action Verification Custom Inputs and Root Causes Analysis Custom Inputs can be entered when editing a CAR. All CAR custom inputs can be viewed on a CAR page.


RMA Main Report Custom Inputs can be entered when creating and editing an RMA. They can be viewed on an RMA page.


Treatments
The configuration page for the schema of Treatment Custom Inputs can be can be found in the sidebar of the Treatments page, under the Settings dropdown.

Treatment Custom Inputs can be entered when editing a Treatment assigned to a Treatment Group that has custom inputs configured. They also can be entered at Quoting, when a treatment is selected that is assigned to a Treatment Group that has custom inputs configured.


To determine if Treatment Custom Inputs can be entered at quoting or on the Treatment:
Navigate to the configure Treatment Custom Inputs page.
Select the Treatment Group.
Click EDIT SCHEMA.
Check or uncheck the “Collect custom inputs at quoting” box.
Checked - Custom inputs will only be requested at quoting, when a Treatment of this Treatment Group is selected.
Unchecked - Custom inputs will only be requested when editing a Treatment of this Treatment Group. Custom inputs will display on a quote with this treatment selected.

Work Orders
The configuration page for the schema of Work Order Custom Inputs can be found by clicking the gear icon in the top right corner of the Work Orders page.

Work Order Custom Inputs can be entered on a Work Order page. Click SHOW DETAILS to view and edit custom inputs.

Operator Inputs
The configuration for the schema of Operator Inputs can be found in the Operator Inputs section of a Process/Recipe Node page. Click the EDIT button.

Operator Custom Inputs can be entered when moving parts to the next step of the Work Order recipe. After Operator Inputs are recorded, they can be viewed by clicking the View All Operator Inputs link, near the bottom of the Work Order.


Part Numbers
The configuration page for the schema of Part Number Custom Inputs can be found by clicking the gear icon in the top right corner of the Part Numbers page.

Part Number Custom Inputs can be entered when creating and editing a Part Number. They can be viewed on the Part Numbers table, on a Part Number page, and at Quoting.


Configure a Custom Input Schema
Custom inputs can be configured in many different ways, in order to receive information necessary for tracking purposes.
To configure a new or existing Custom Input:
Navigate to the custom input configuration page. This might be through clicking a link in the sidebar of the related main page, or clicking a gear icon in the top right corner of the related main page.


Click the EDIT SCHEMA button.

To create a new custom input, click the green plus button. Select either ‘Form element’ or ‘Form section’ and click Create.

Form element - A way to set up inputs to be requested.
Form section - A way to organize elements/inputs being requested.
Select the triangle drop down on an element to set up a schema.
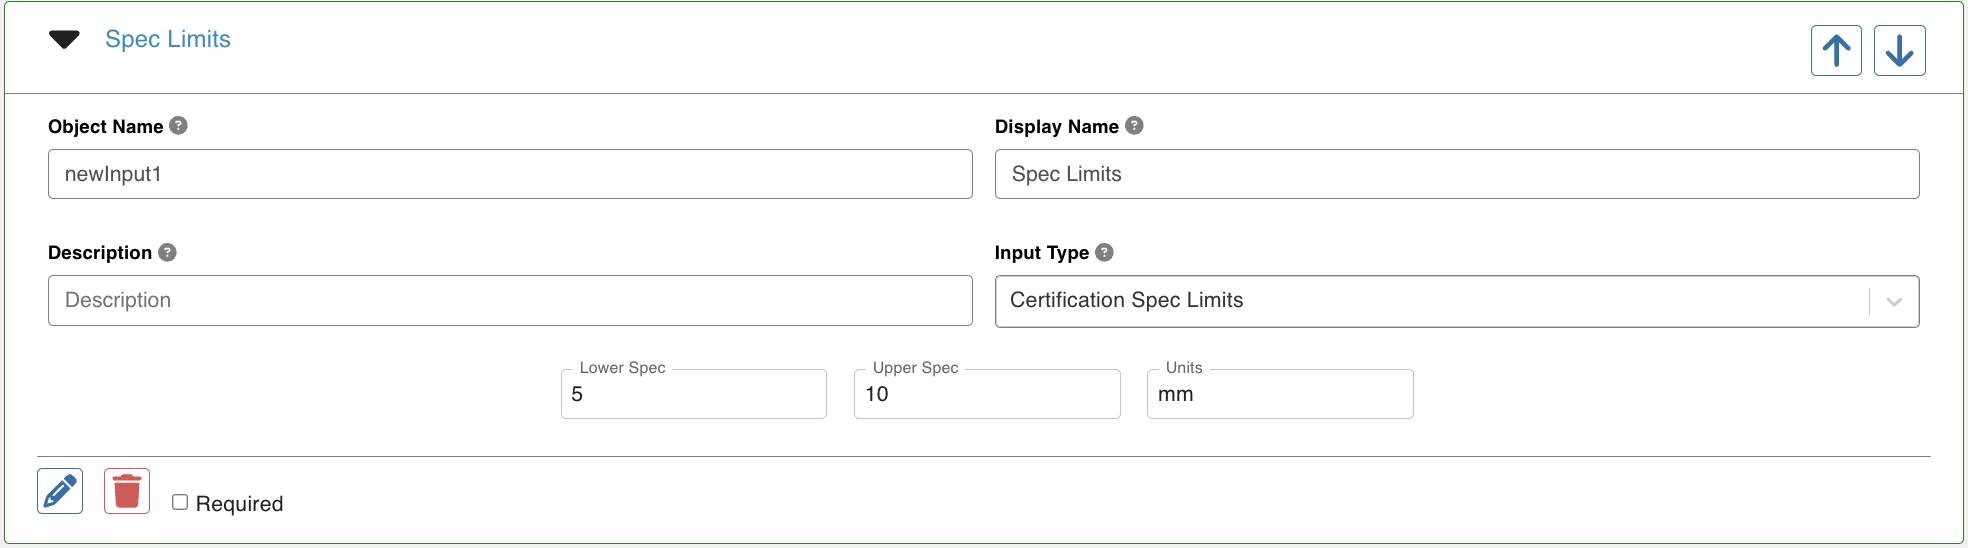
Create a schema. Display Name and Input Type are the recommended minimum fields to to fill out.

Form Name - Enter a name to display above custom inputs.
Form Description - Enter a description to display above custom inputs, below the Name.
Object Name - Enter an object name if Power Tools or PDF customization will be used with this custom input.
Display Name - Enter a name to display above the custom input field.
Description - Enter a description to display above the custom input field, below the Display Name.
Input Type - Select the type of field for the custom input.
Pencil icon - Further configuration settings for the custom input.
Trash icon - Delete the custom input section.
Required checkbox - If checked, the custom input will be required at time of saving.
Arrow icons - Move the custom input section up or down in the order.
Manual Edit switch - If the switch is toggled on, a view will appear that allows for editing using JSON.
Preview switch - If the switch is toggled on, a view will appear that displays the custom inputs as they would in the place they will be used.
When all is set up as desired, and has been previewed, click SAVE. The custom input requests will now appear on the corresponding pages.
If a custom input schema already existed and was edited, a user will be prompted to update to the newest schema if editing custom inputs of that schema.
Dependencies
There is the ability to show fields depending on the entry of another field.
Open the desired custom input schema.
Create the element that will have dependencies.
Create the element that will depend on the other element.
Click the edit pencil icon on the element that needs dependencies set up. Fill out the Dependencies section and Save.

Hover over the star on the element that depends on another element and verify it is correct.

Preview the custom inputs and verify it works as expected and SAVE the schema.

.png)
Custom Input Types
There are several different input type options. Input Type is set on the custom input schema element.
Here is a list of the different types and what they do:
Array
The Array type displays an + ADD button that gives the ability to create multiple inputs of a specified input type.


Certification Spec Limits
The Certification Spec Limits type displays the lower limit, upper limit, and unit set on the input schema, and allows for a value entry.

Checkbox
The Checkbox type displays a checkbox that can be checked or unchecked. A default can be set with the “Default” checkbox on the input schema.


Date
The Date type gives the ability to enter/select a calendar date.

Date-Time
The Date-Time type gives the ability to enter/select a calendar date and time.

Drop-down
The Dropdown Type gives the ability to choose from a list of items.


Integer
The Integer type requires the entered value to be an integer only. A default number can be set on the input schema in which will auto-populate, but can be adjusted.


Long Answer
The Long Answer type displays a text box that can be typed in and has the ability to change the size of the box.

Number
The Number type requires the entered value to be a number only. A default number can be set on the input schema in which will auto-populate, but can be adjusted.

Password
The Password type allows for text to be entered, but the text is hidden behind dots.

Radio
The Radio type displays a list of options, and only one option can be selected.


Short Answer
The Short Answer type displays a text box that can be typed in, but the box size cannot be adjusted.

Spreadsheet Input
The Spreadsheet Input types displays an editable spreadsheet. The number of rows and columns is configurable in the input schema. The types of entry fields within a spreadsheet cell consist of General, Certification Spec Limits, Checkbox, Date, Date and Time.


Time
The Time type gives the ability to enter/select a time.

--
Was this article helpful?